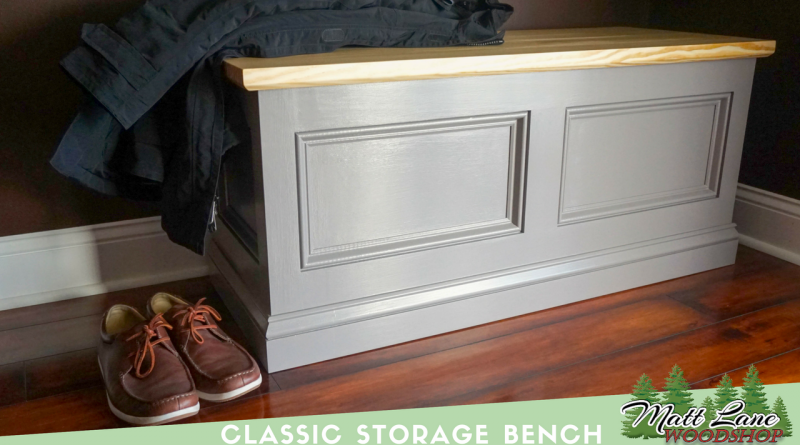
Classic Storage Bench
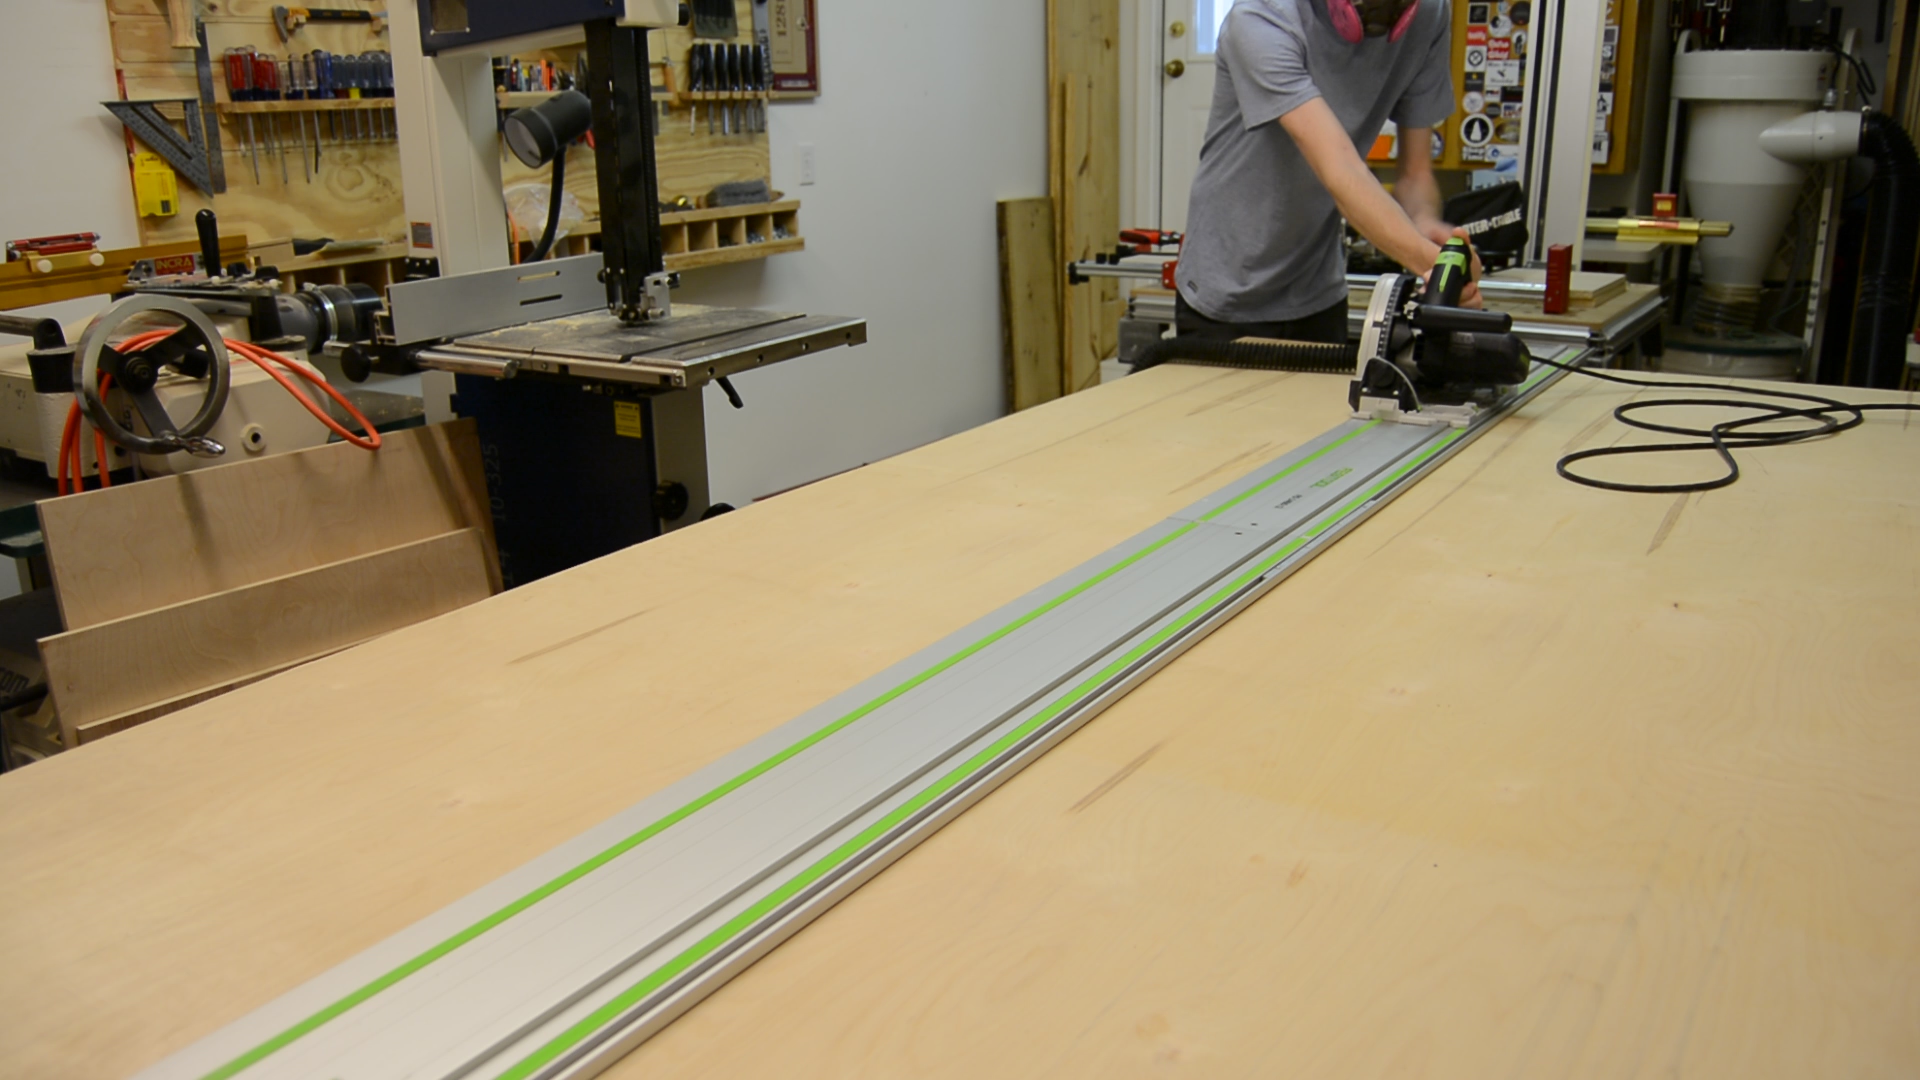
I’ve had this idea to build some sort of storage bench or blanket chest for quite a while now. I knew I wanted a classic look with detailed moldings and a solid wood top. I started by first sketching out what I wanted with rough dimensions on a sheet of paper and then translated that over to Sketchup to refine the design. The great thing about Sketchup is that it allows you to put the design in your head into a 3D design so that you can make changes and get a good idea of what it is going to look like before you get started on the build. (Get the Plans Here)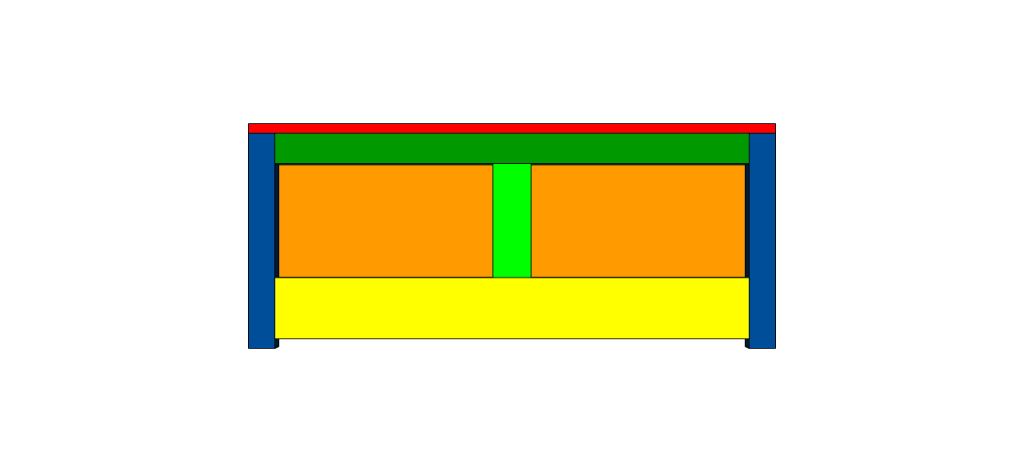 I had a sheet of 5/8th” plywood in my rack that I decided to use to build this project with. By using a slightly thinner ply, it helps keeps the weight down so that this project isn’t a monster when the trim is added. Much like every project I build, I started by breaking the sheet down into much more manageable sizes with my track saw.
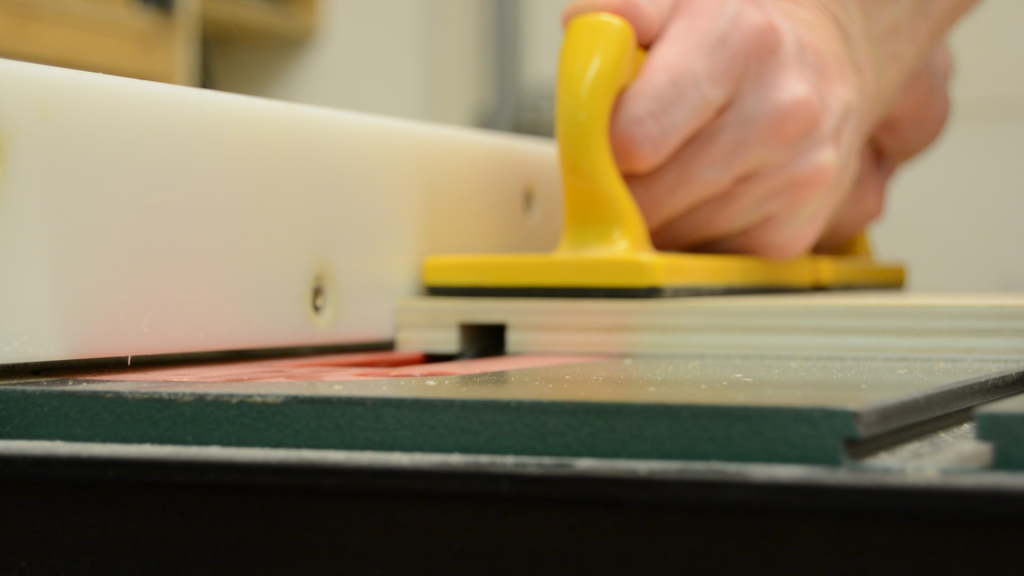
I then cut down the parts for the box and the bottom. Before adding the joinery, I cut a dado around the bottom of the front, back, and the two sides that would accept the bottom panel, which is the same thickness as the rest of the box.
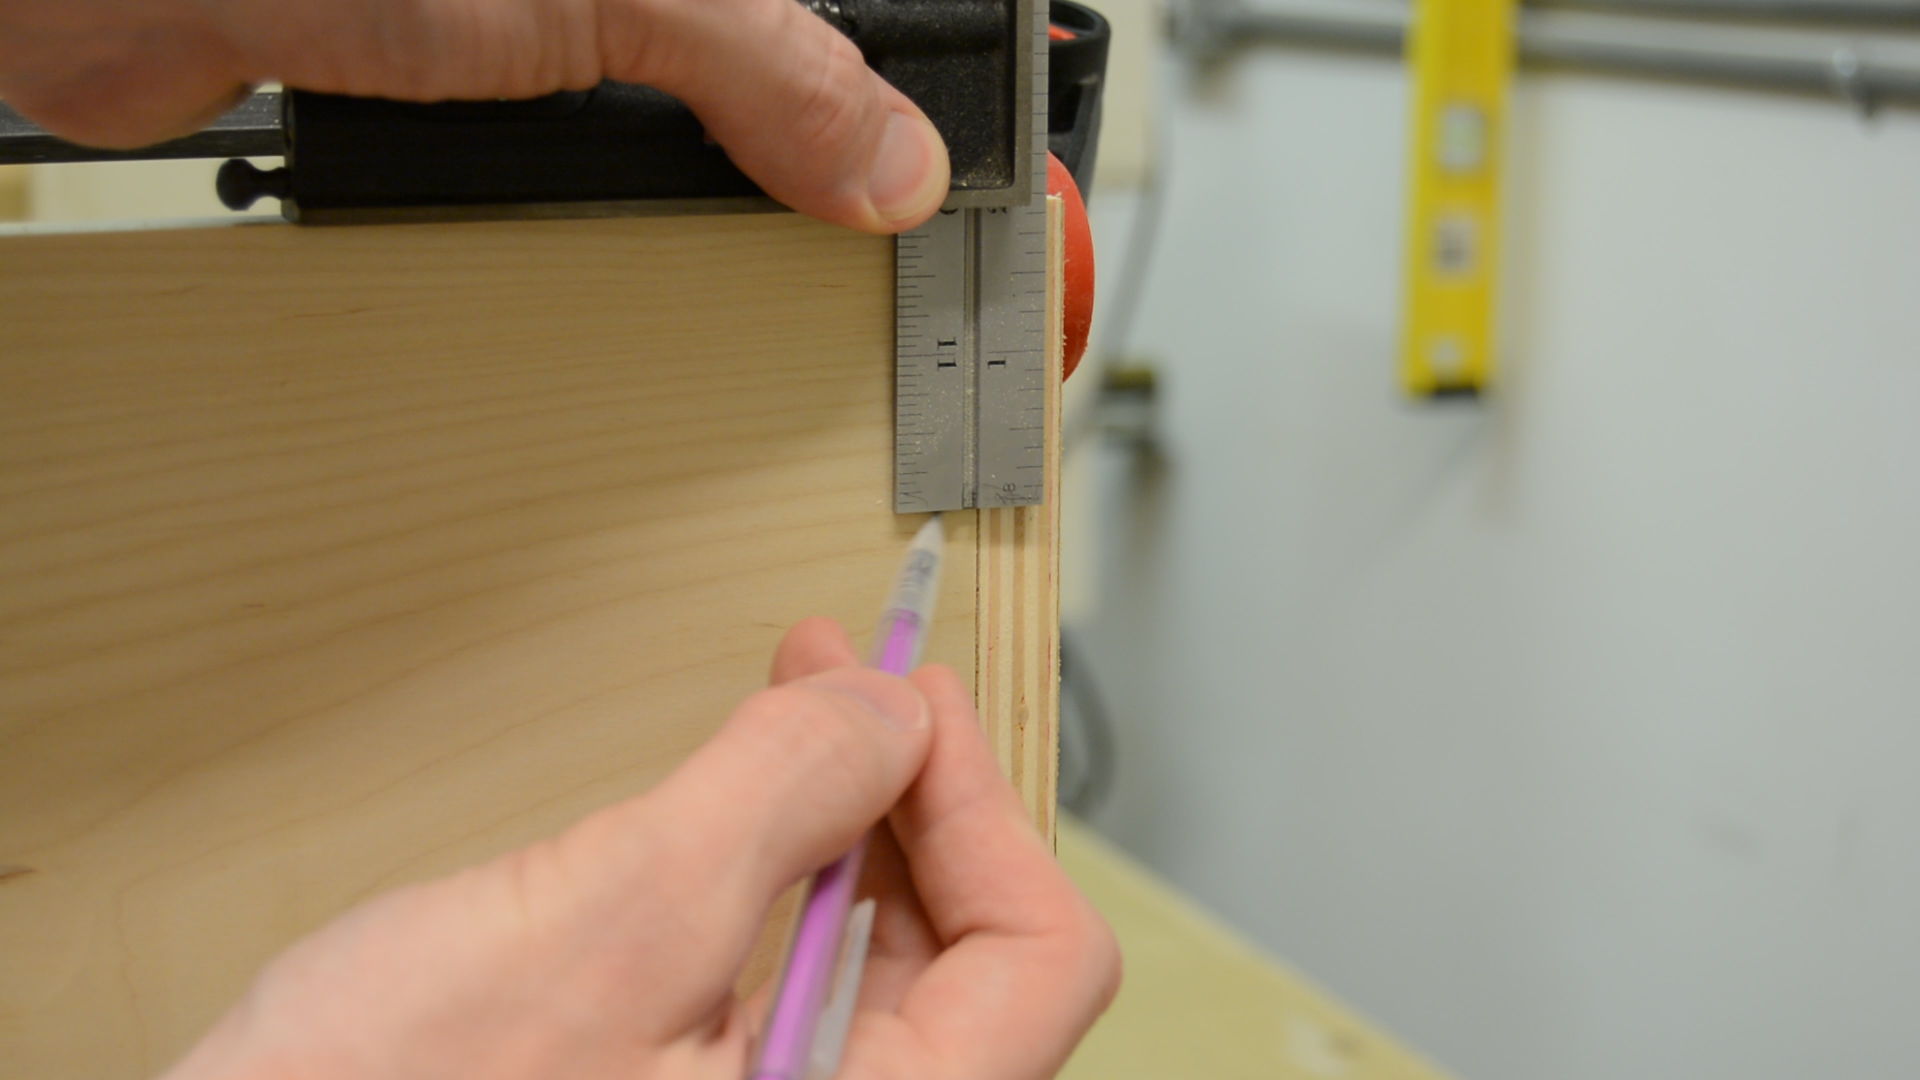
For the joinery on the box itself, I decided to use a combination of biscuits and pocket screws. I use my combination square to lay out reference marks for all of the joineries, spacing everything evenly with the biscuits falling in-between the pocket screws, keeping the groove for the bottom of the box in mind.
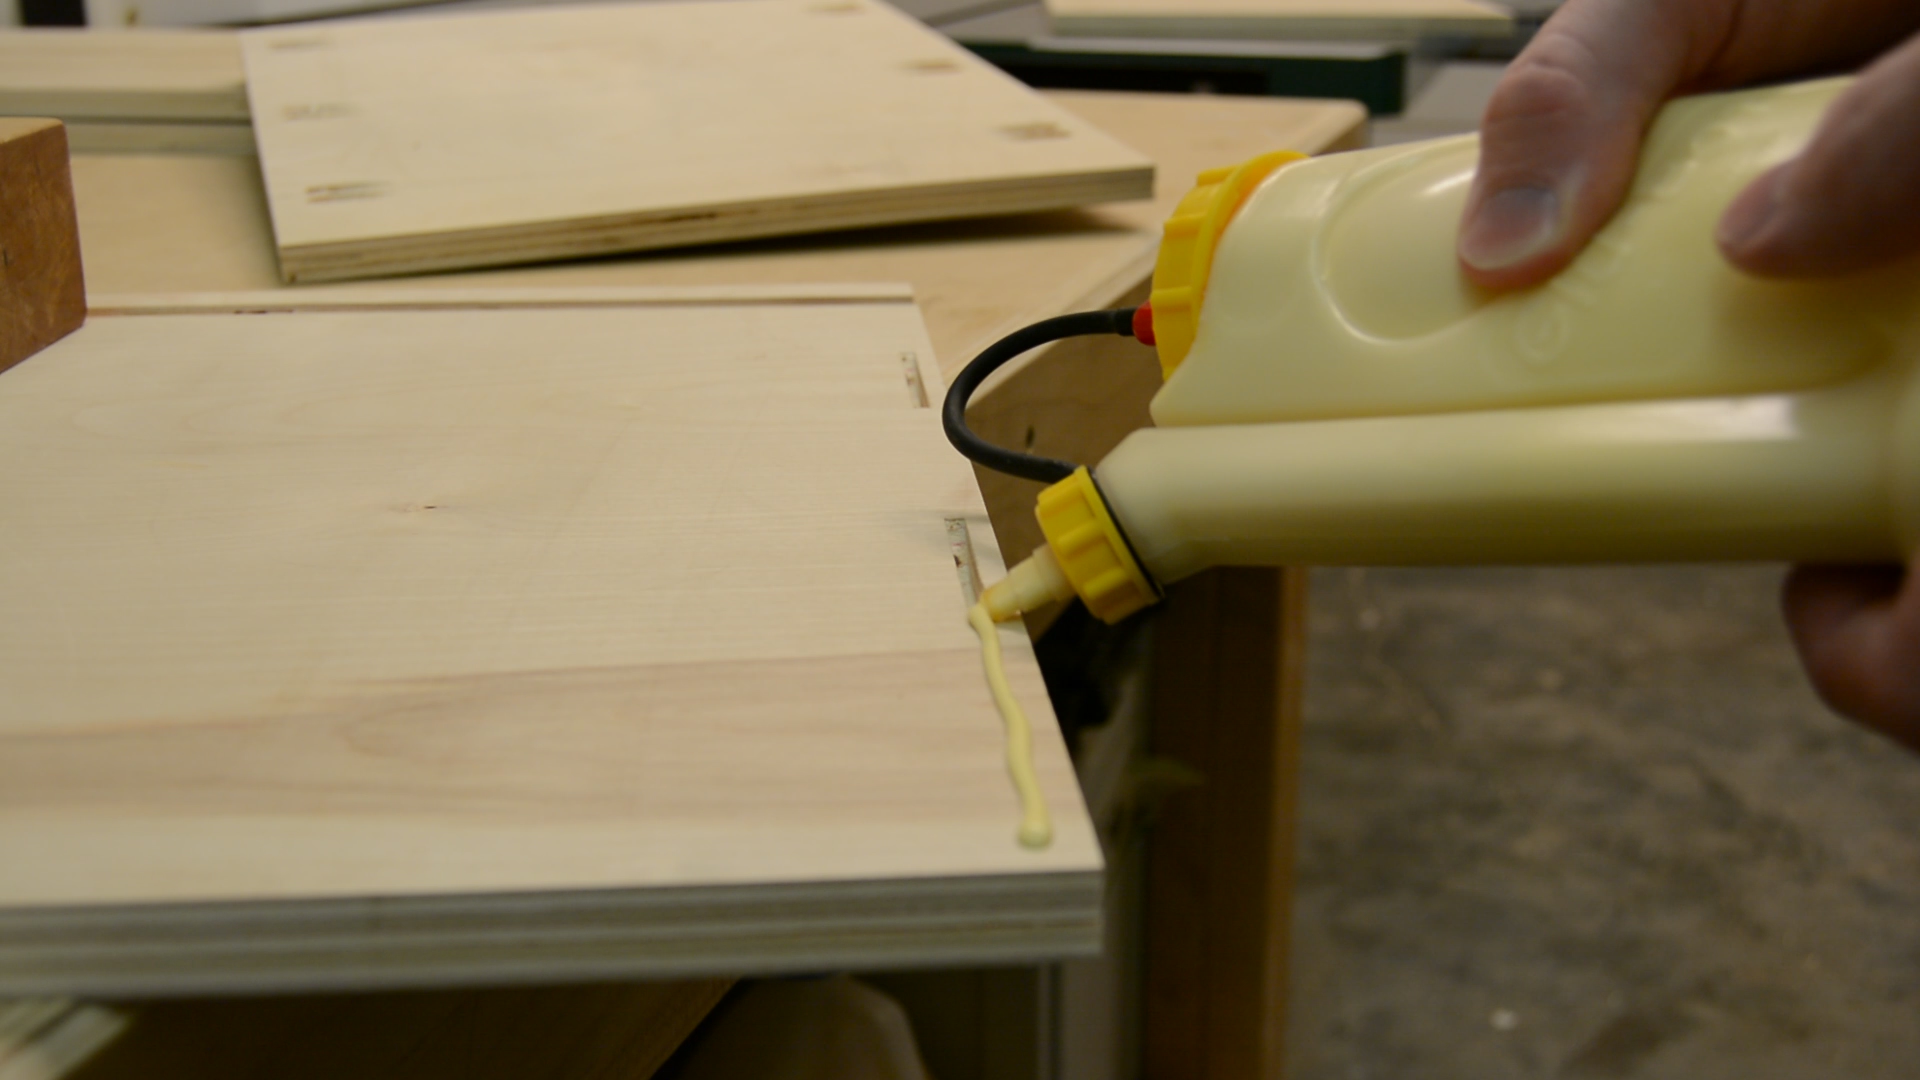
Once all the joinery is cut, I start by gluing and clamping the box up. The biggest benefit to biscuits is that they really assist with panel alignment.
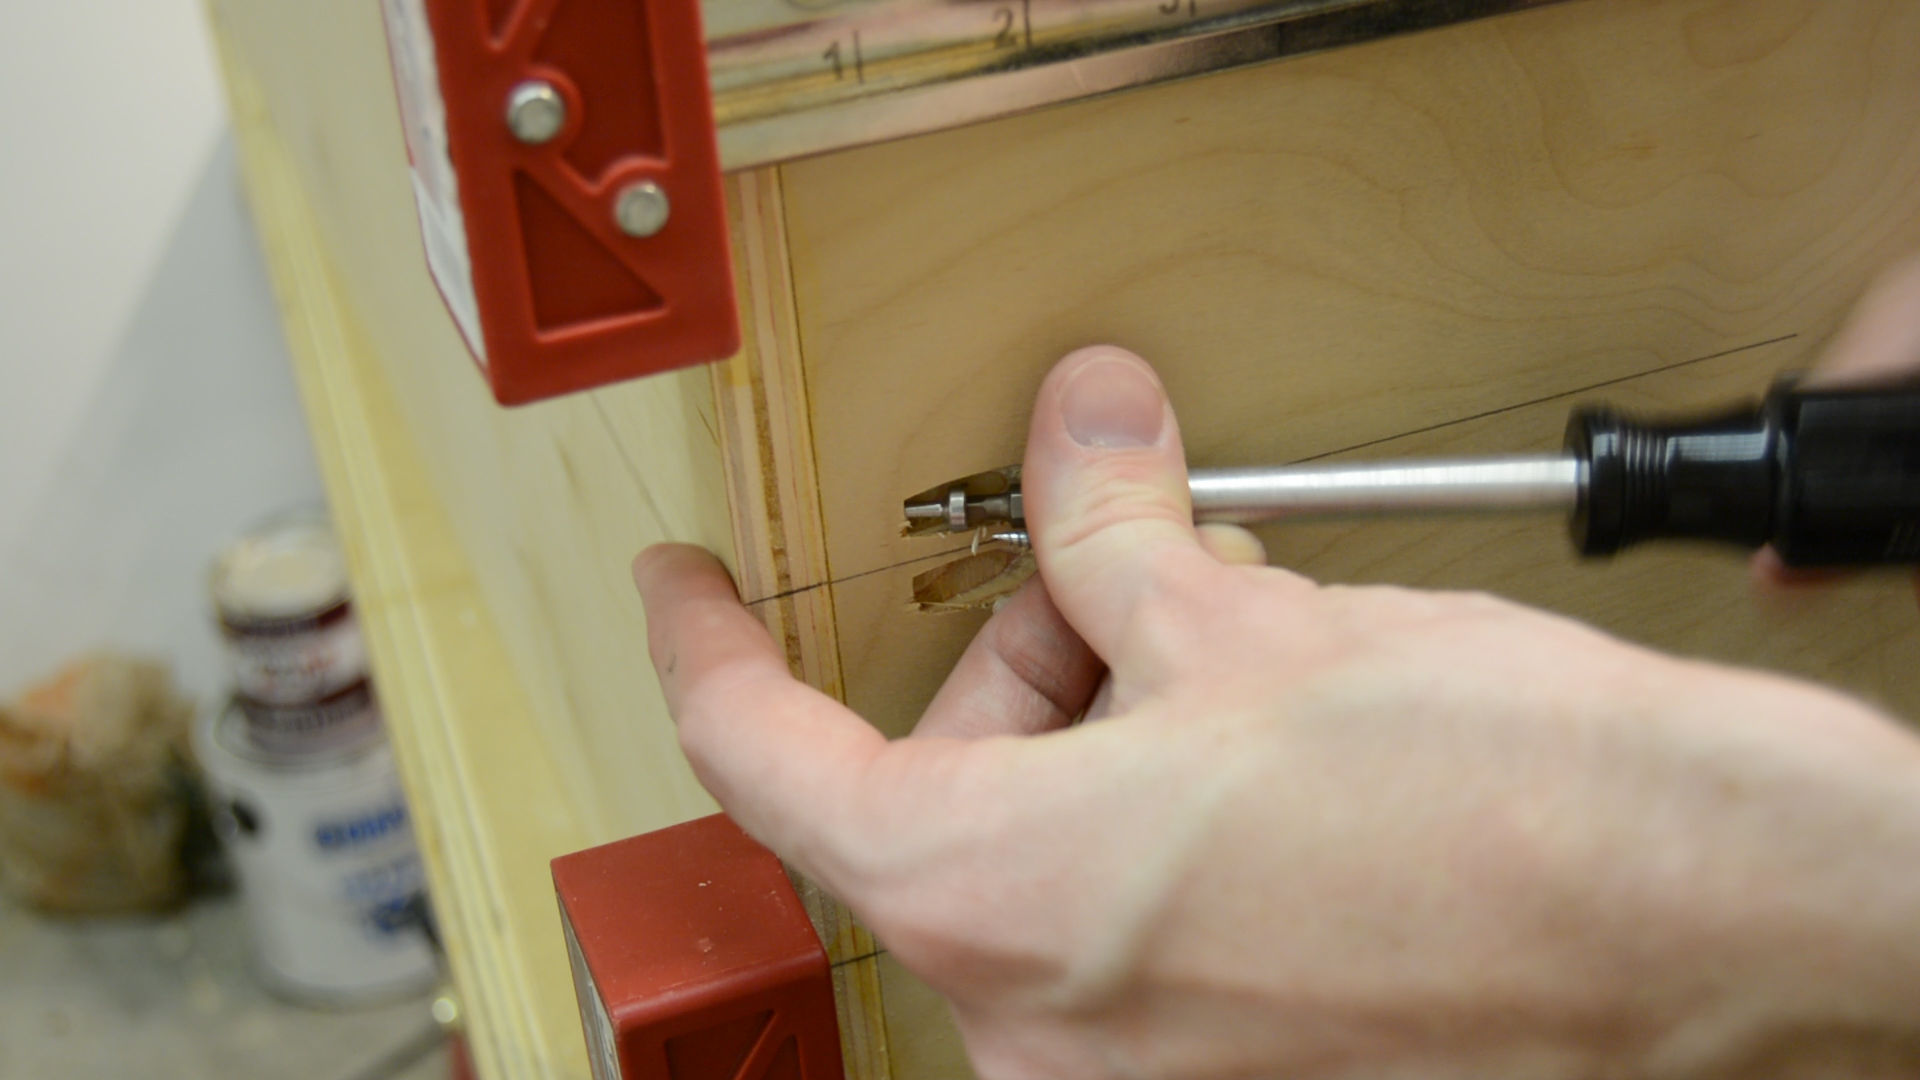
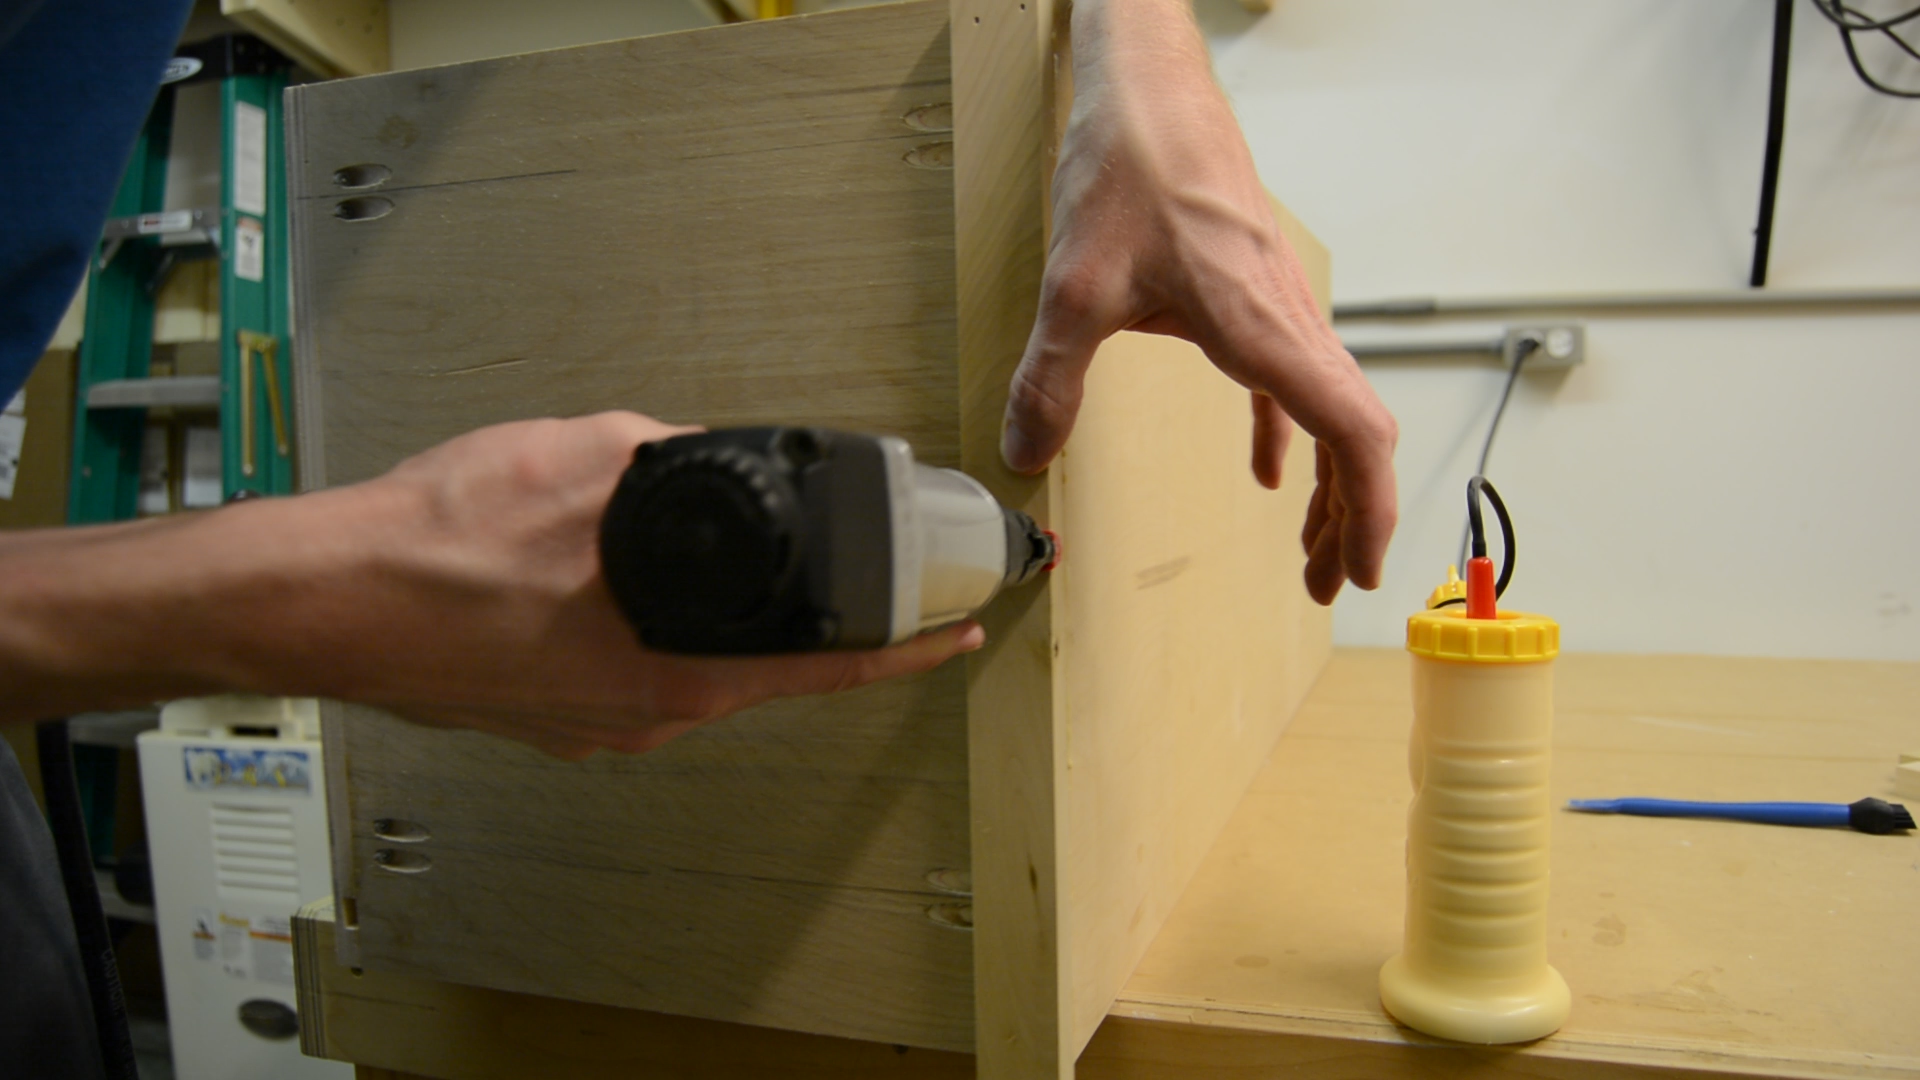
Once the glue set up I went back and added the pocket screws. By doing this it prevents the screws from shifting the panels any. You also notice that I am driving these by hand because I am using thin plywood, I wanted to prevent the screws from blowing through the other side.
Once the box is fully assembled I began milling all the poplar face frame material.
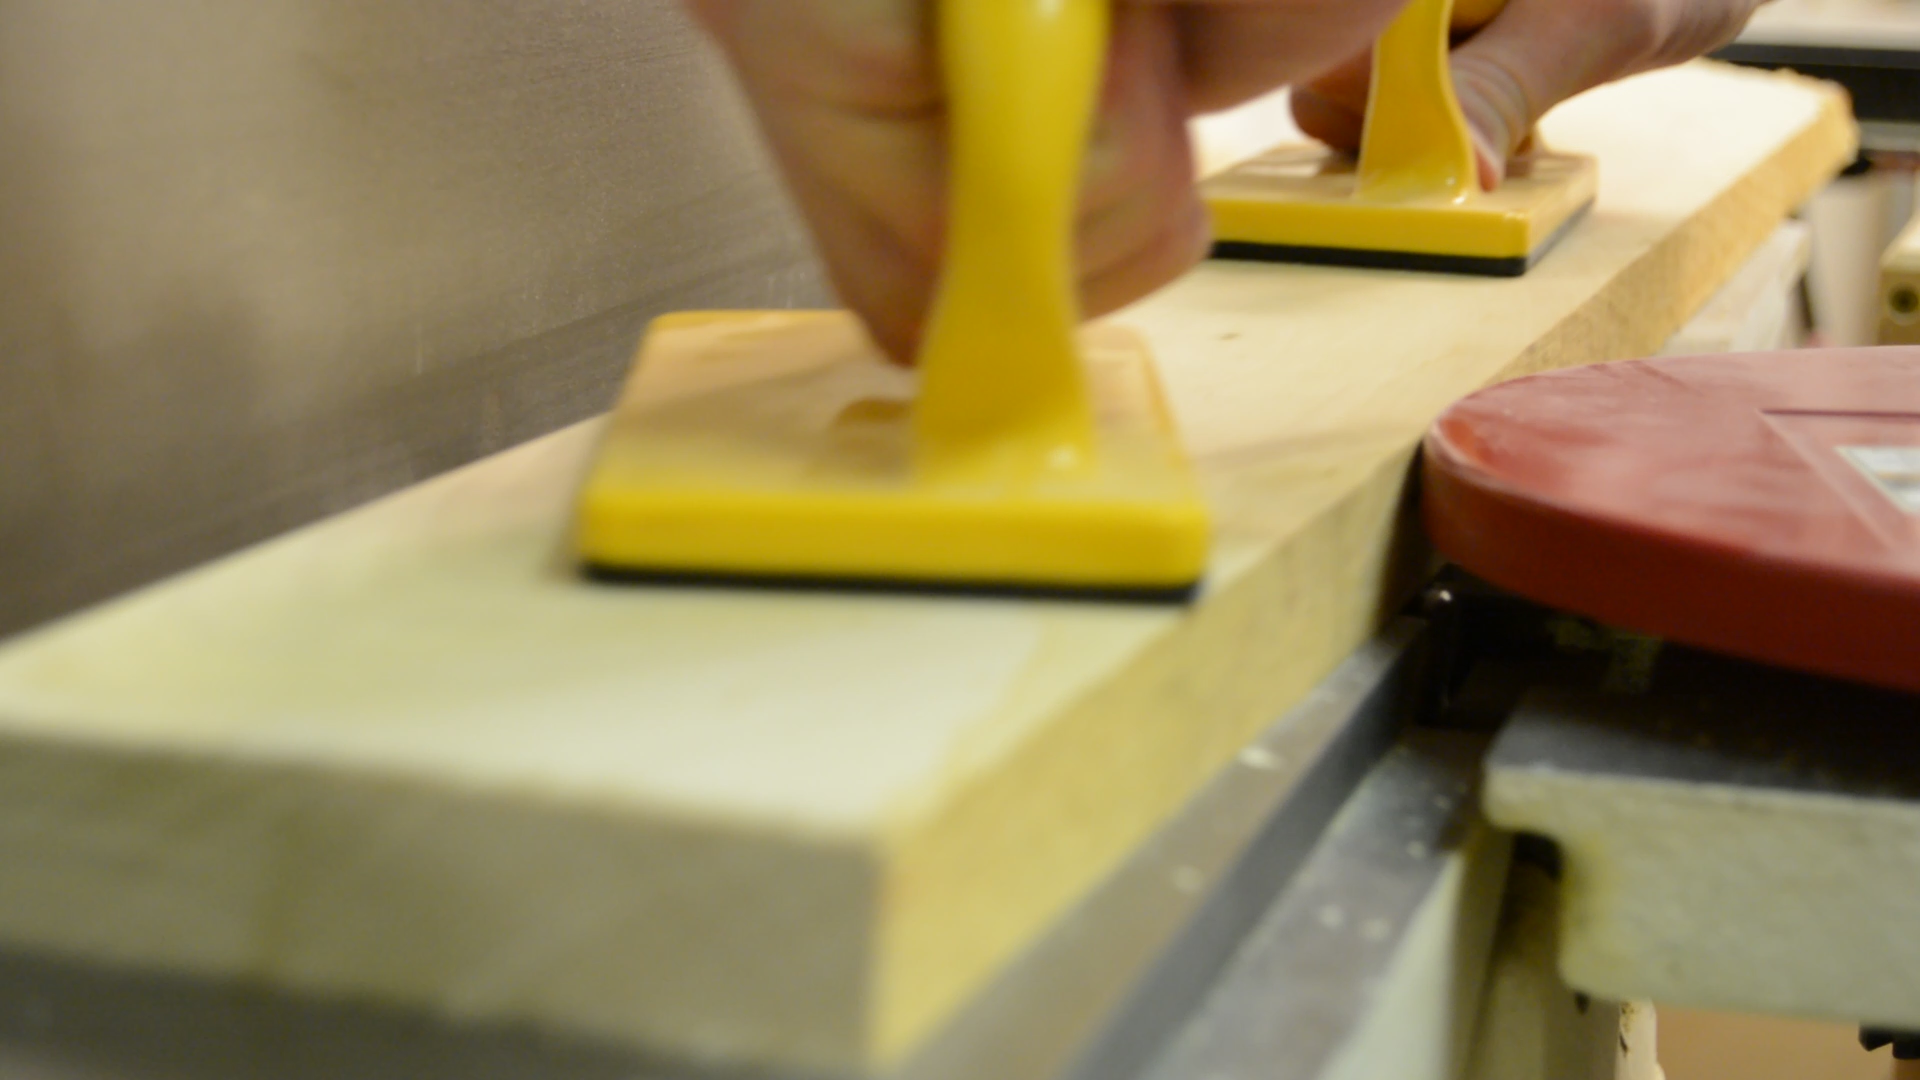
I run one face and one edge over the jointer on each board.
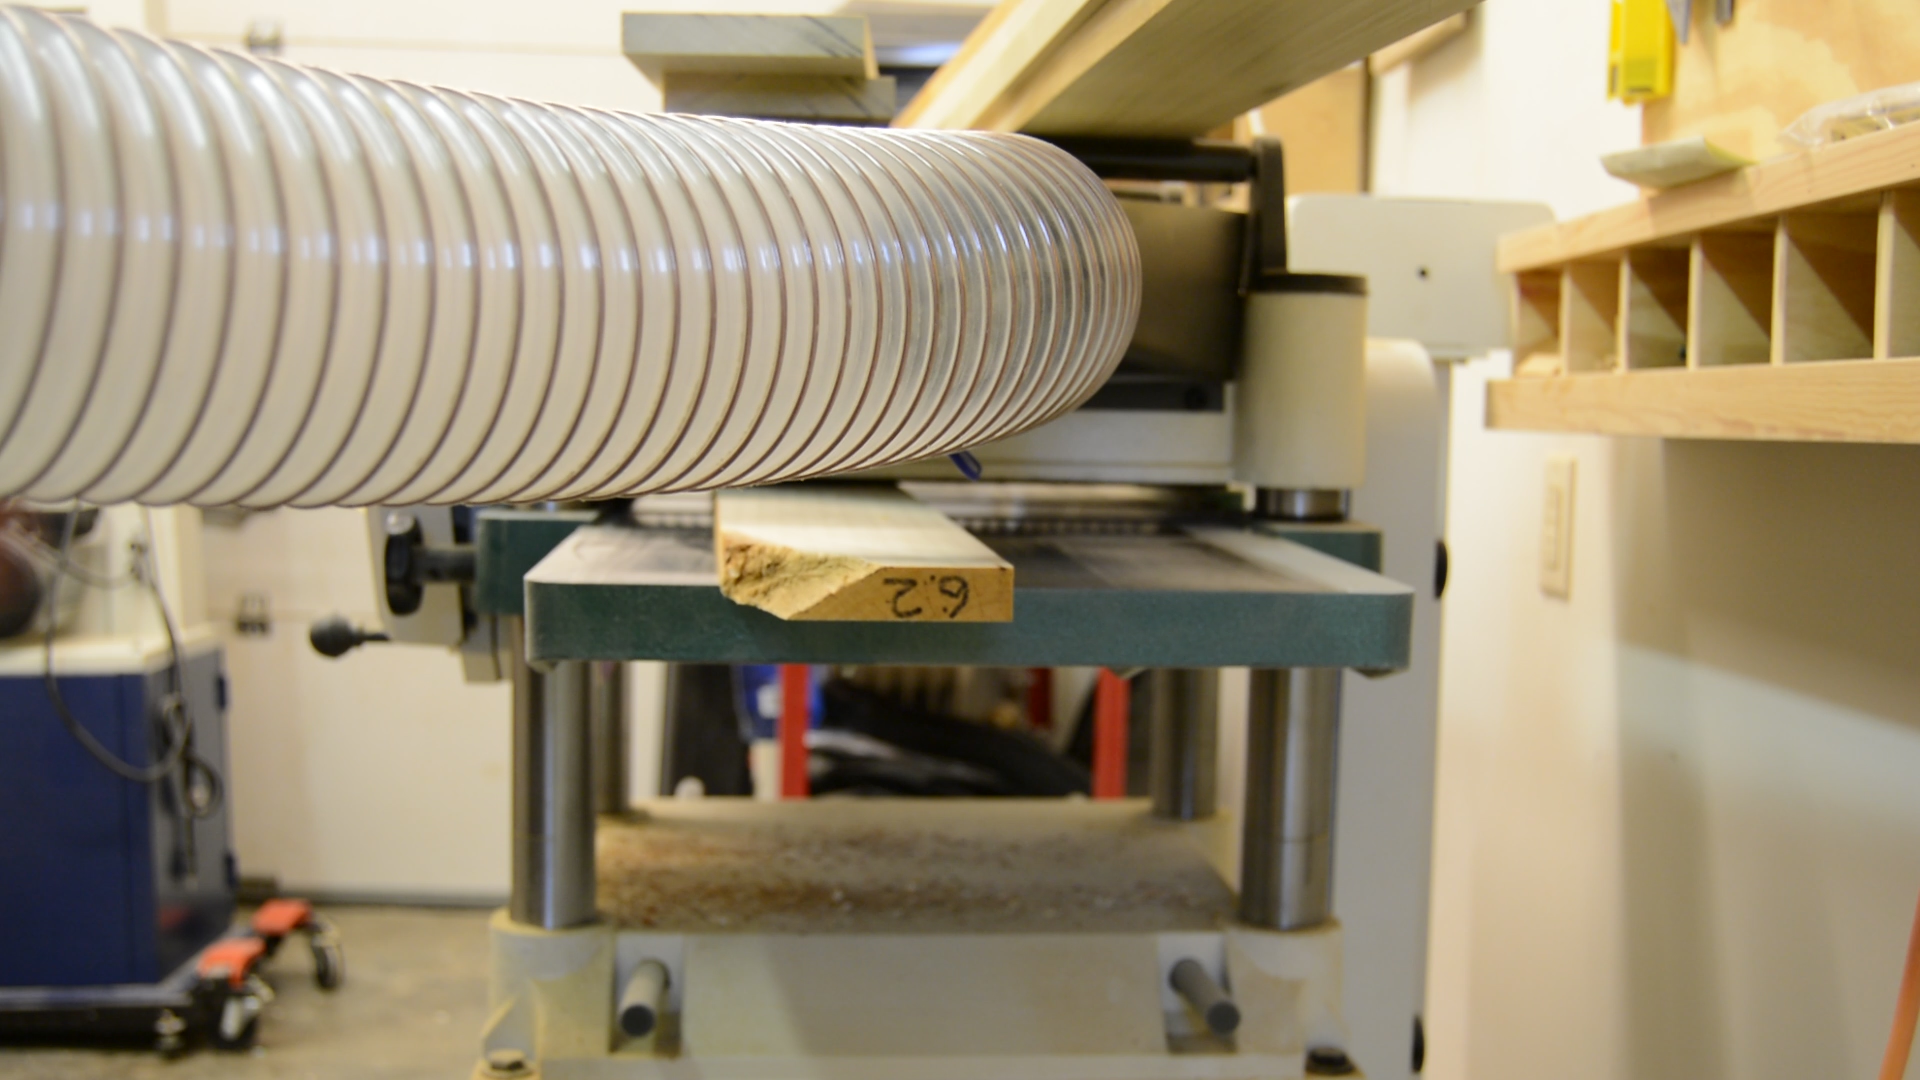
I can then run all the parts through the planer, referencing off one flat face to get everything to the same thickness.
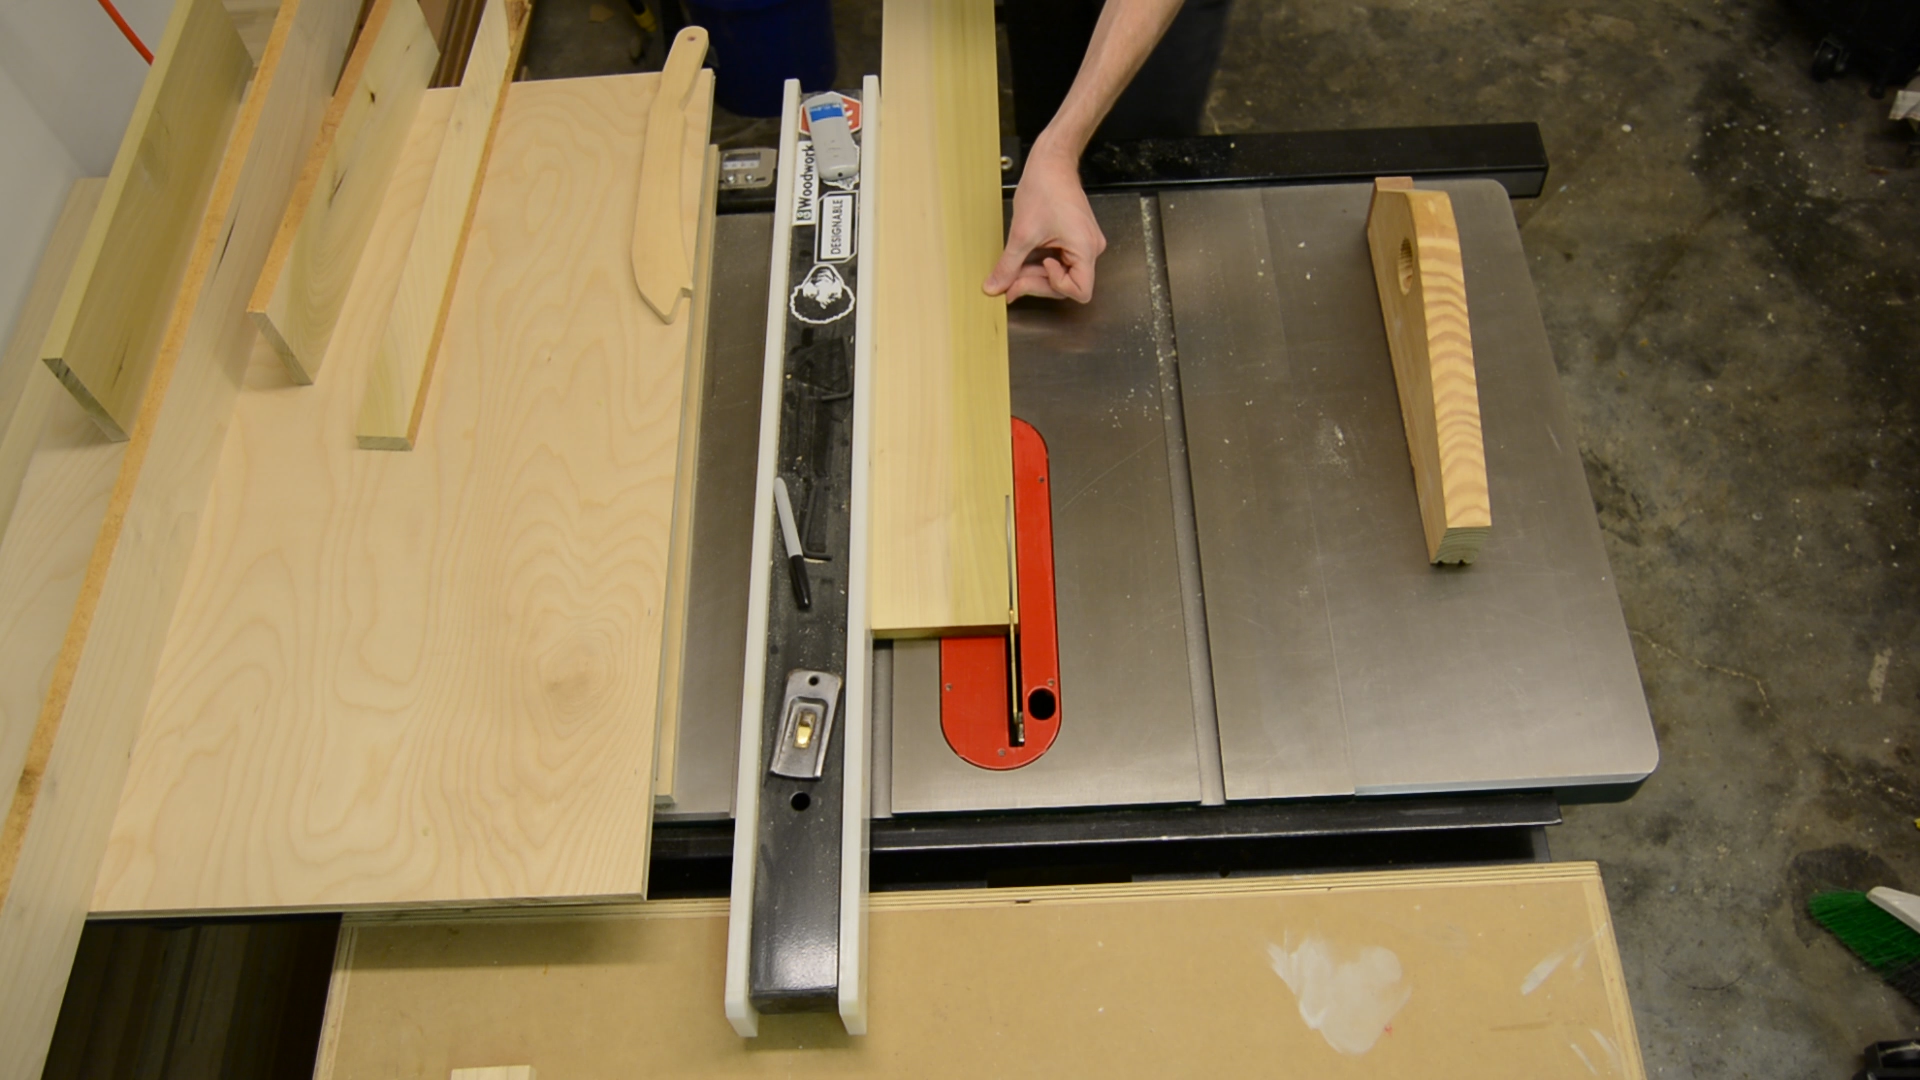
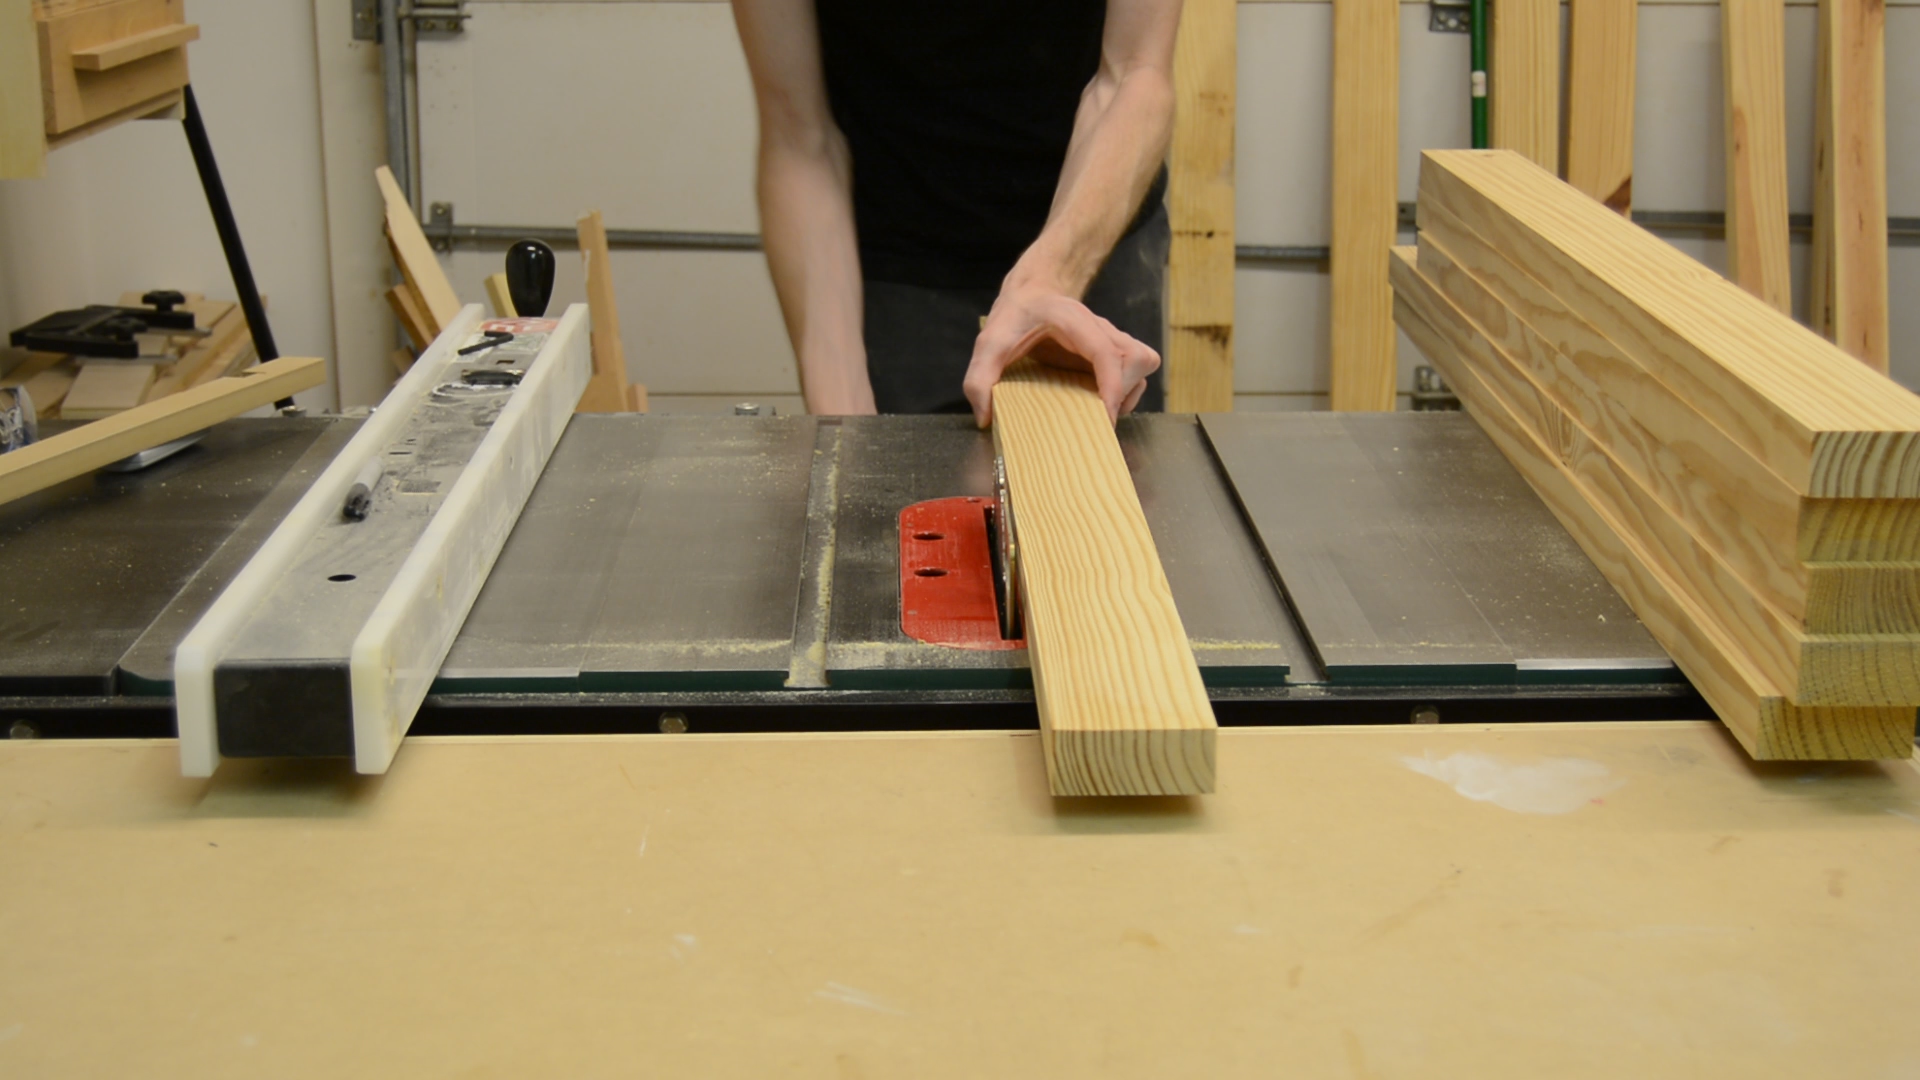
Now that I have 3 perfectly square edges I can run all the boards through the table saw, to rip all the parts down to their final width.
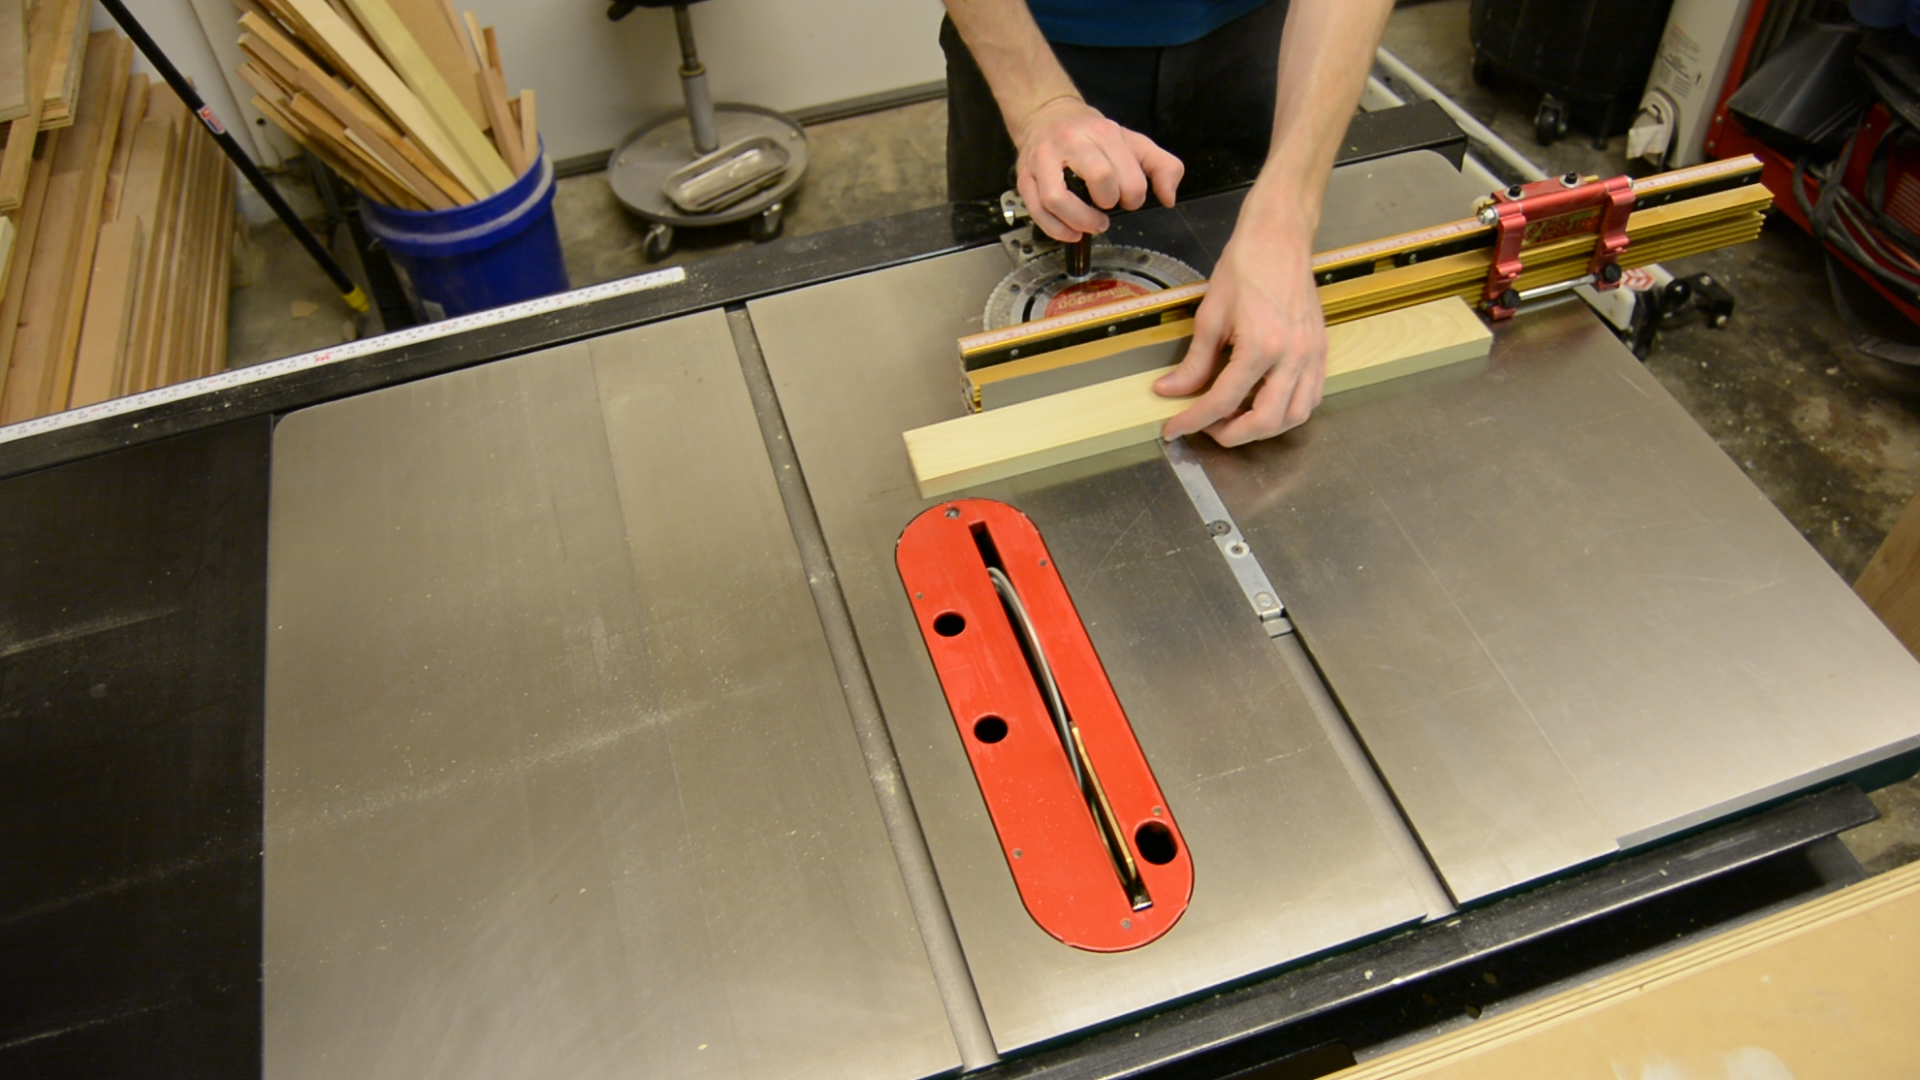
I start the assembly of the box by cutting the 8 corner stiles to their final length.
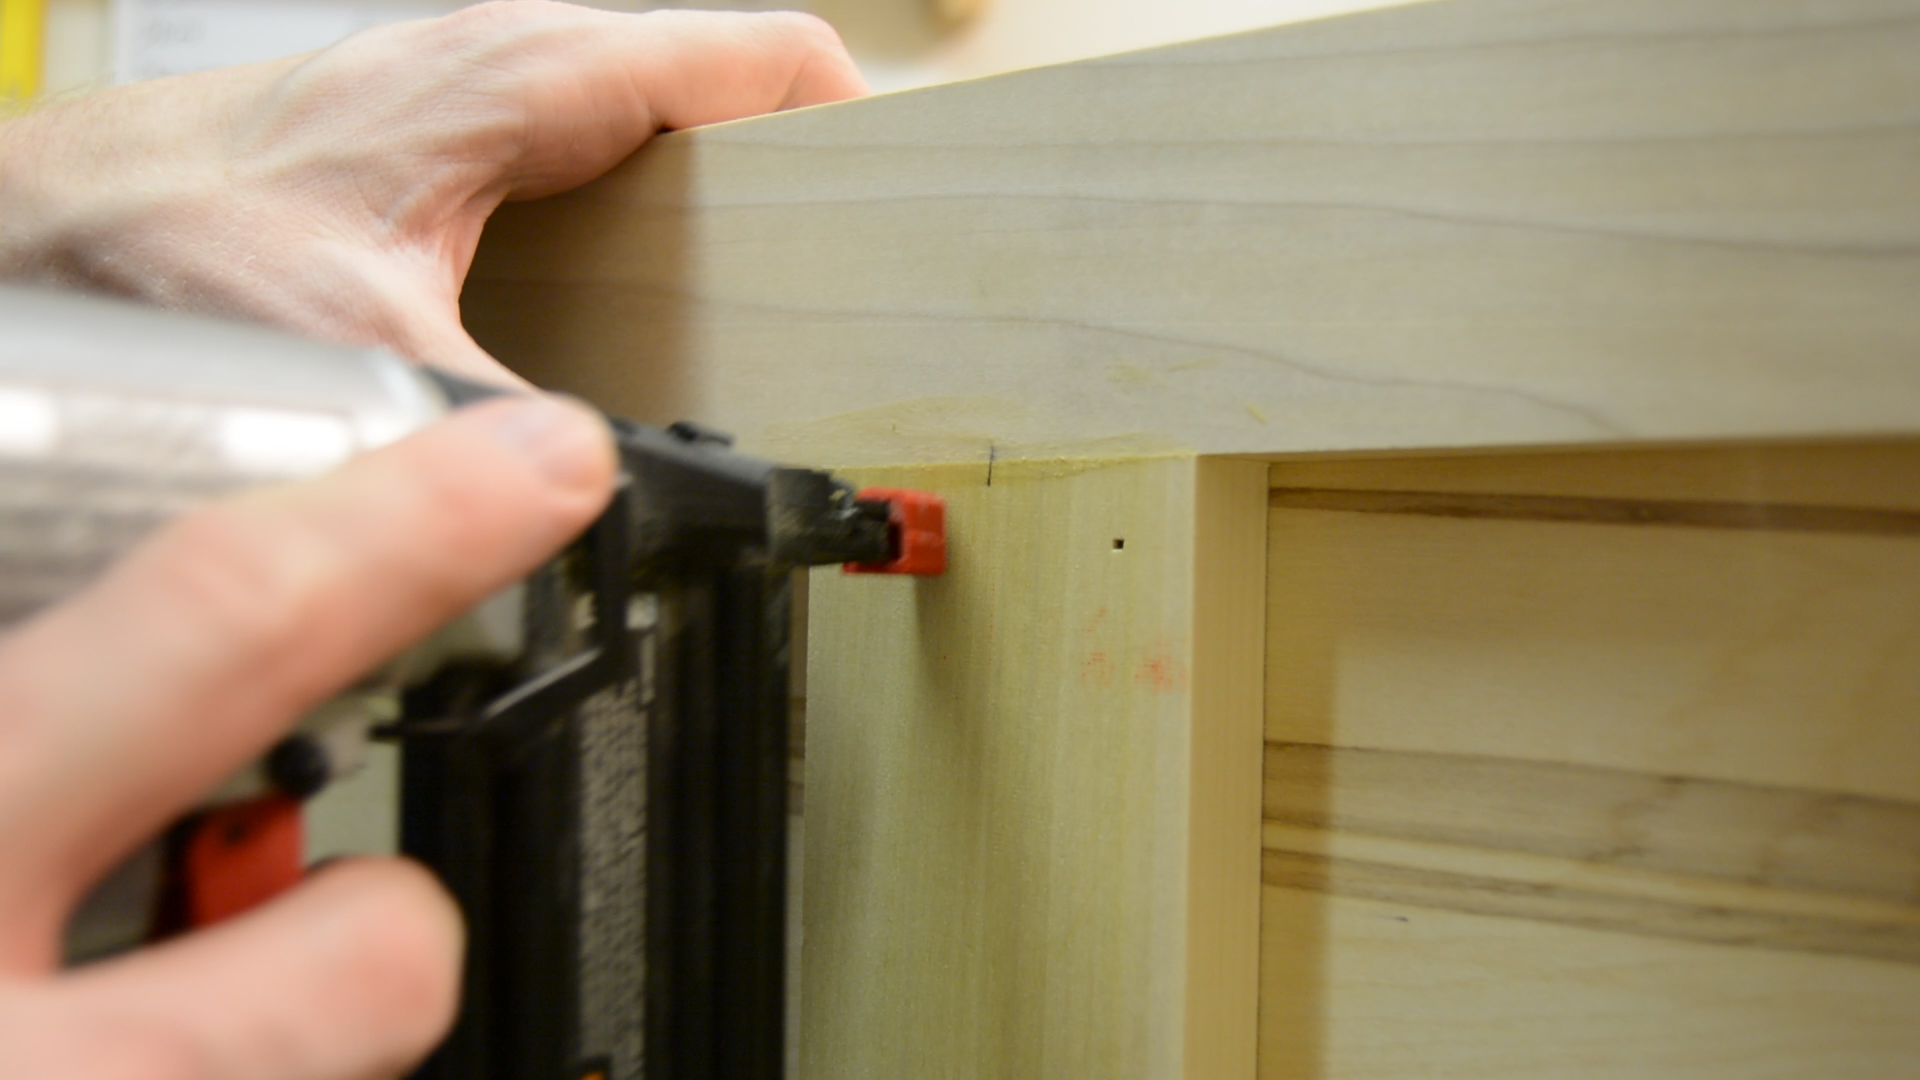
I glue and nail the stiles on with 1″ brad nails.Because the front and back corner stiles overlap the side corner stiles, the stiles on the ends of the box are narrower by the thickness of the parts than the front and back corner stiles. This is so that you are looking at the corner of the box, all the stiles appear to have the same thickness.
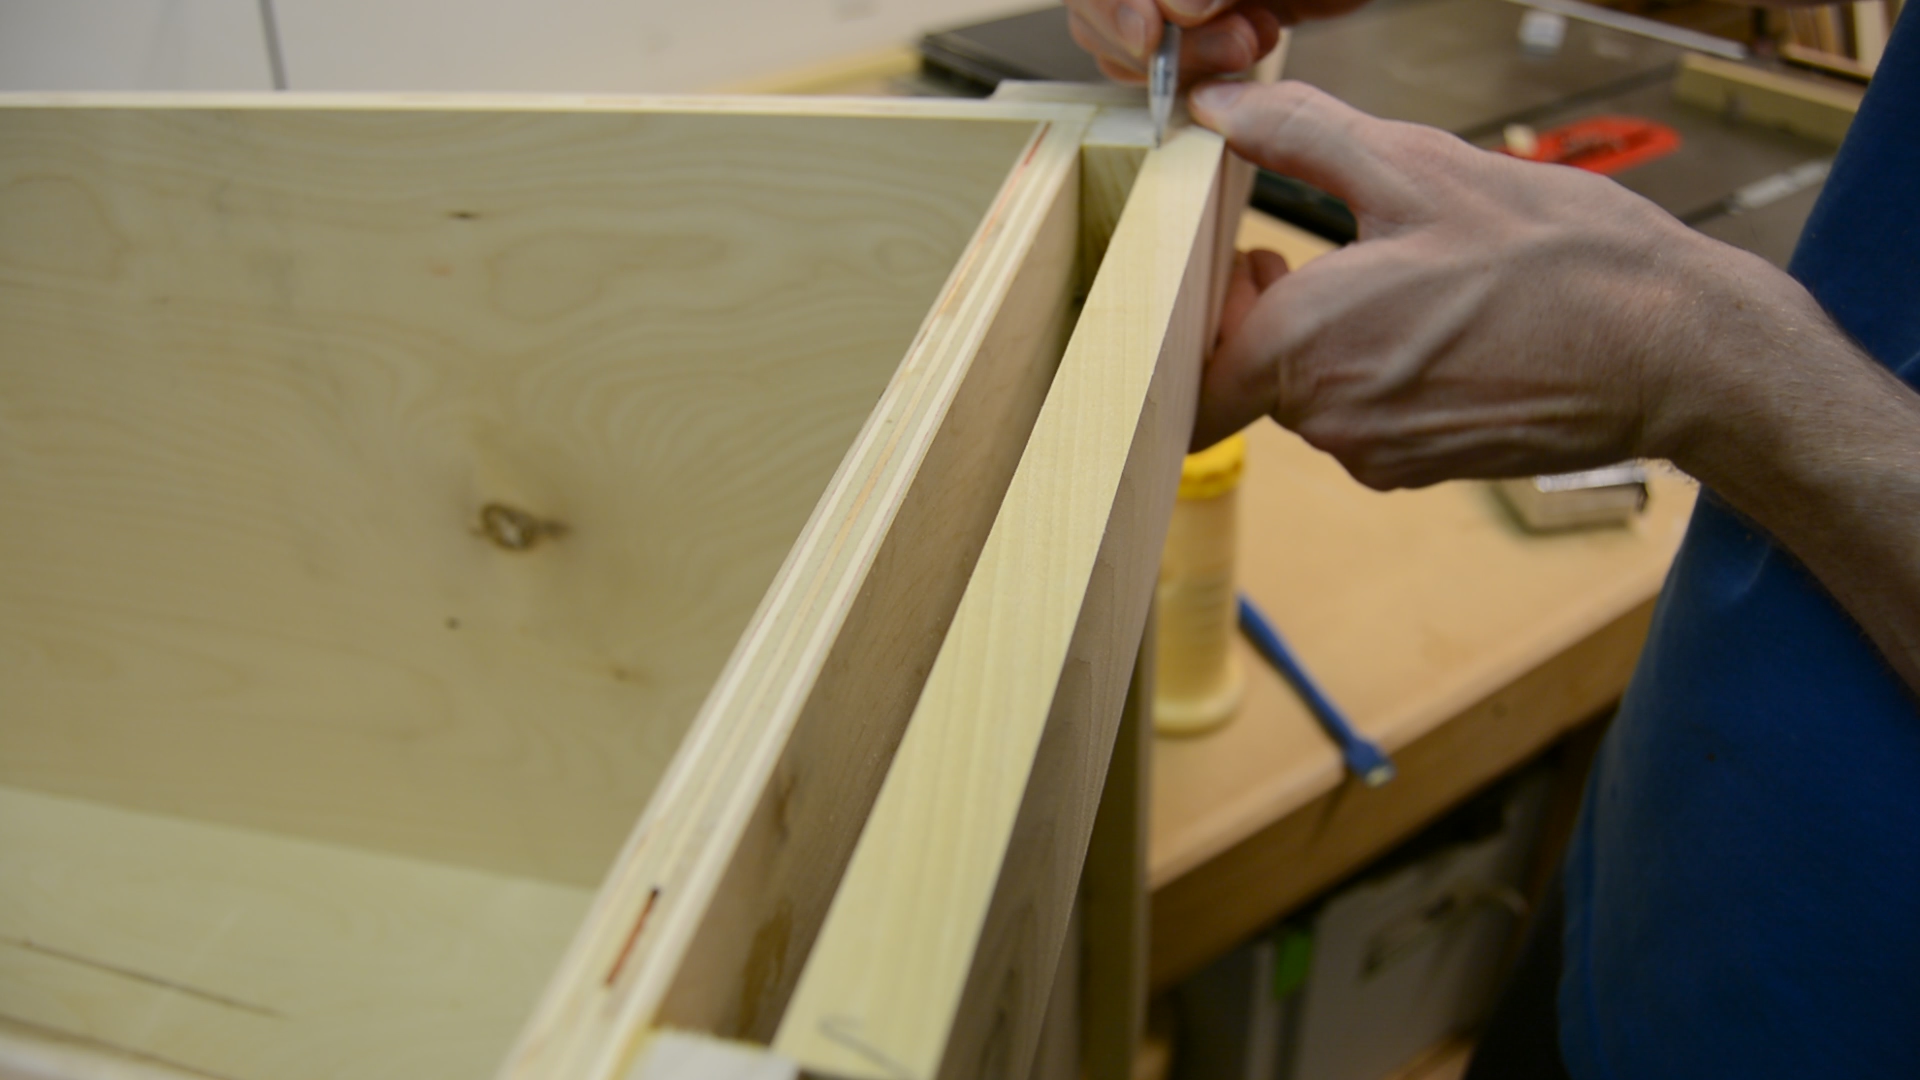
Once those parts were glued into place, I took the measurement of the lengths for all of the rails. By waiting to this point to cut the rails to length instead of cutting them all, in the beginning, it ensures that you get an exact fit between the stiles and eliminates the chance for cumulative error.
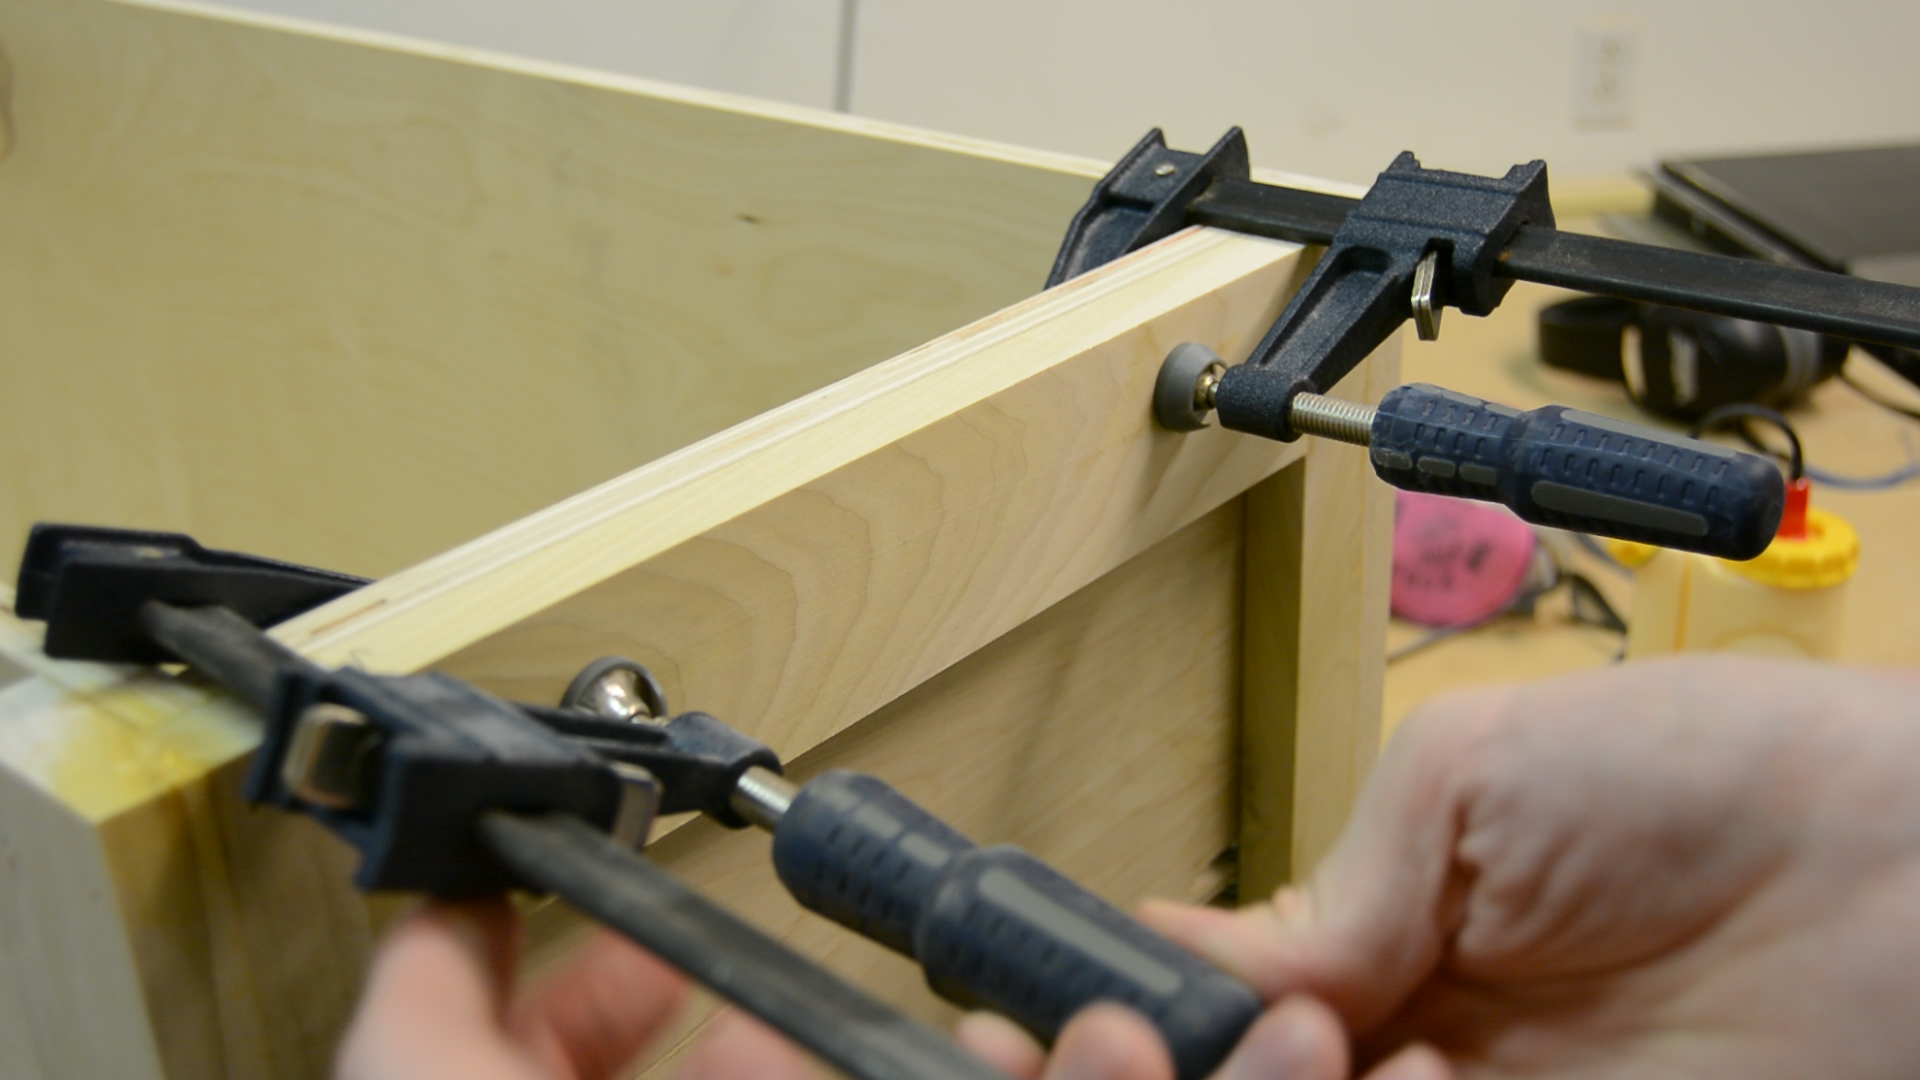
I glued and clamped the rails around the top of the box. This helped bring the box into a square and fixed possible warping and helped to square up the box. Because the bottom of the box is kept firm and square by the bottom itself being glued into place already, it isn’t necessary to glue and clamp the bottom. For the bottom, I simply glued and nailed them into place.
I installed one center divider on the front and back of the box centered in the middle of the top and bottom rails. This gave me the frame and paneled look that I was going for.
At this point, it’s time to start adding all of the trim. This is one of the most fun parts of the project because you can be as creative as you want to when it comes to picking the type of trim you want to use. Depending on the type of trim you choose, you can completely change the look of the box to fit your vision.
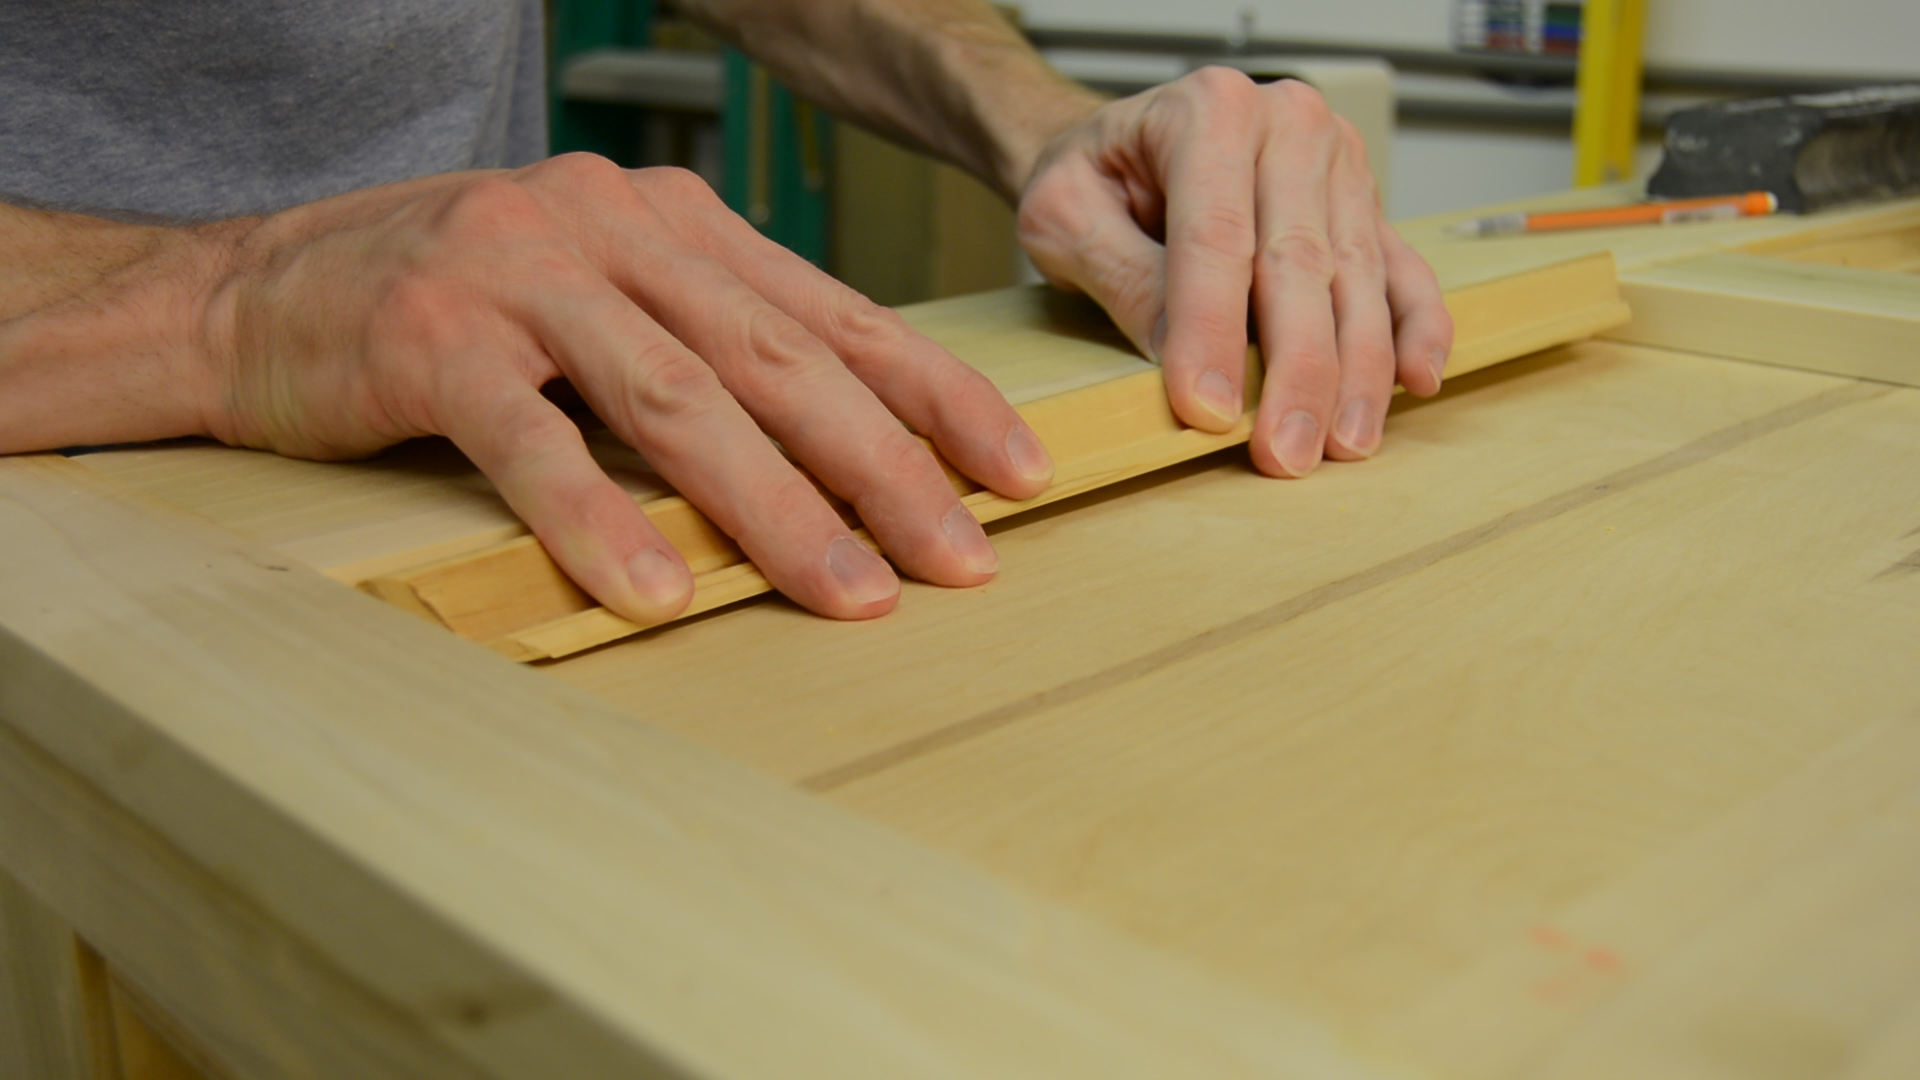
I cut all the trim pieces at the same time, numbering them as I go. By referencing off each individual opening and using a sacrificial fence on the miter saw, I sneak up on each cut for a perfect fence.
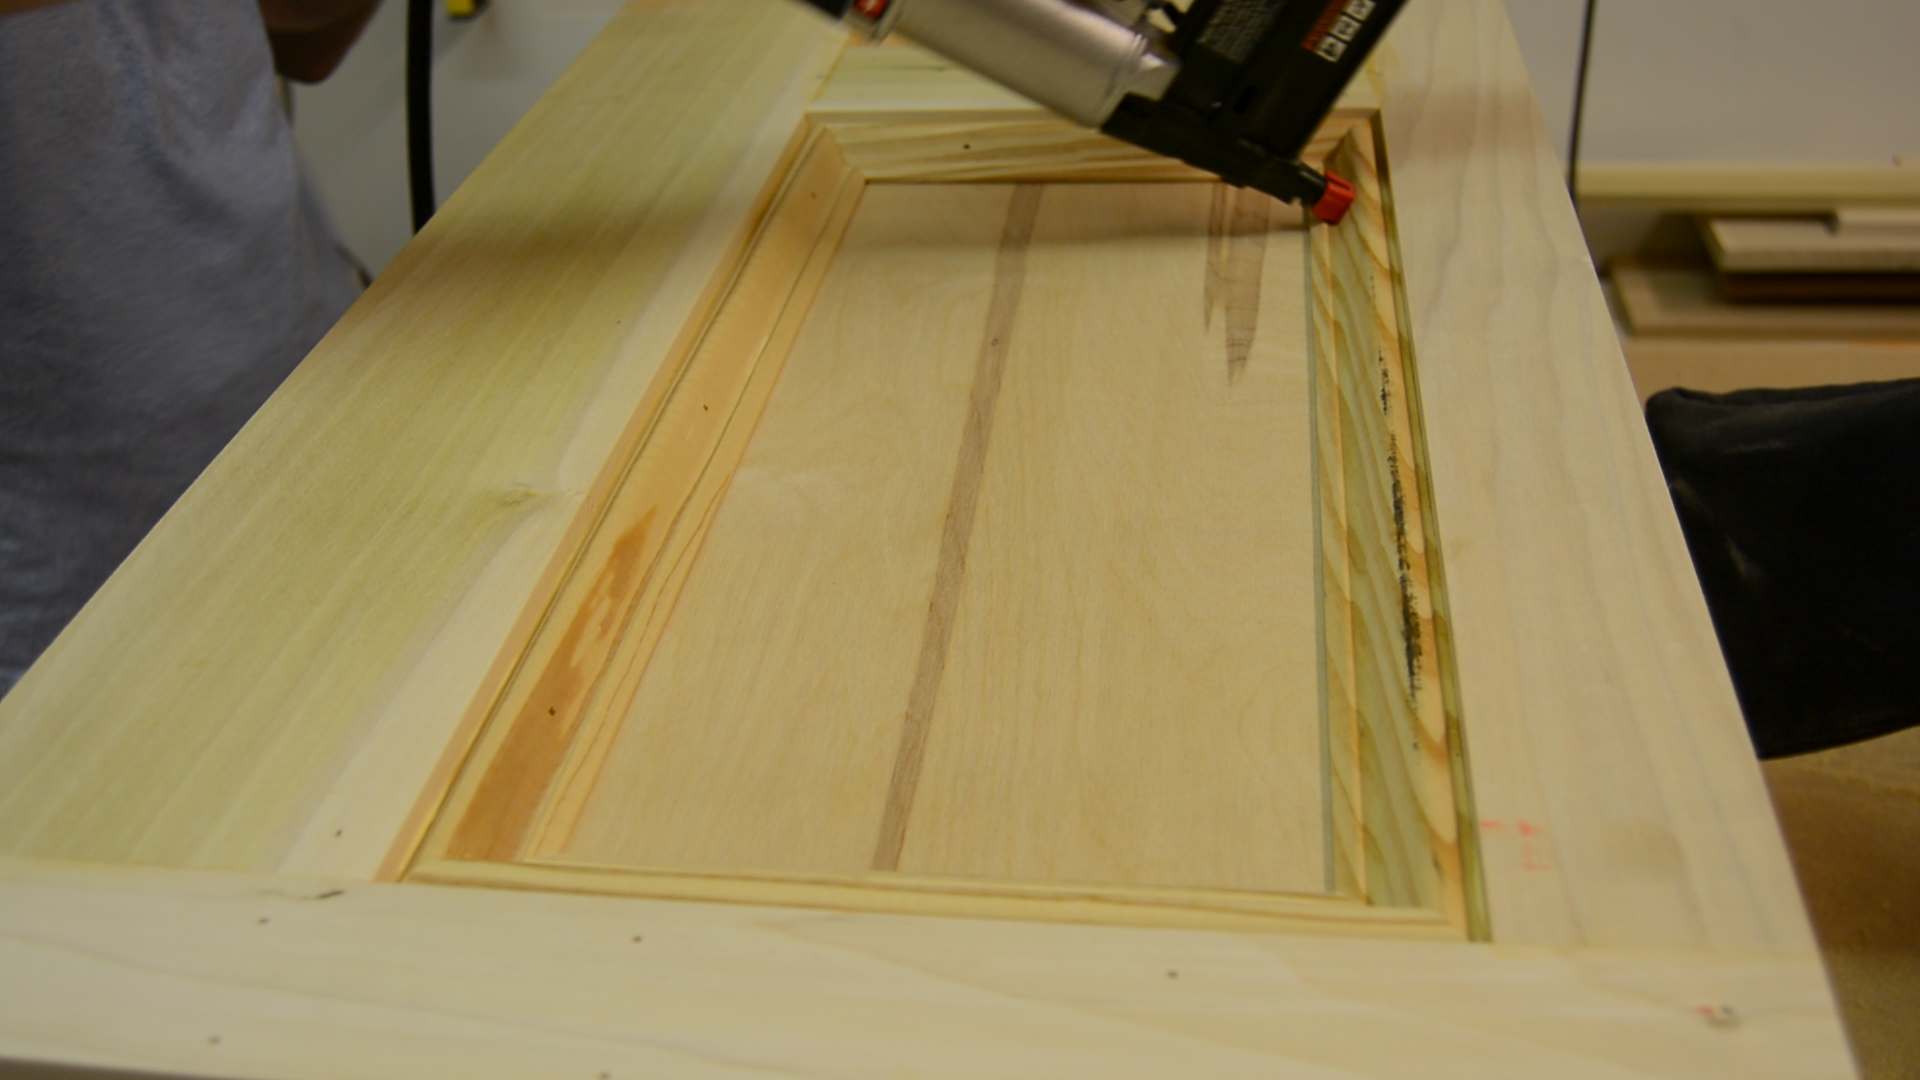
Once all the trim was cut, I glued and brad nailed them into position.
One thing I decided to add last minute was the baseboard trim at the bottom. This trim matched the same look of the base cap molding that I used on the rest of the box and really enhanced the overall look of the box in my opinion. I mitered this trim to fit around the bottom of the box, using glue and brad nails to attach it.
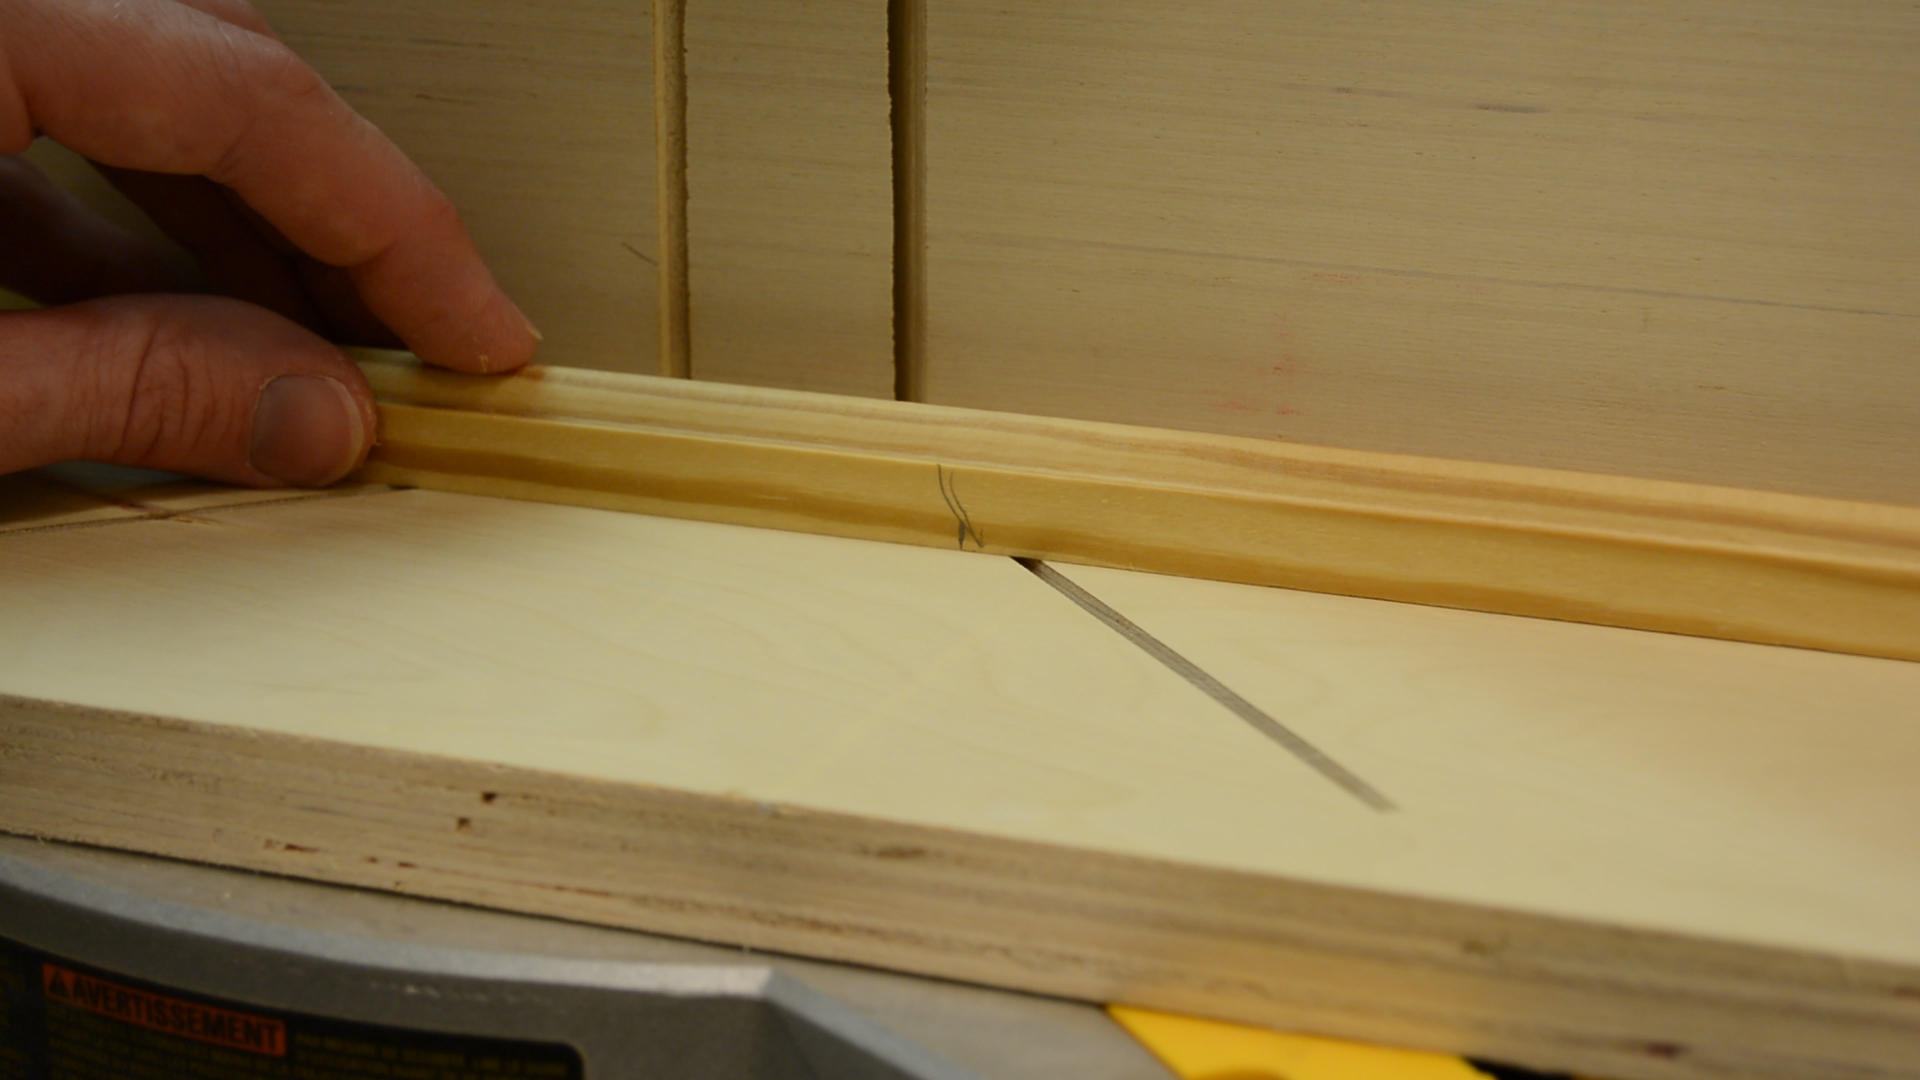
To cap off the top of the box and cover up where the exposed plywood and the top rails and stiles meet I made a thin piece of trim. I started by re-sawing a previously squared up piece down at the bandsaw to eliminate waste. I then ran it through the planer to smooth out the cut and get it down to the thickness I wanted.
I then mitered it to fit all the way around the box and glued and brad nailed it into place.
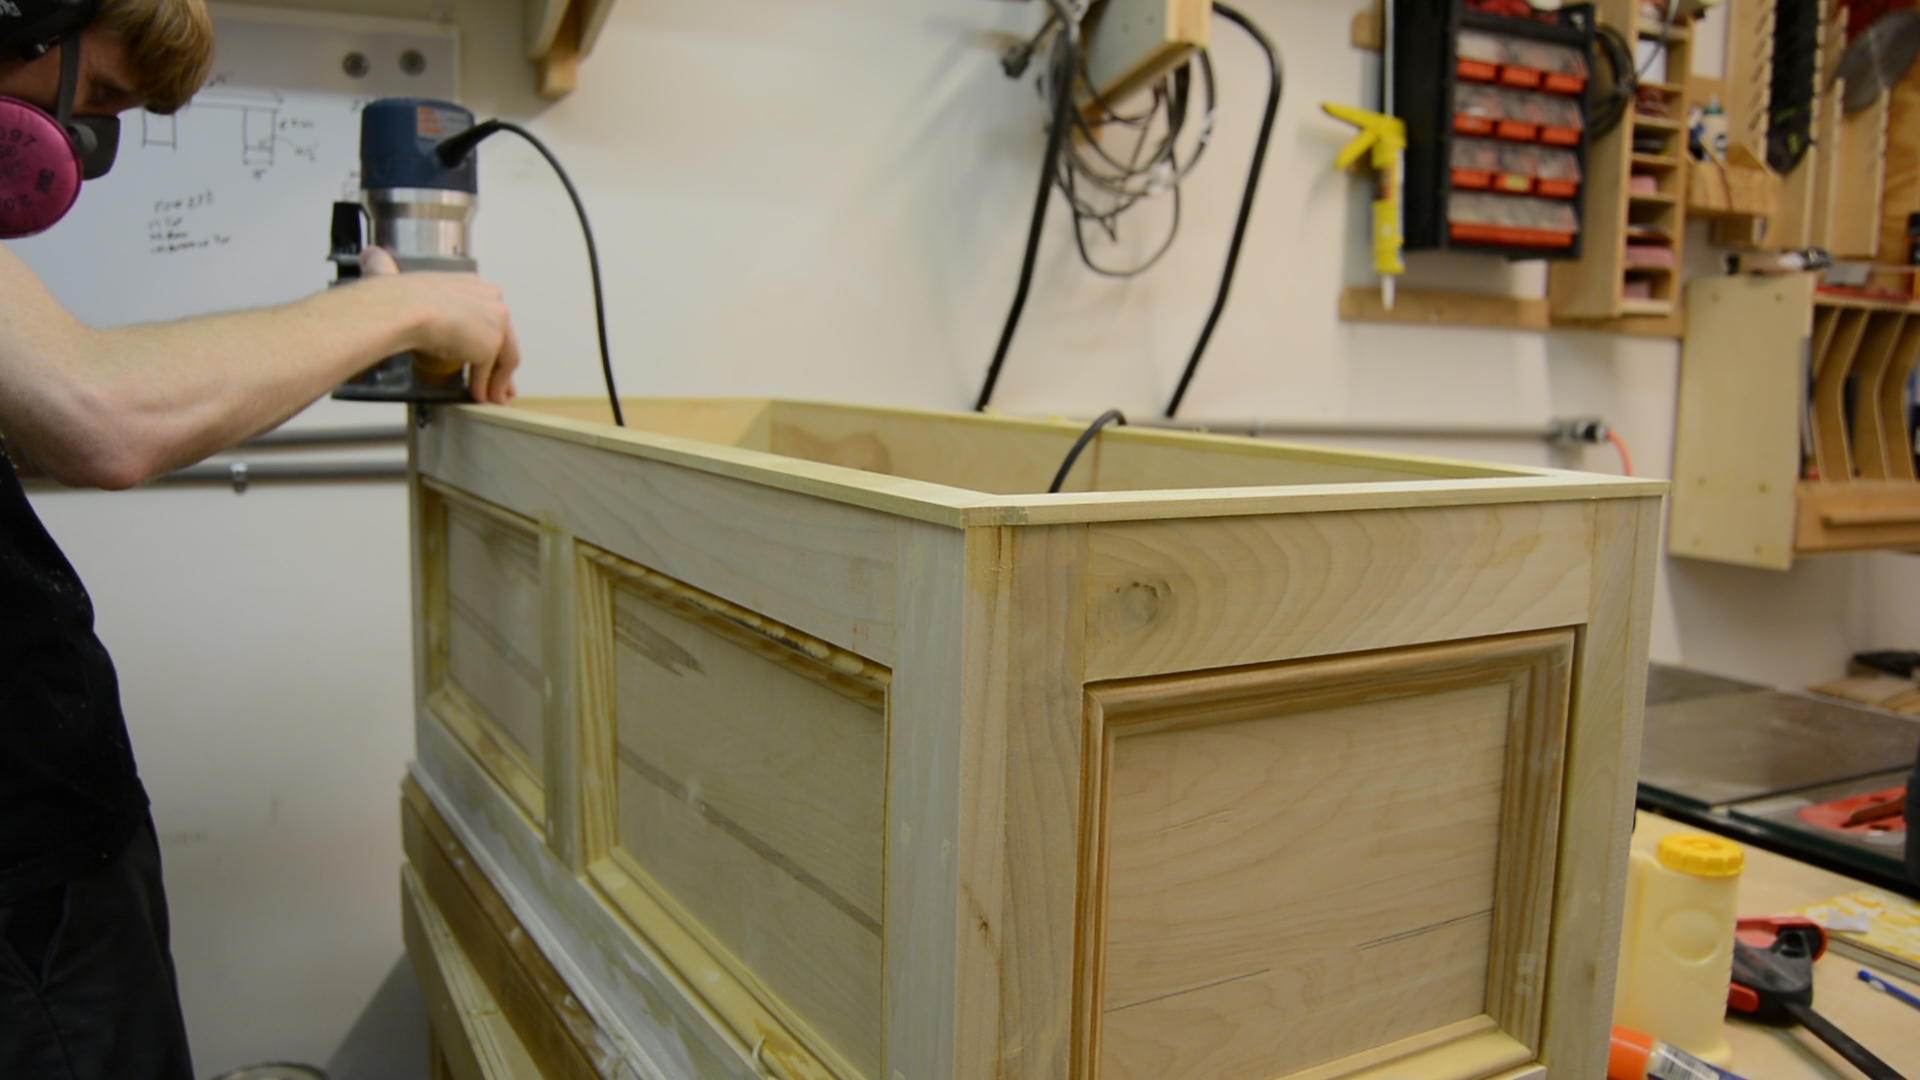
You can see here that I cut it slightly oversized width wise so that I could go back with my router and a flush trim bit to get it perfectly flush with the outside of the box.
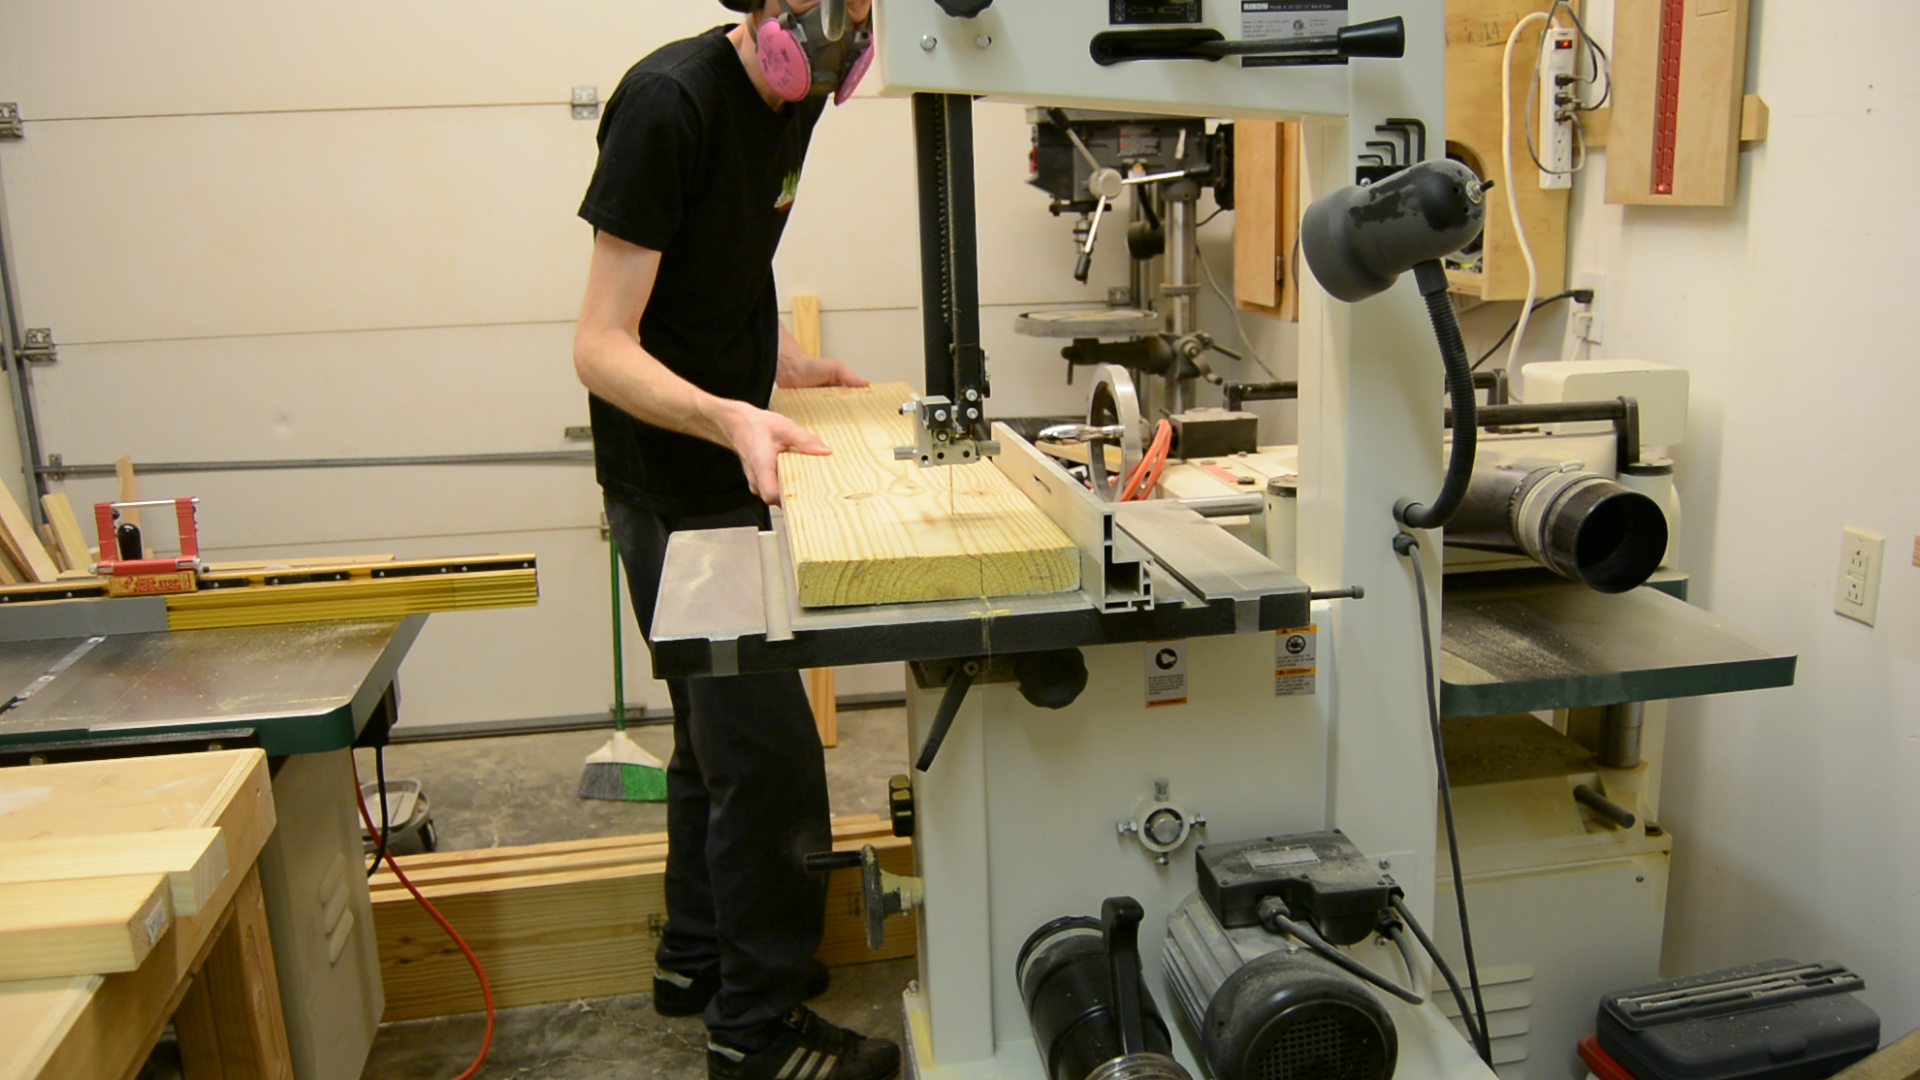
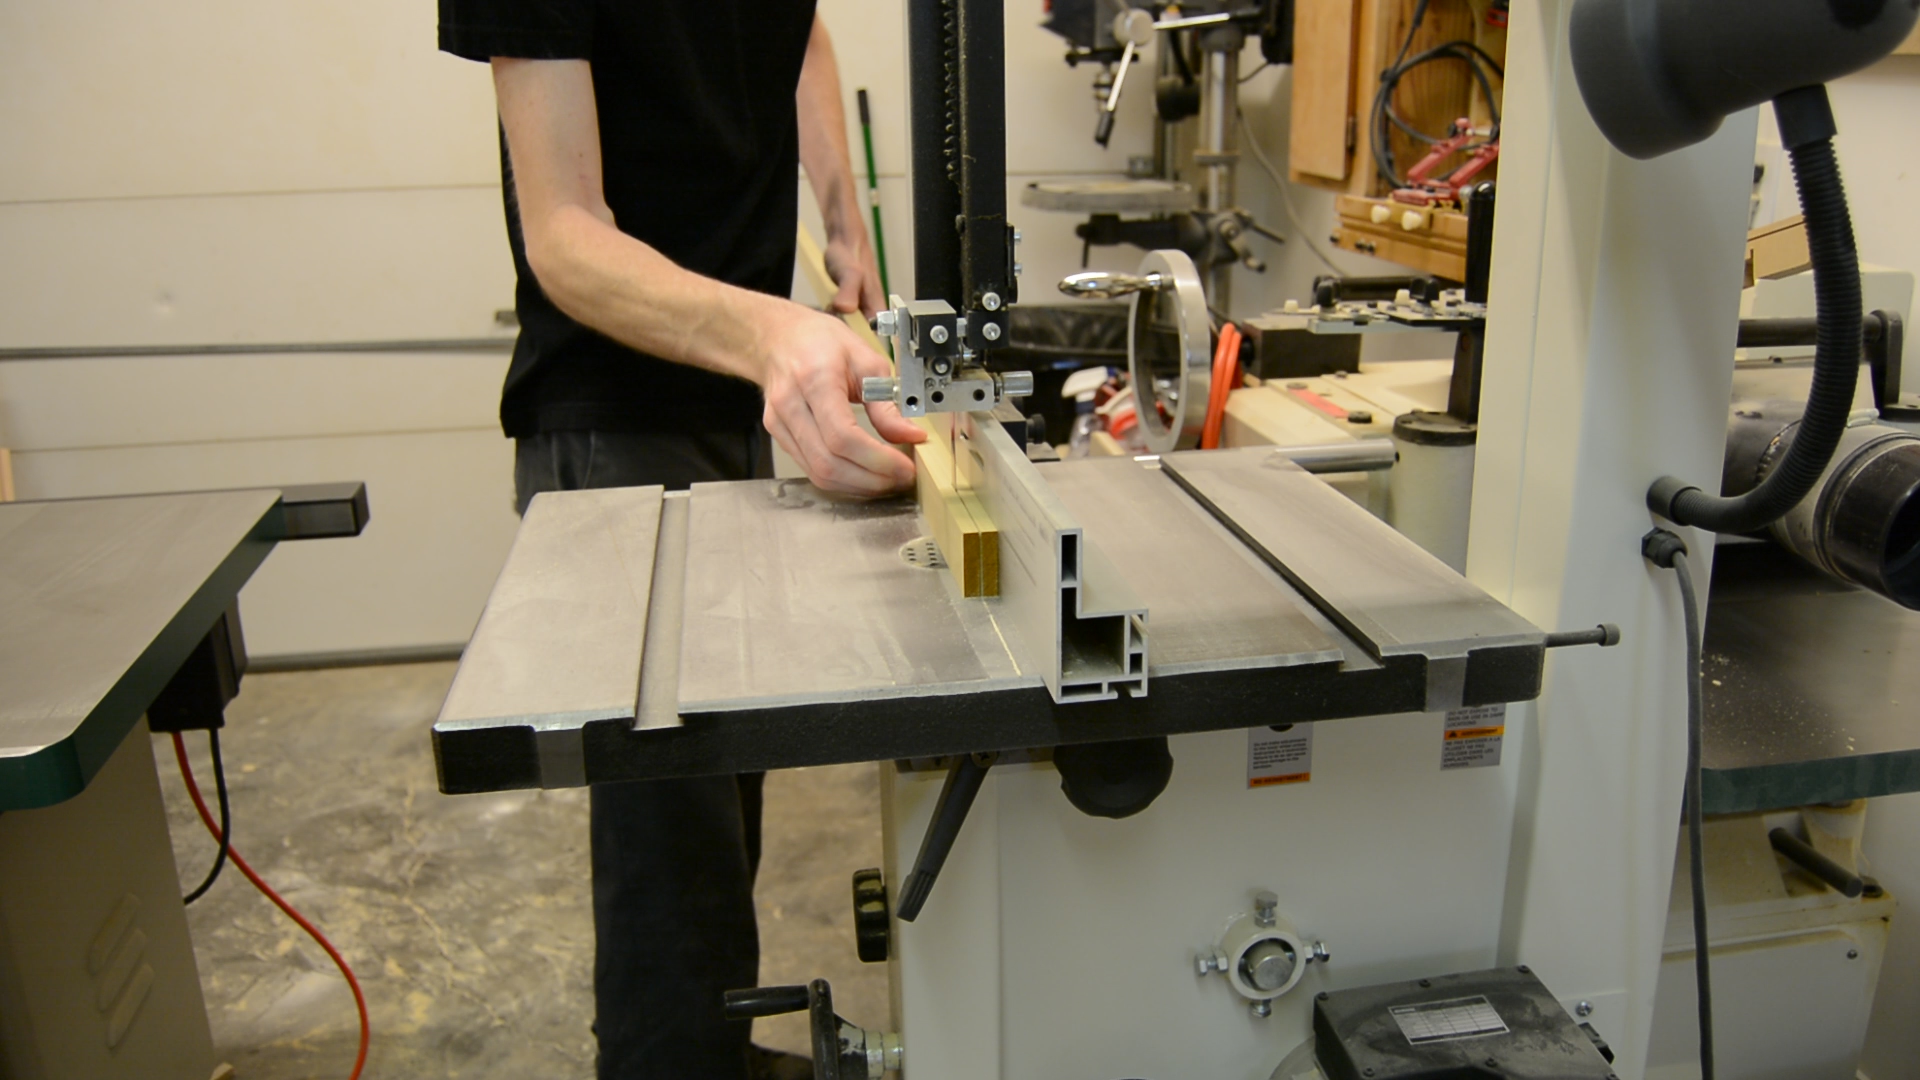
For the solid wood top, I decided to use some pine 2X10 material that I had in the shop. By taking them over to the bandsaw and cutting the center out of each one of them I could get as much straight grain material out of each one of them as possible while still giving me enough width to get a nice panel.
After milling and squaring up all of the material, I sifted through all of the boards and found the clearest, straight grained material for the top.
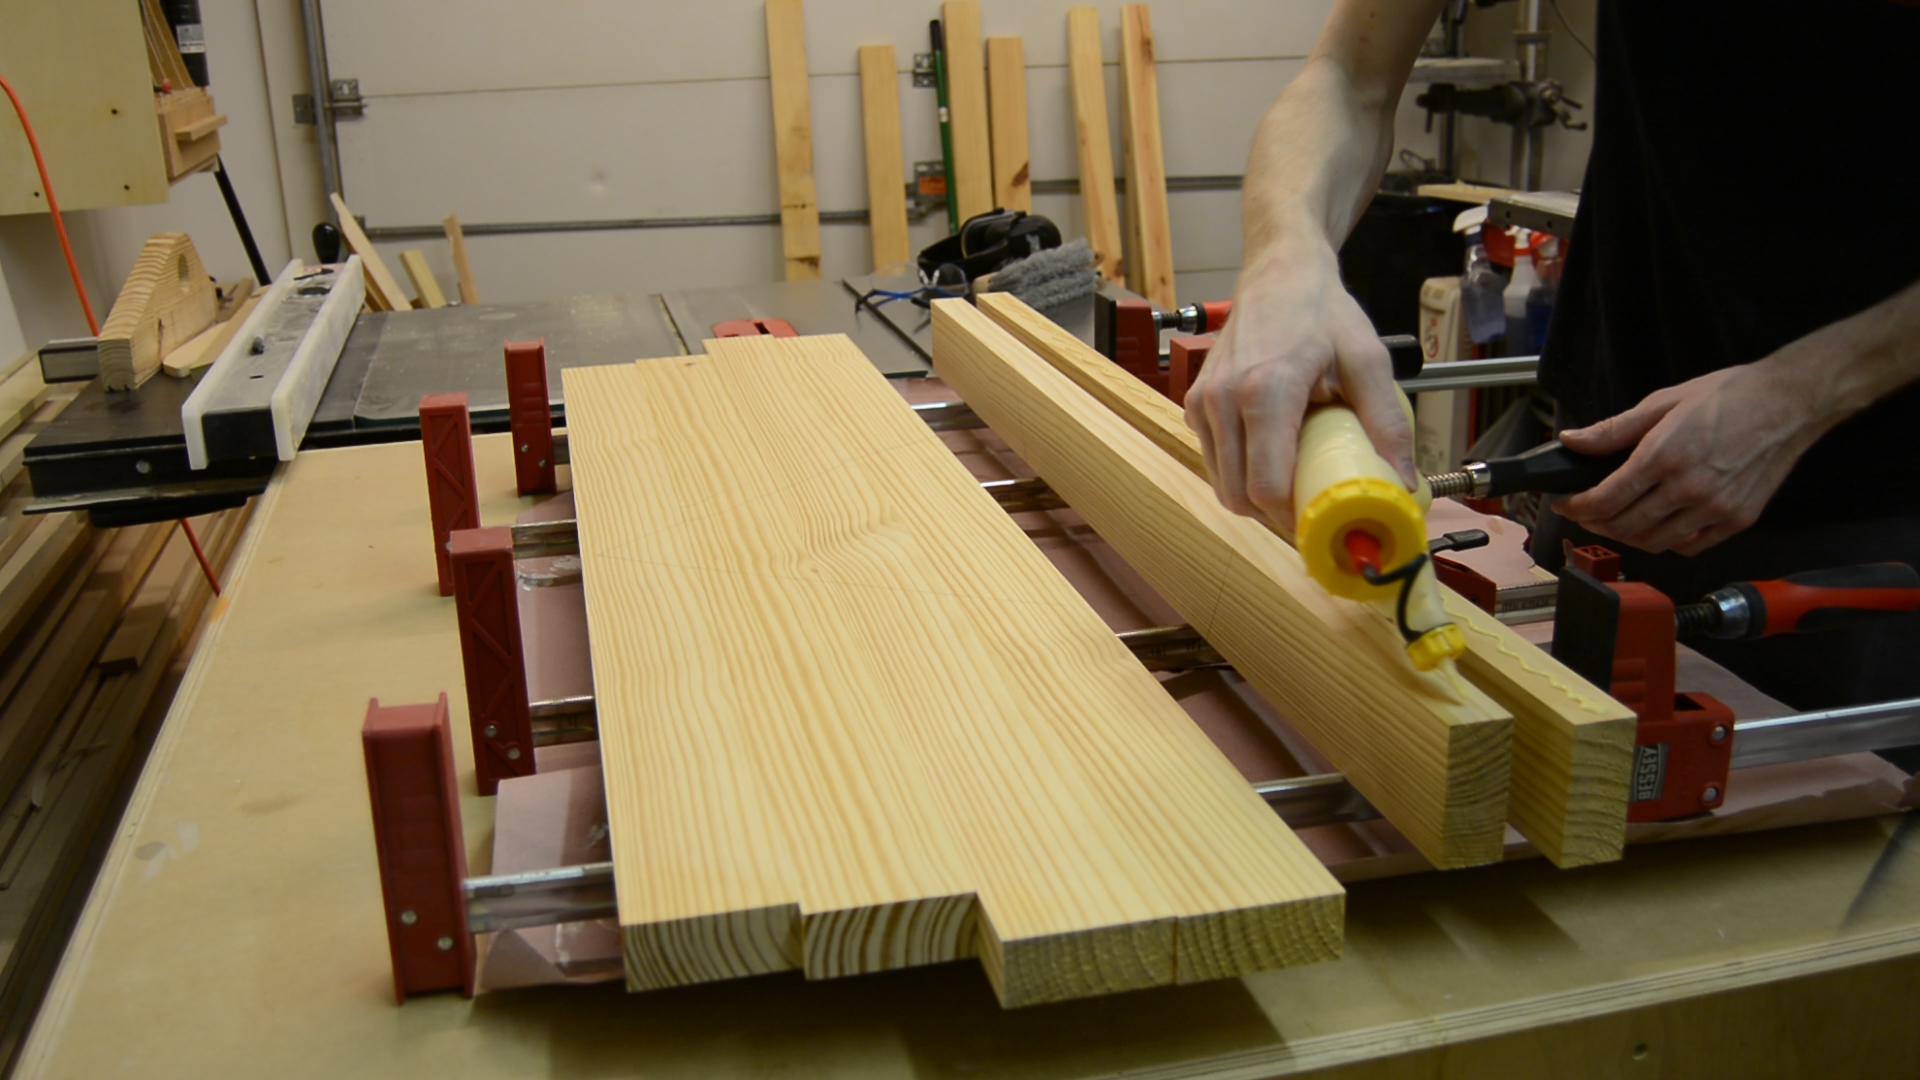
I glued up all the boards at once into one big panel, trying my best to keep all of the boards in line with one another. I wish I had used the biscuit joiner, it really would have really helped to keep the panels in alignment.
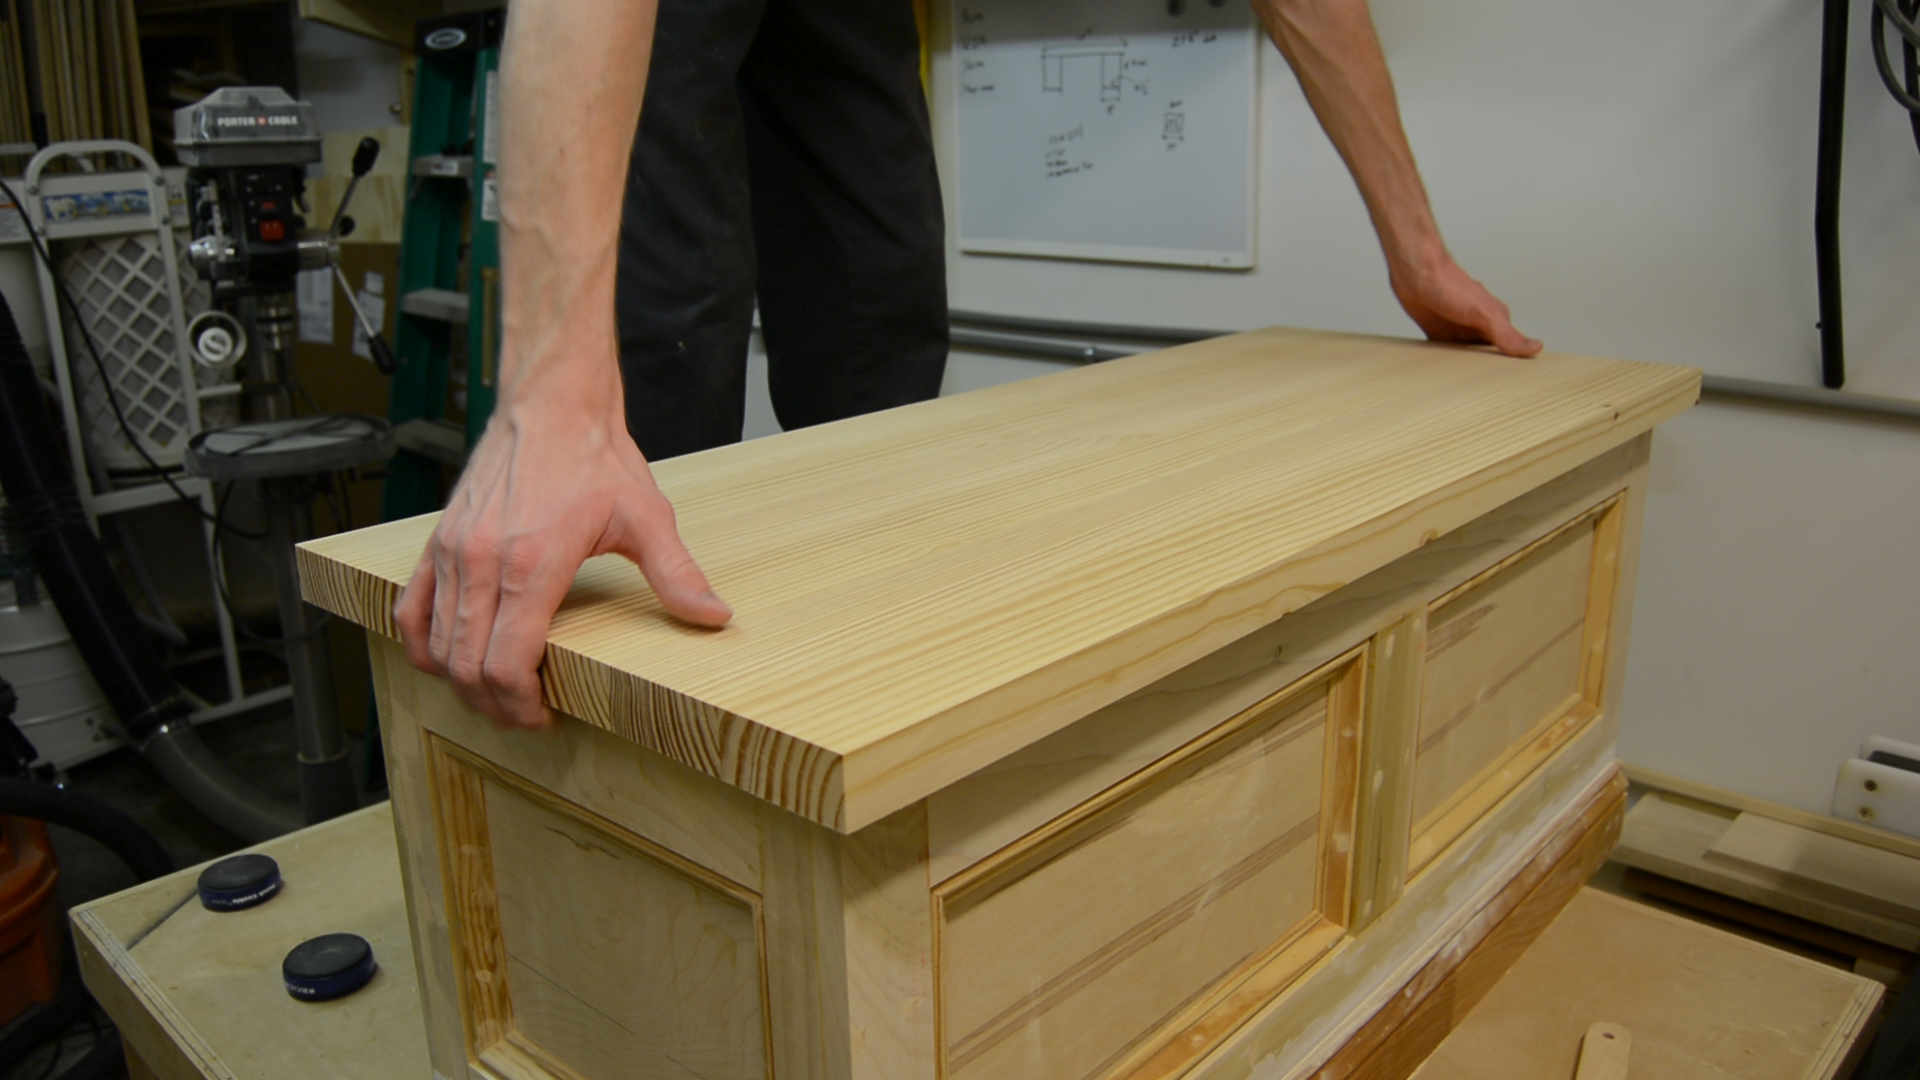
After cleaning up all the glue squeeze out I then hit the top with the belt sander to smooth everything and get it all in the same plane. At this point if you like you can keep the top as is, in my opinion, it looks good with a sort of ‘heavy look’.
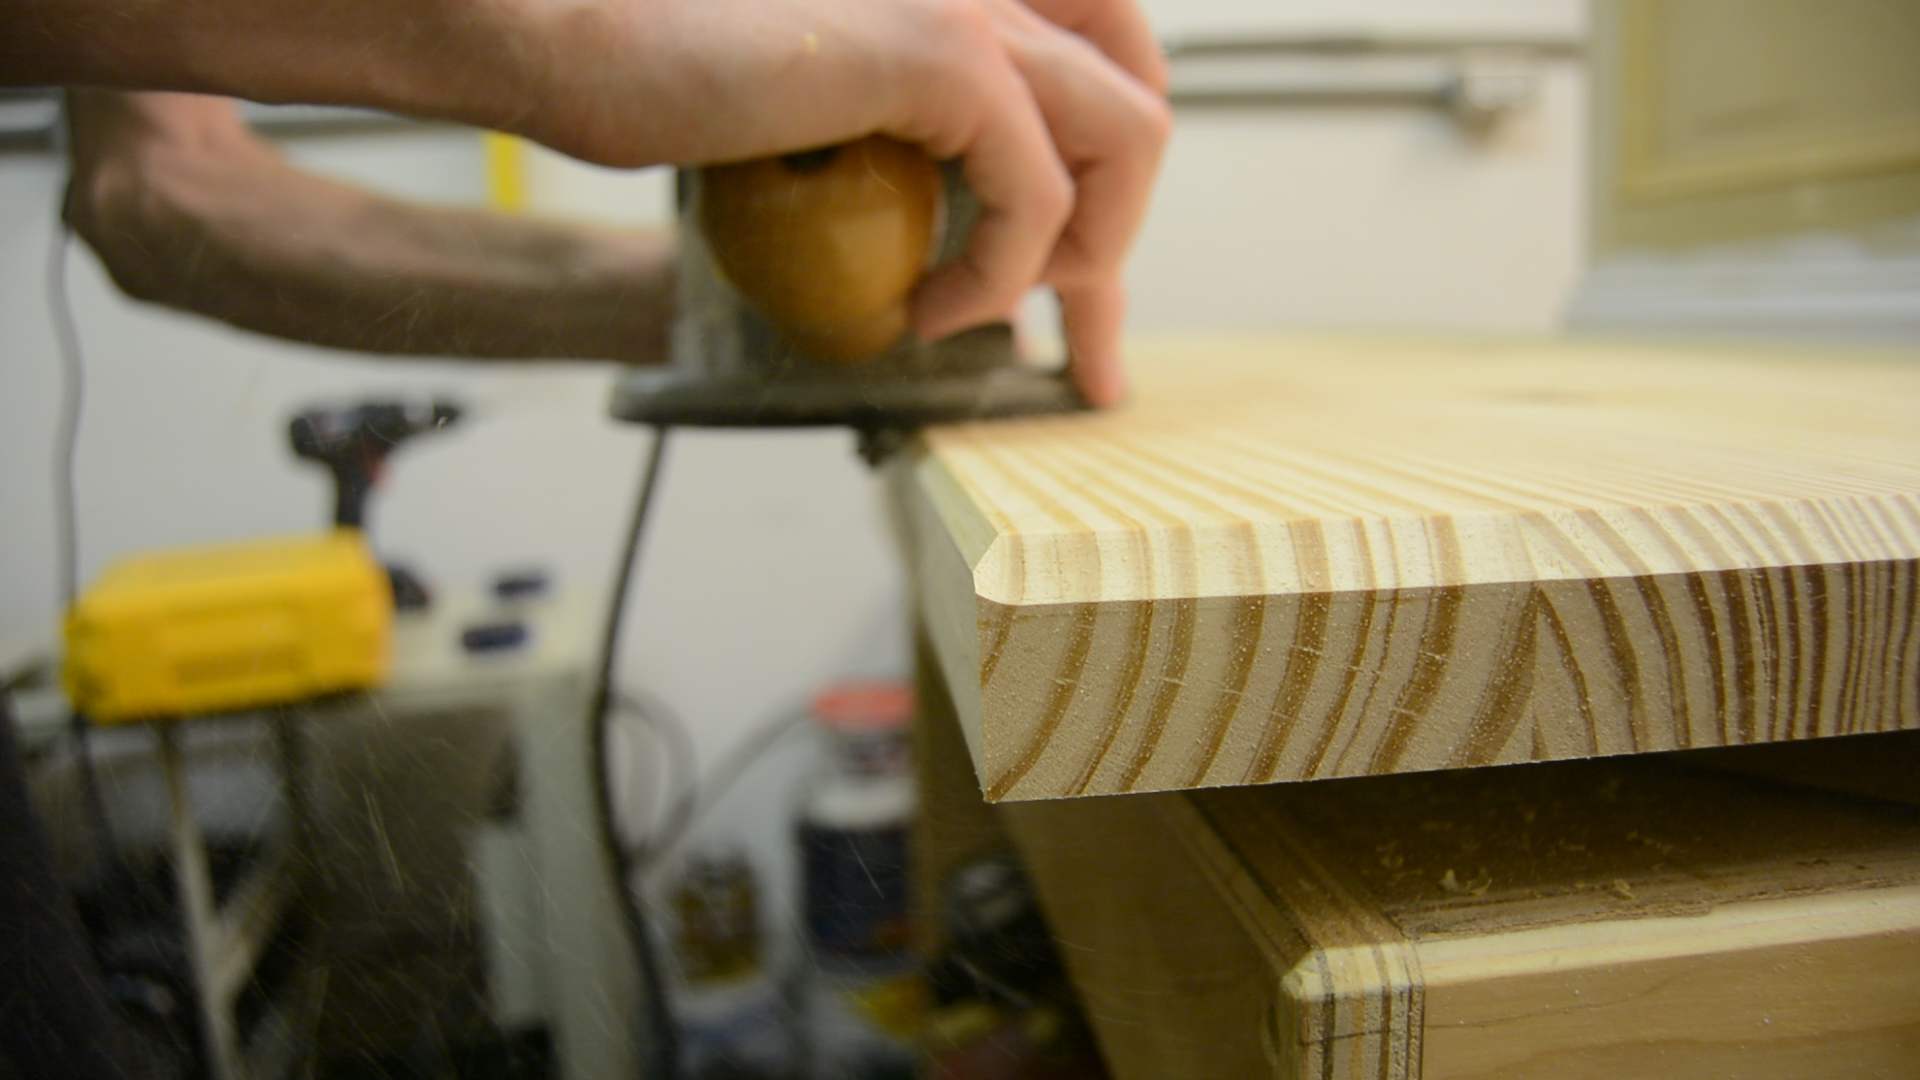 I did, however, decide to add a bevel to the bottom side to lighten the look slightly. To do this, I made a couple of passes with my router and a chamfering bit.
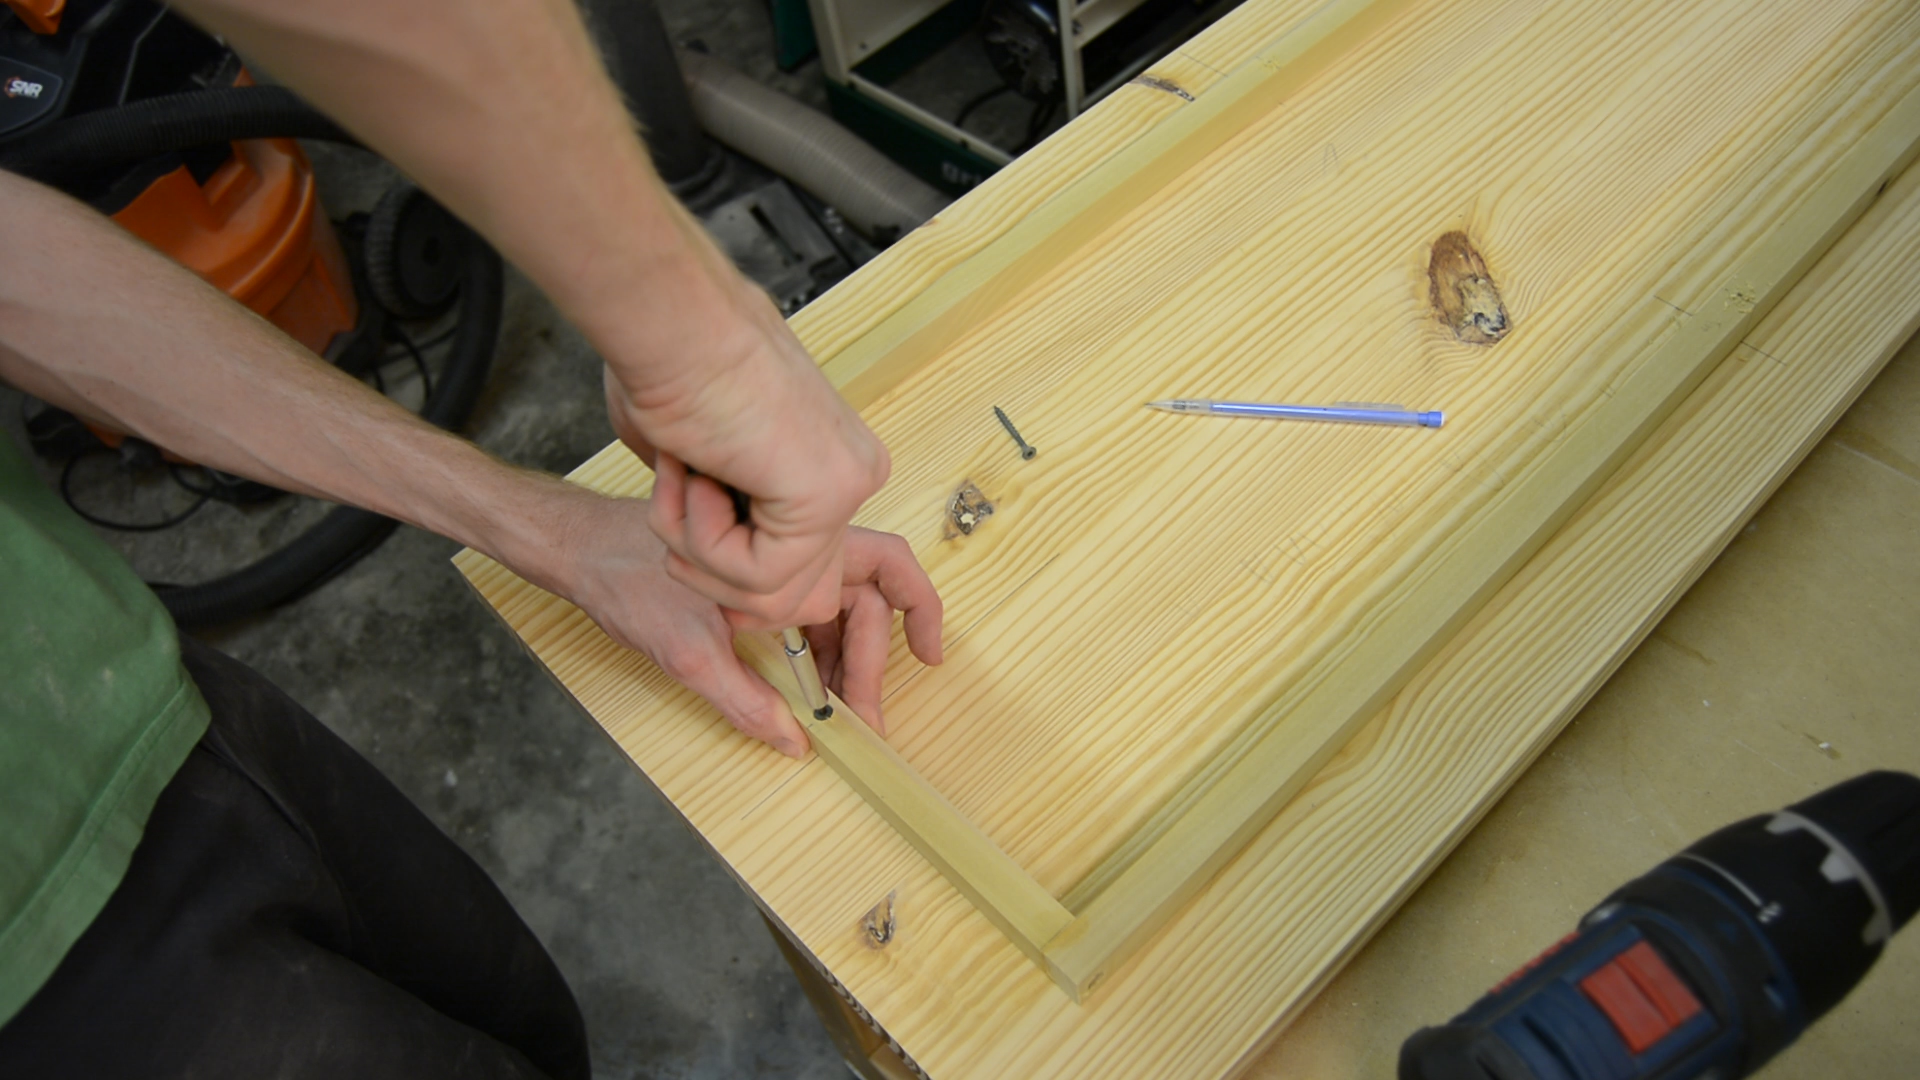 To attach the lid to the top, I used to trim around the inside premier of the box that would be attached to the underside of the lid. I cut all of the parts slightly undersize so that the lid can be easily set on and off. I assembled it with glue and screws and attached it to the bottom side of the lid with screws only. By measuring the length and width of both the top and the trim, I made a reference point to center it on the underside. This allowed me to get the proper amount of reveal around the outside of the box. One thing that I did to the mounting trim off camera was to add a slight chamfer with my block plane to help guide the lid into place.
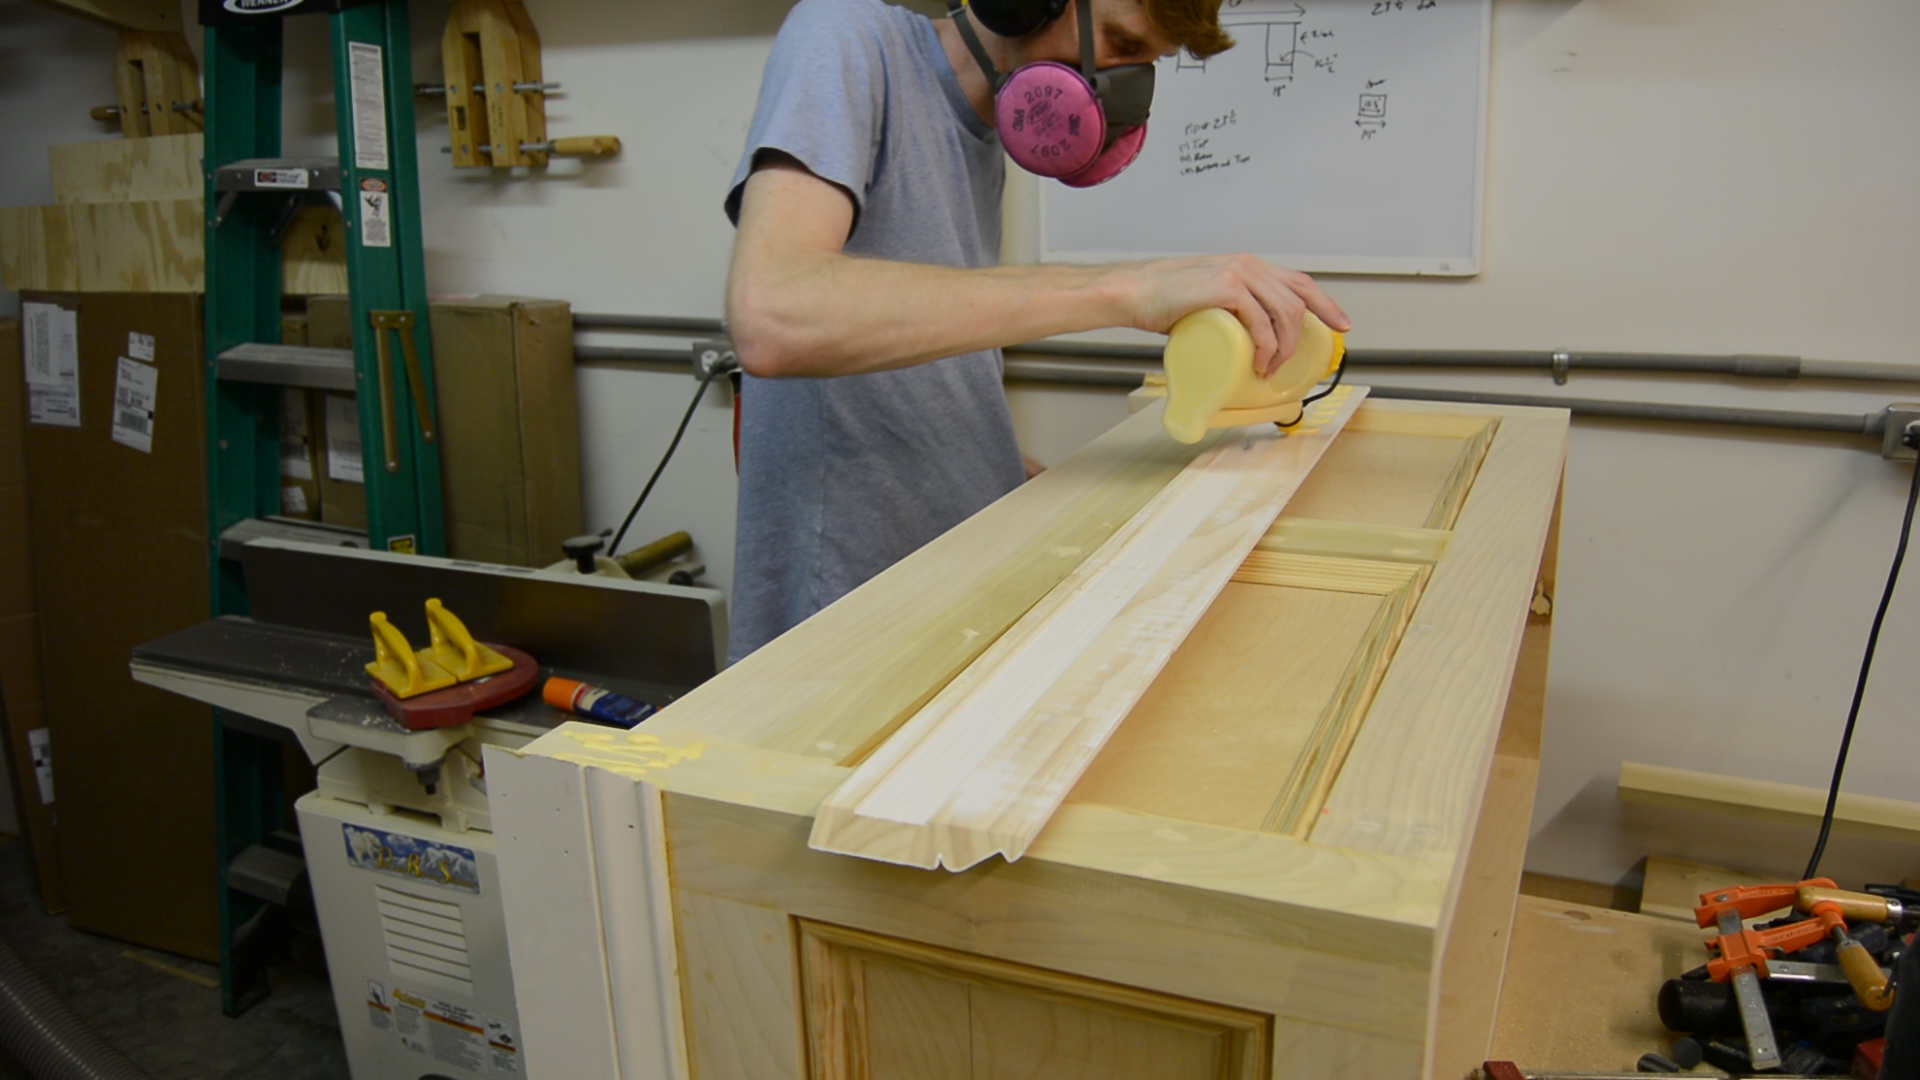
 At this point, you can fill any nail holes and imperfections in the box and the top and sand it all smooth. Because the bottom box was going to be brush painted I used 150 grit. On the top, I sanded all the way up to 220.
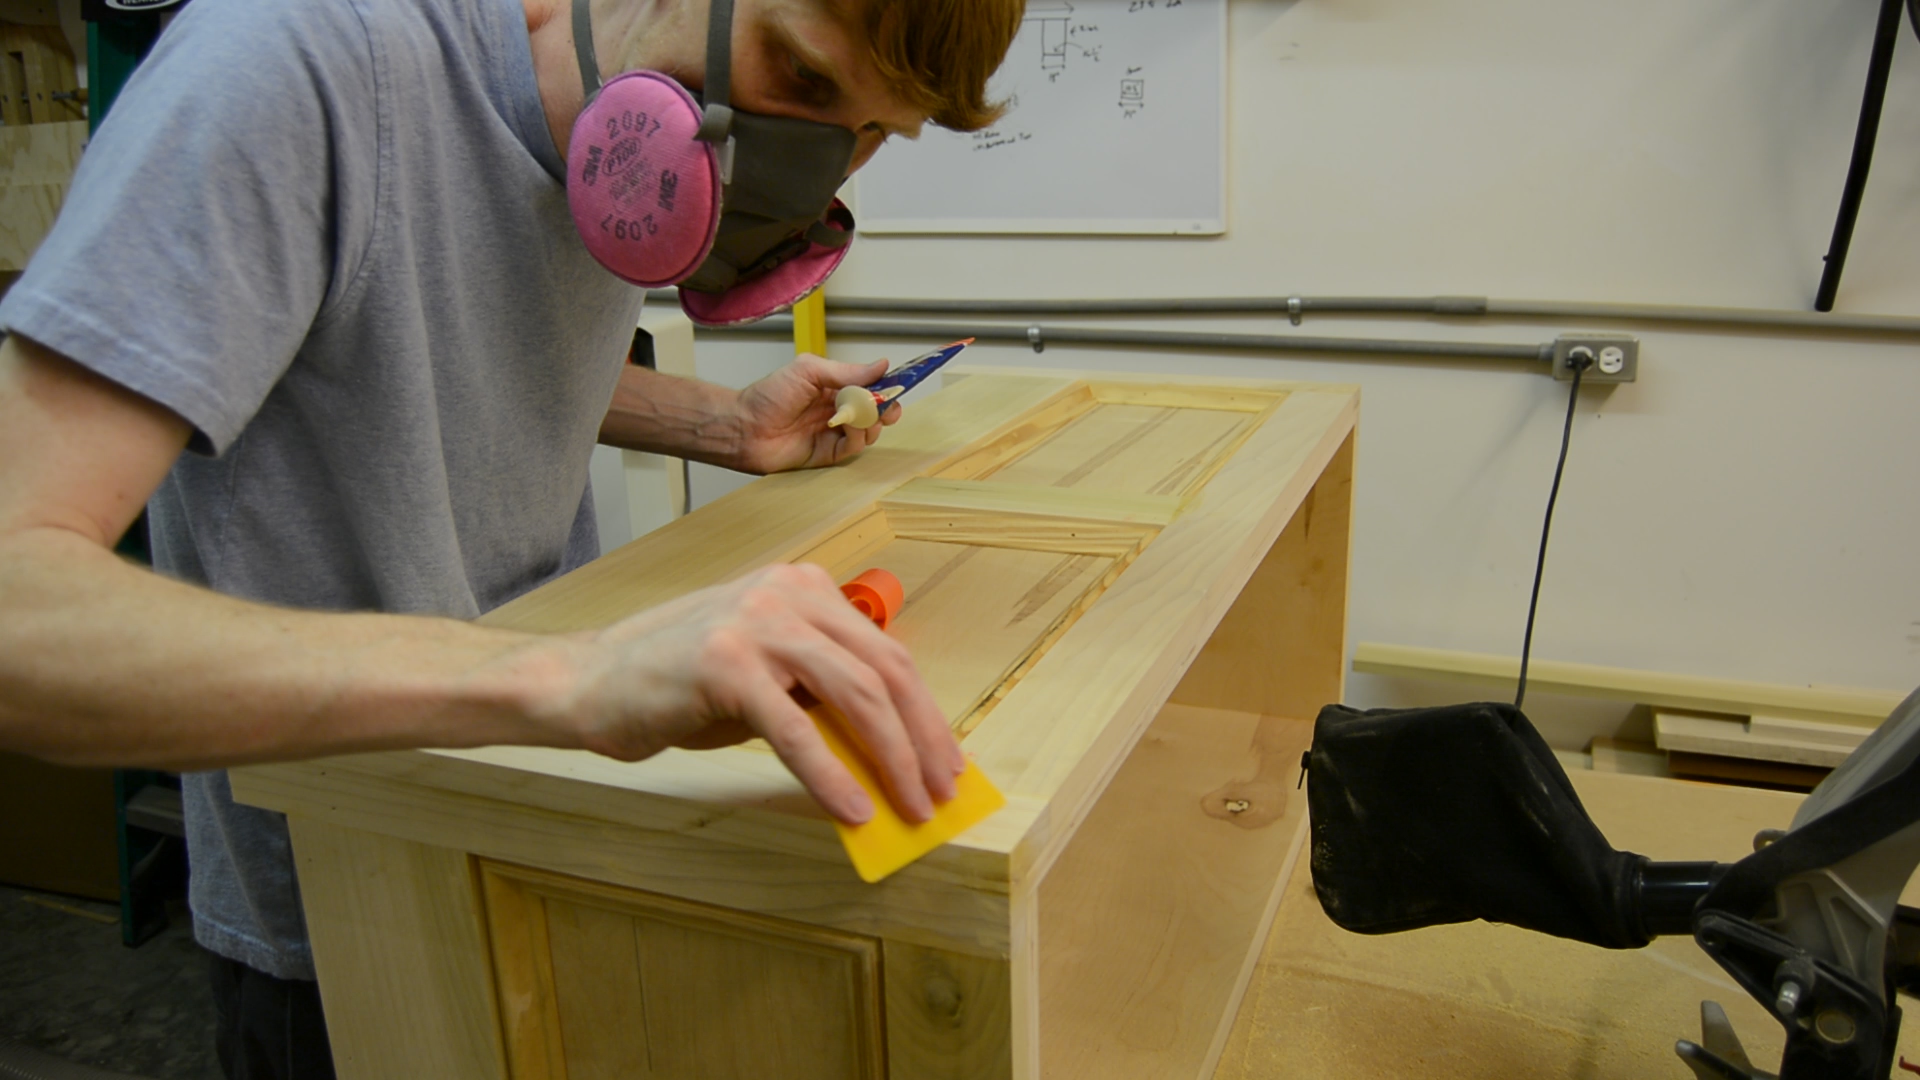
 For the box, I coated it with one coat of primer, then sanded it with 220 grit and 2 coats of color. I used a small brush to get into the corners around the trim and then a wider brush for the larger areas.
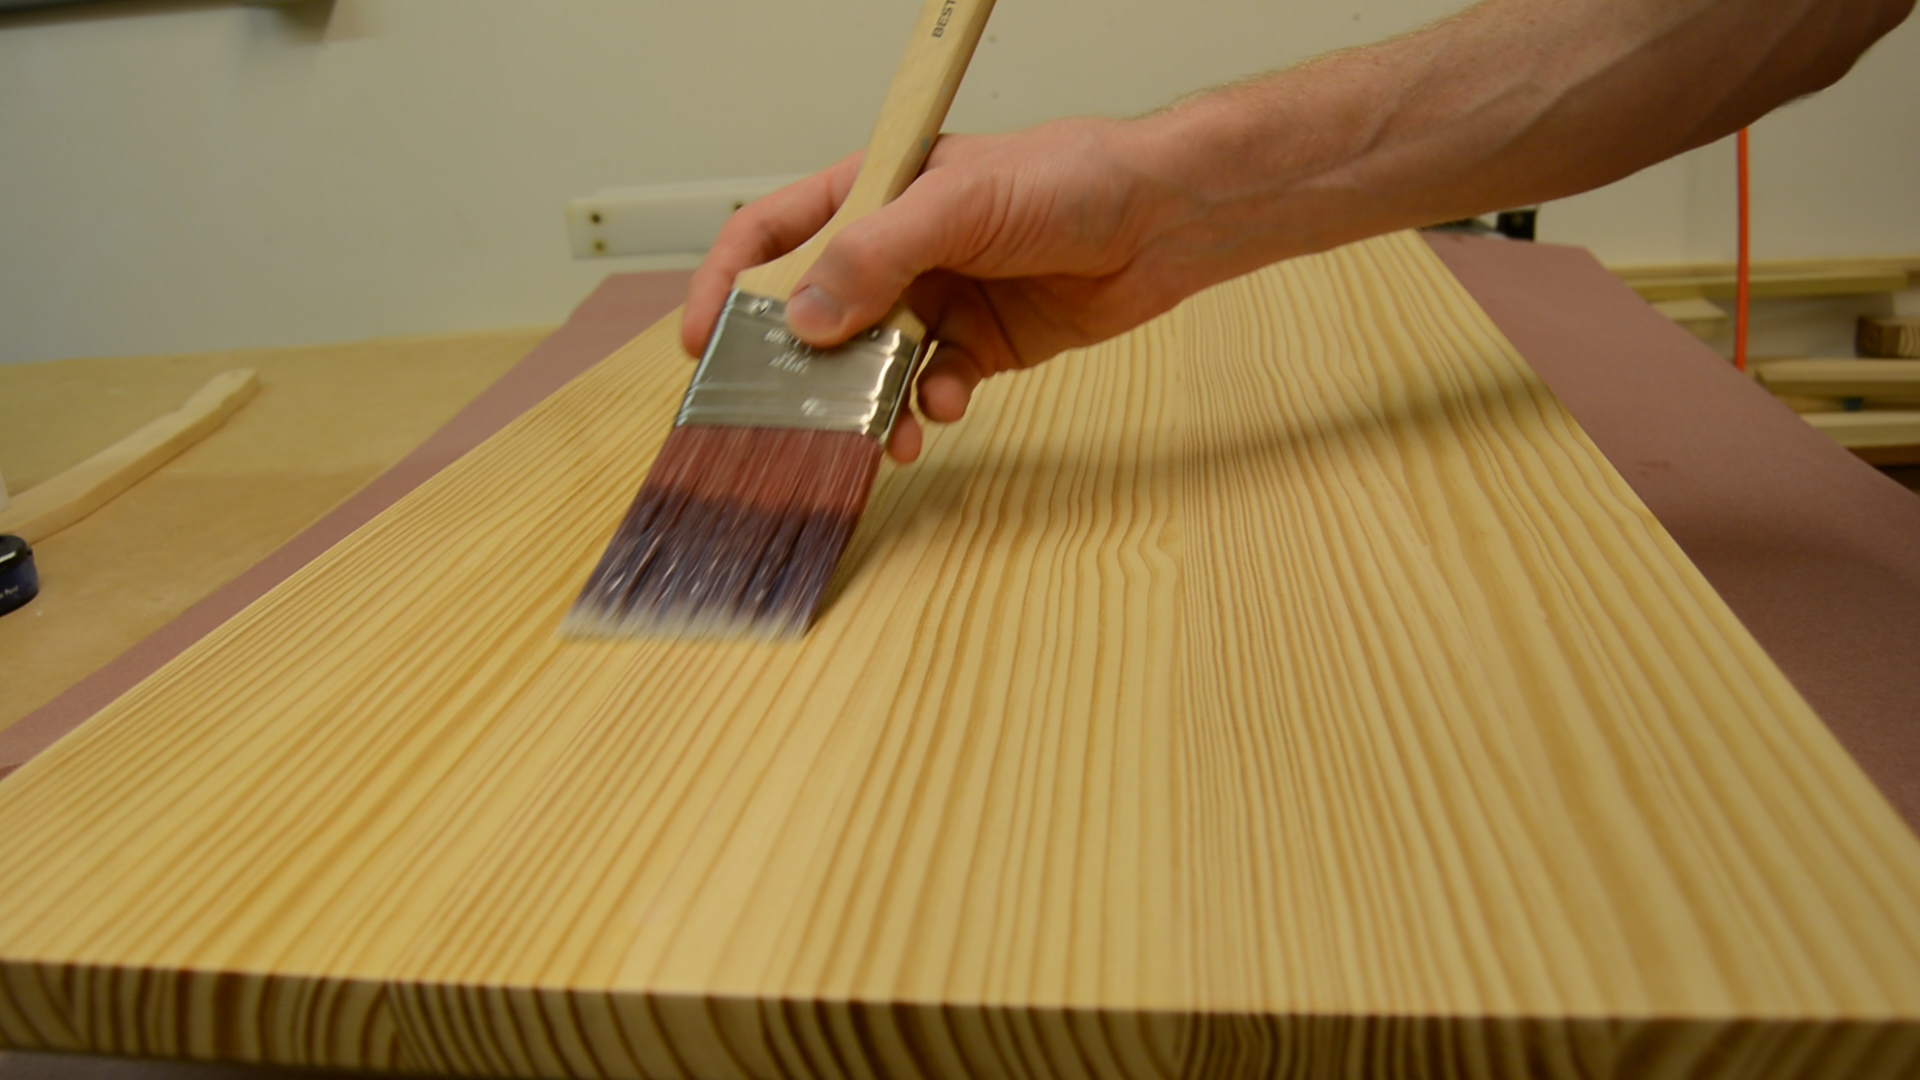
 For the top, I used 2 coats of polycrylic water-based polyurethane. This was my first time using this finish, I really liked it because it dried fast and also clear, which is exactly what I wanted.
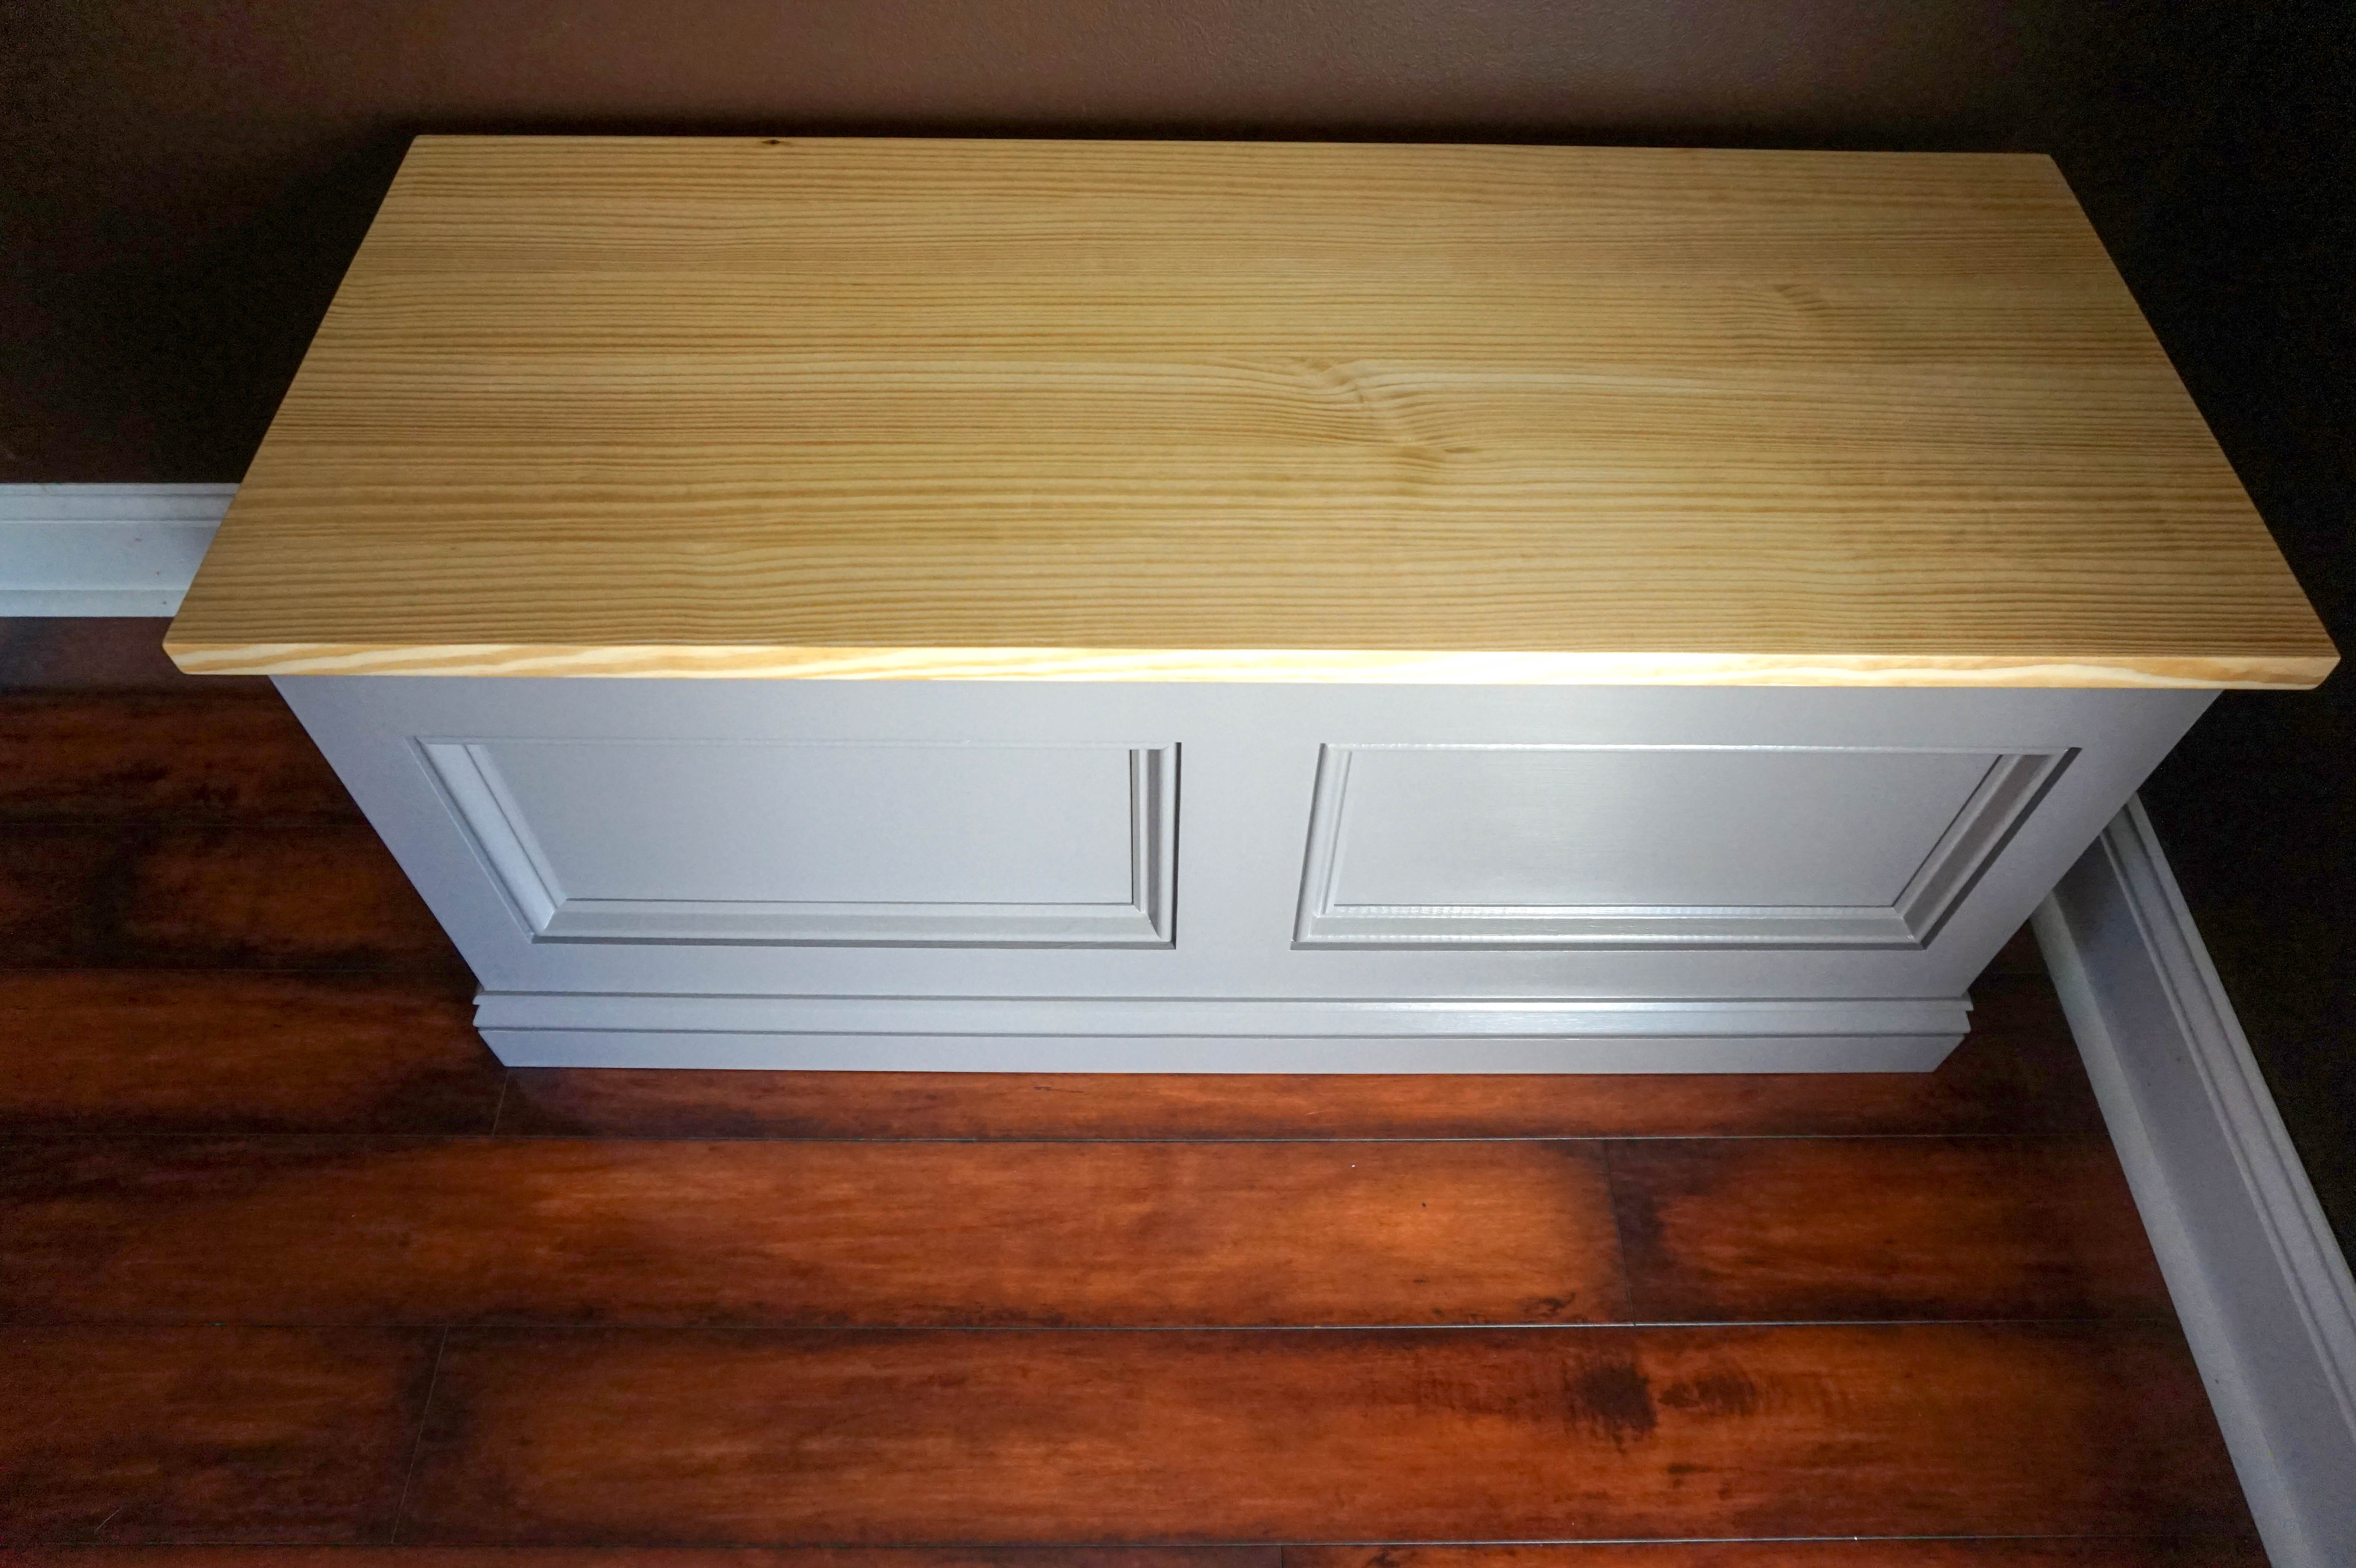
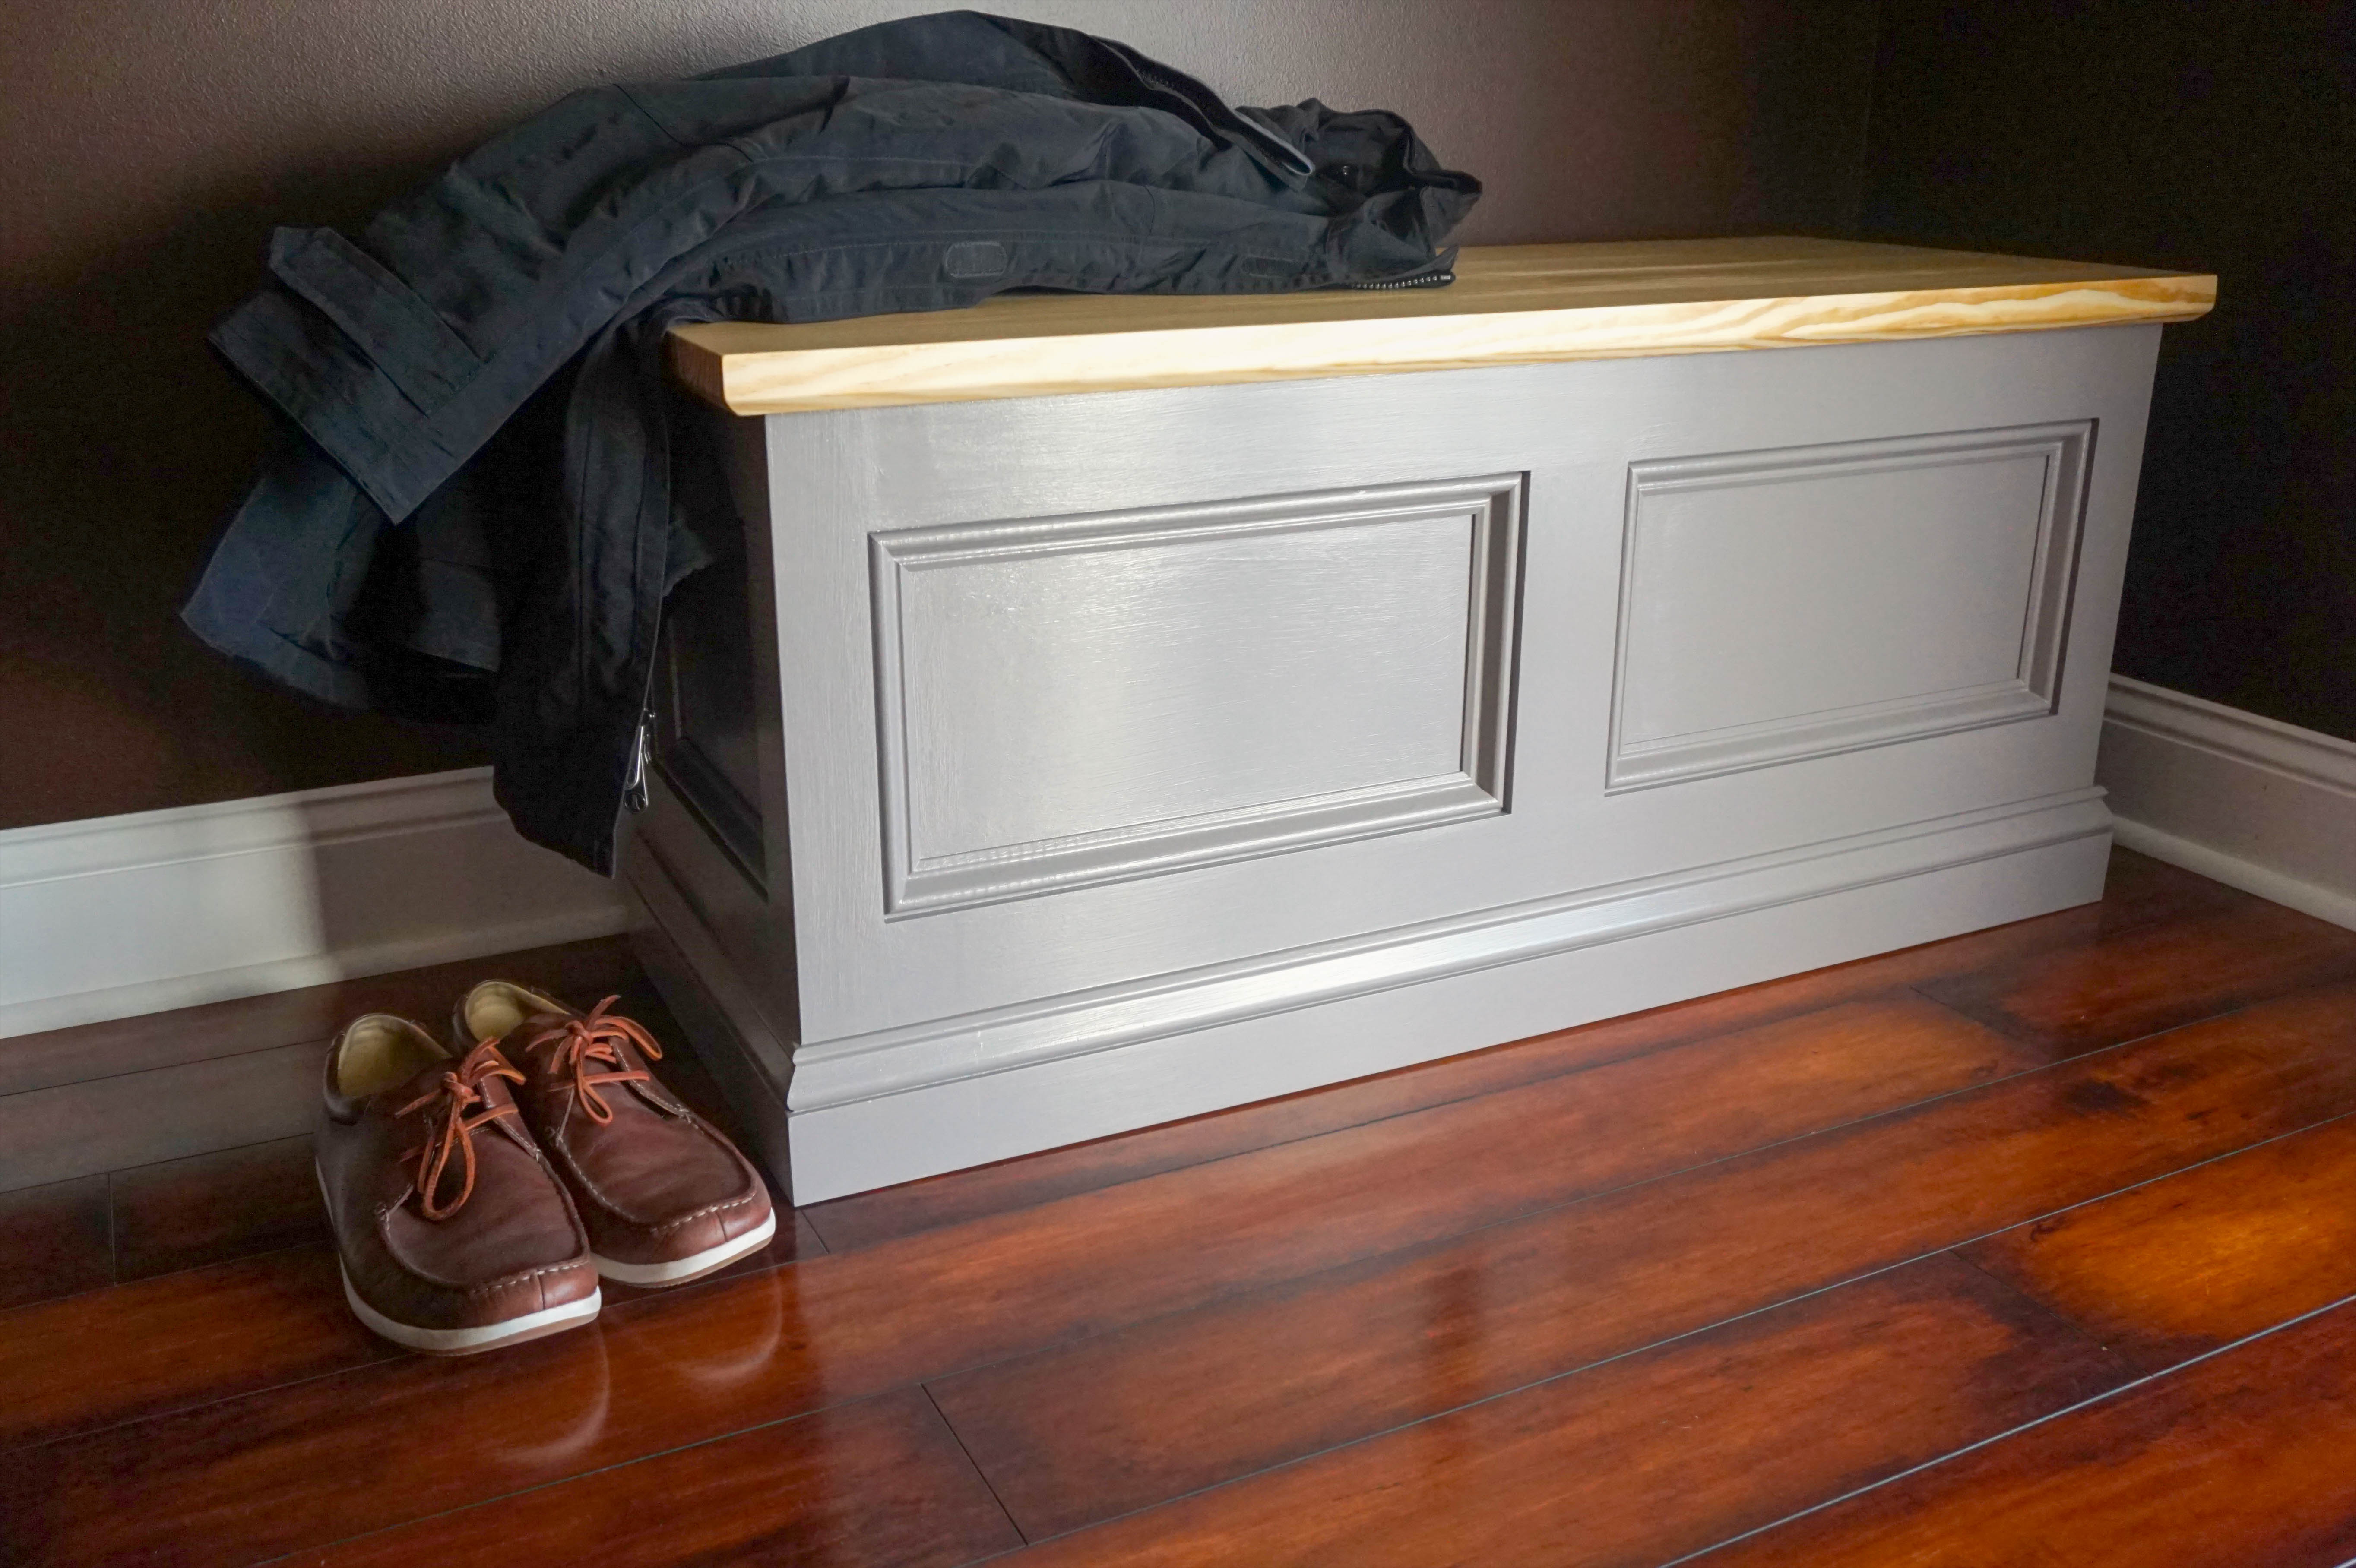 I was extremely pleased with the final outcome of the storage bench. It is actually on of my favorite pieces that I have built so far. My family and I are looking forward to years of use, and the storage aspect is going to come in very handy.