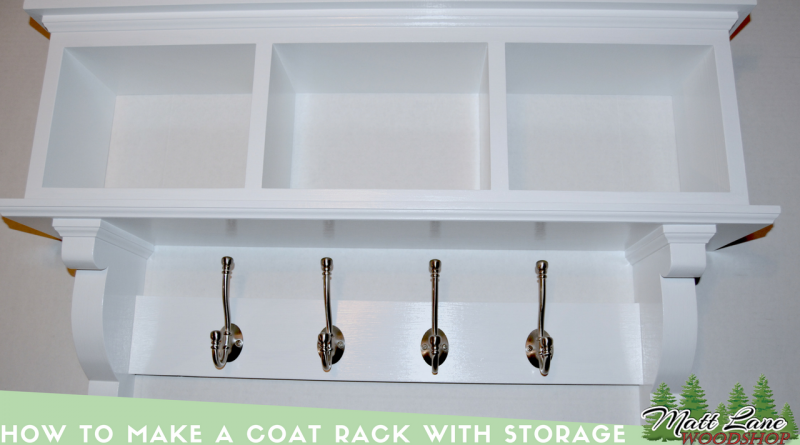
How to Make a Coat Rack (With Storage)
I built this coat rack a couple of years ago for our house when our little girl ripped the one we had out of the wall trying to get her coat off the hook lol. I was actually able to reuse the hooks from the cheap little coat rack that we had bought from the home store. It attached into the wall using drywall anchors so it wasn’t all that secure to begin with. I set out to make one that would look a lot nicer and have some room for storage. The design I came up with works great for storing all our coats and hats, but also the cubby storage at the top is great for storing keys and gloves and whatever else you may need to store. I have received a lot of requests to build this for a project video.
I originally sketched this out on graph paper the first time I made one of these. I actually used mostly scrap materials to build the one we have, so don’t be afraid to use what you have to lying around to build this with. If you end up painting it like me, it won’t matter anyways. I was able to use the drawings from when I originally built this coat rack to sit down and make a set of plans for this one. (You can get them HERE)
I went ahead a pre milled my materials for this project and started ripping the parts for the box and the corbels. I used mostly poplar for this project because it paints very well.
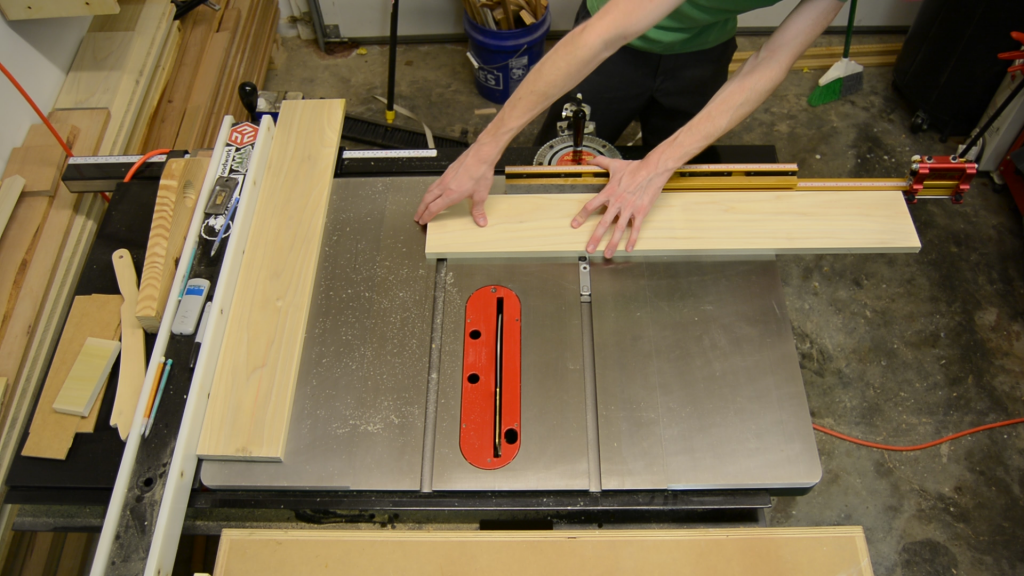
Next, I cross cut the parts for the box and the corbels.
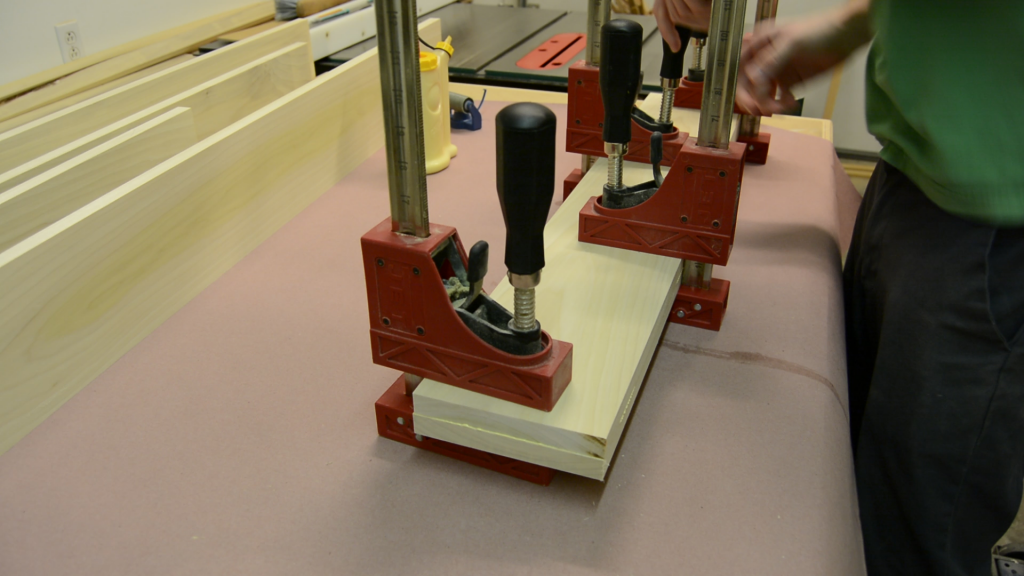
The corbels are actually two laminated pieces of the material. For that reason, I waited to cut those to final length till after they were glued up.
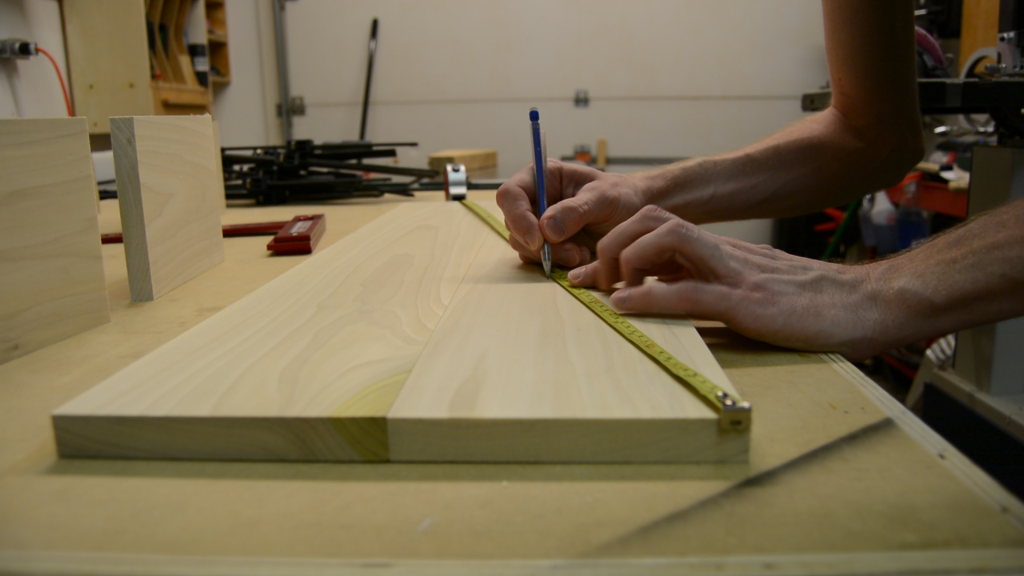
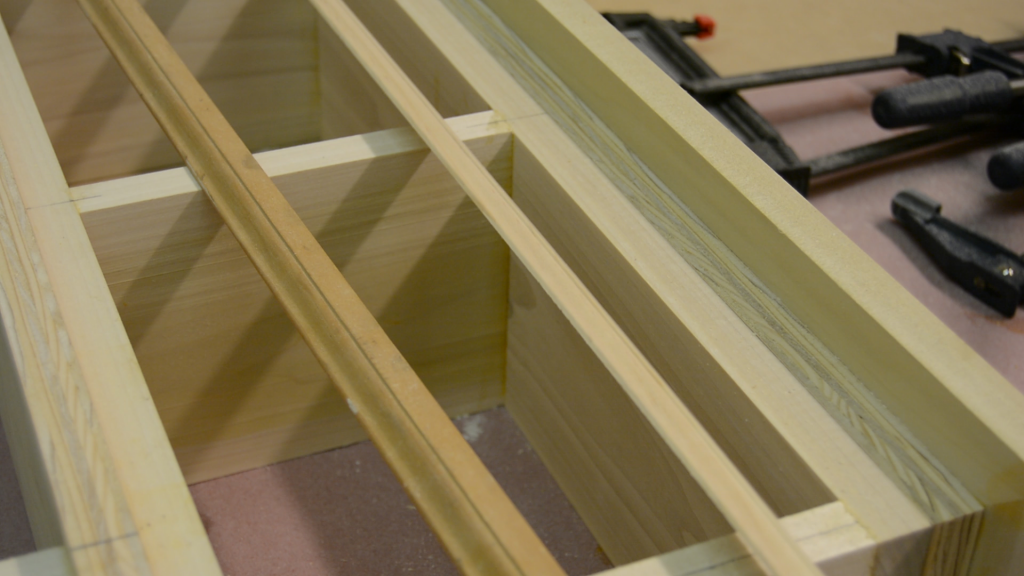
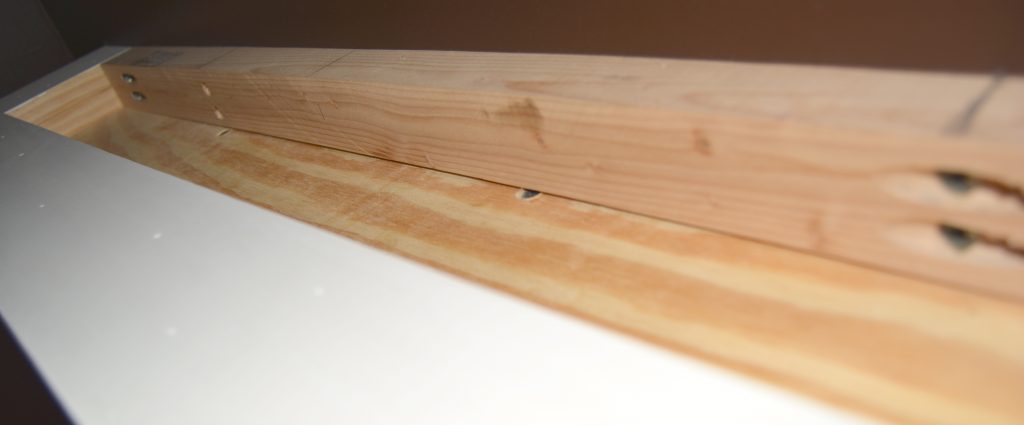
The four dividers for the coat were evenly spaced out to make three cubbies. To mark out for those, I stretched the tape measure across the length of the top and bottom until I got to a number that was easily divisible by three and made the two middle marks.
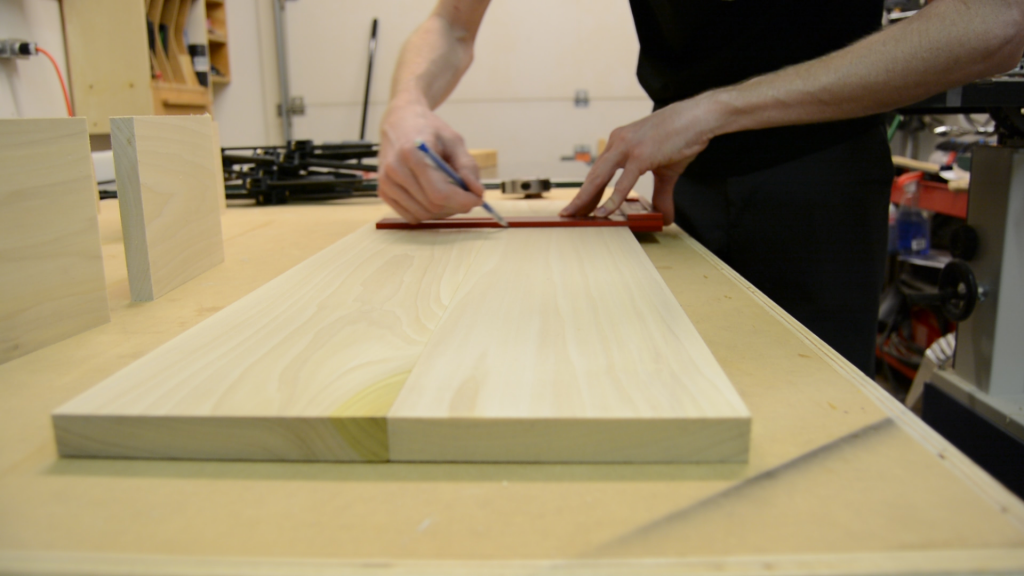
I transferred those lines on both top and bottom, making sure to transfer the marks all the way around. I then marked the center of the dividers themselves.
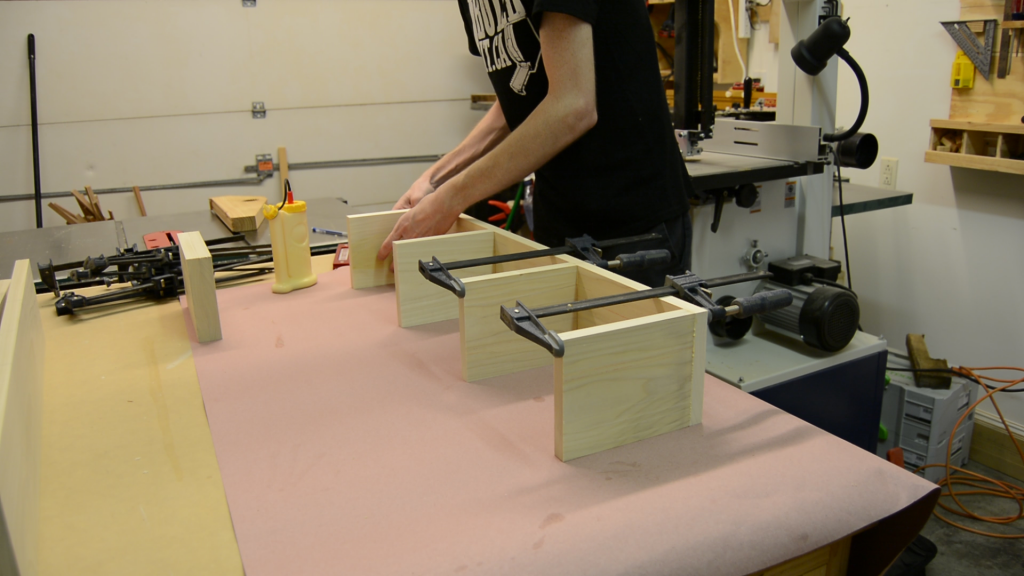
Next, I glued the center dividers onto the bottom platform only for now. Those center marks make aligning the parts much easier.
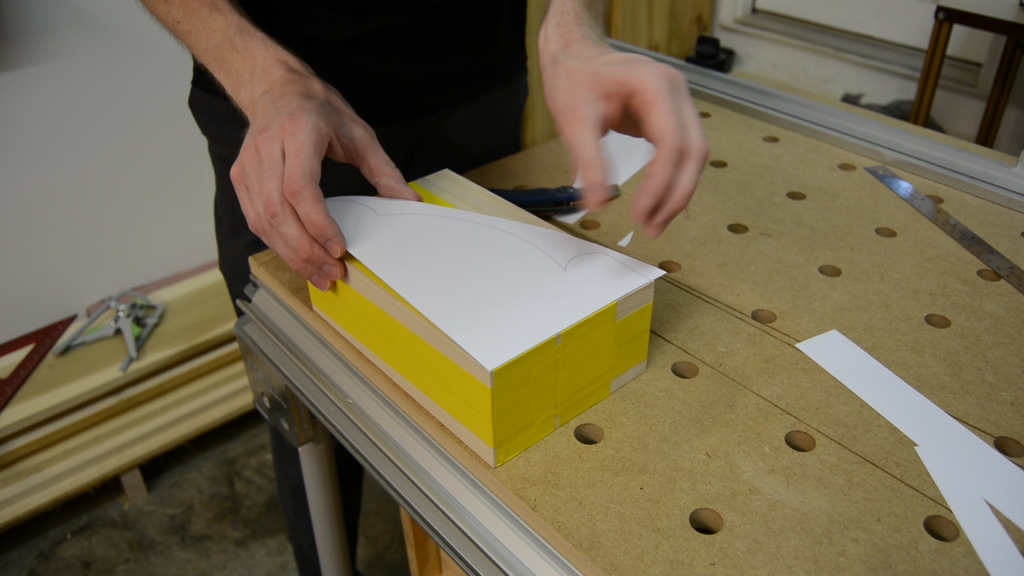
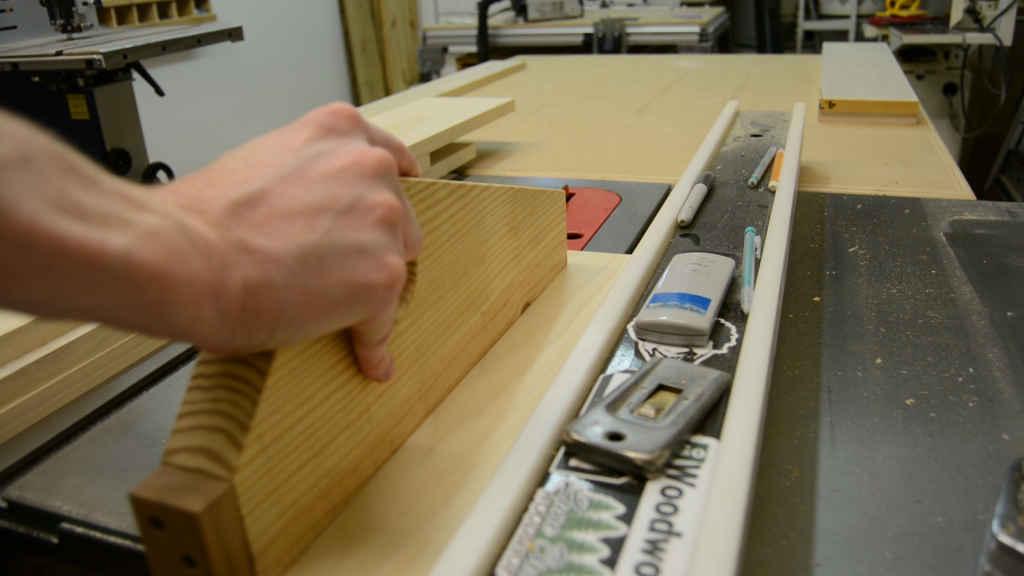
While the glue was drying on that, I cut out the corbels. I have a printable template available in the plans for this step. I taped both blocks together with masking tape, double stick tape would have probably worked better. Then I spray glued the template on.
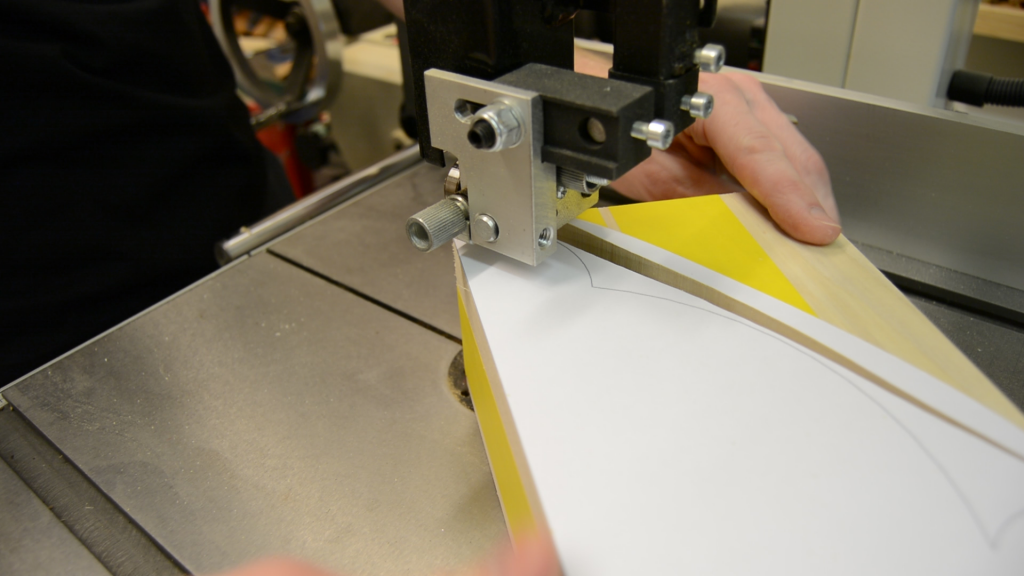
I was too lazy to change the factory 3/4″ bandsaw blade that came with my bandsaw, so this step took a little bit longer for me, but it came out ok in the end.
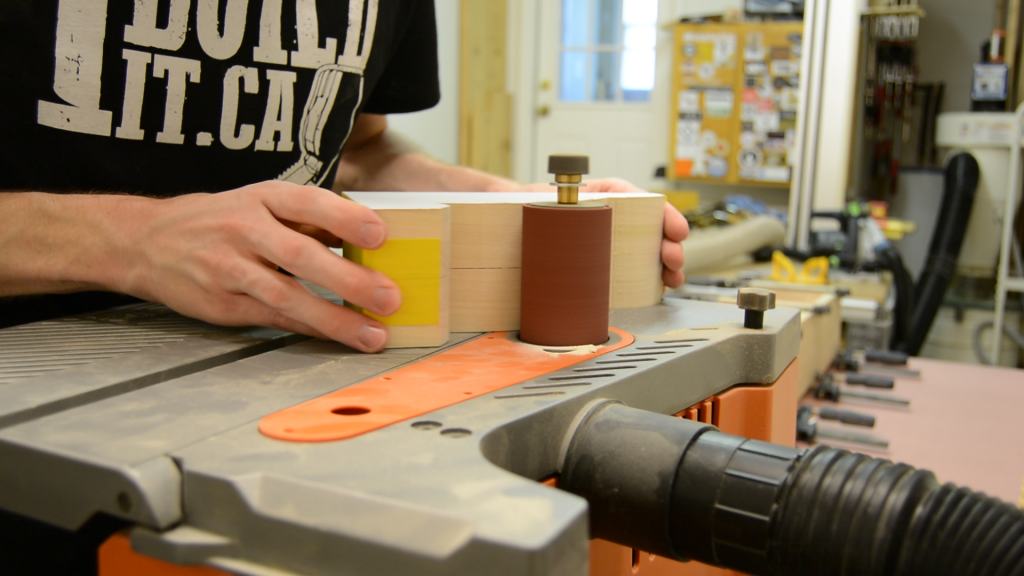
I used the oscillating spindle sander to smooth our the cuts.
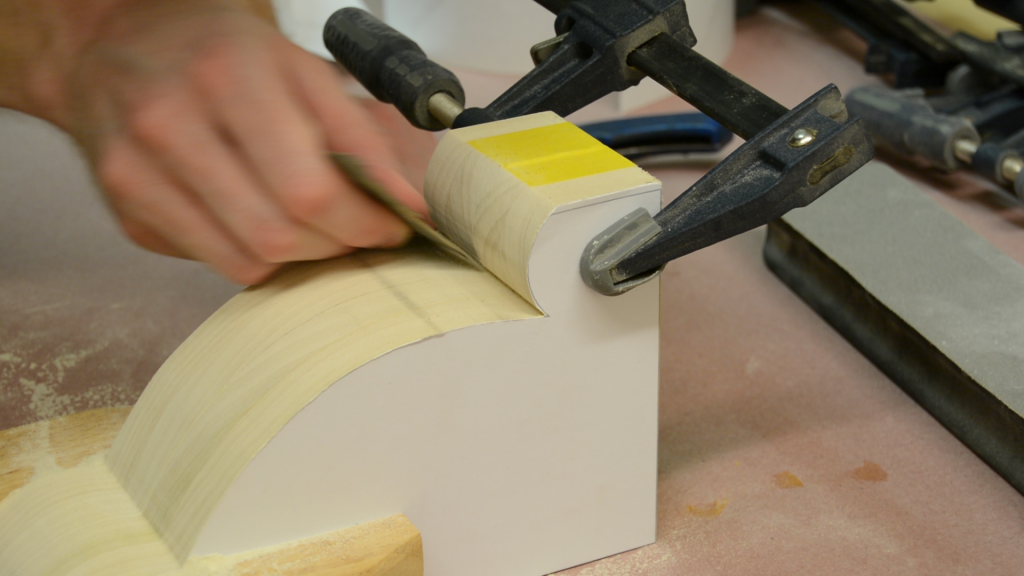
After that, a little hand sanding was needed to get in the hard to reach areas.
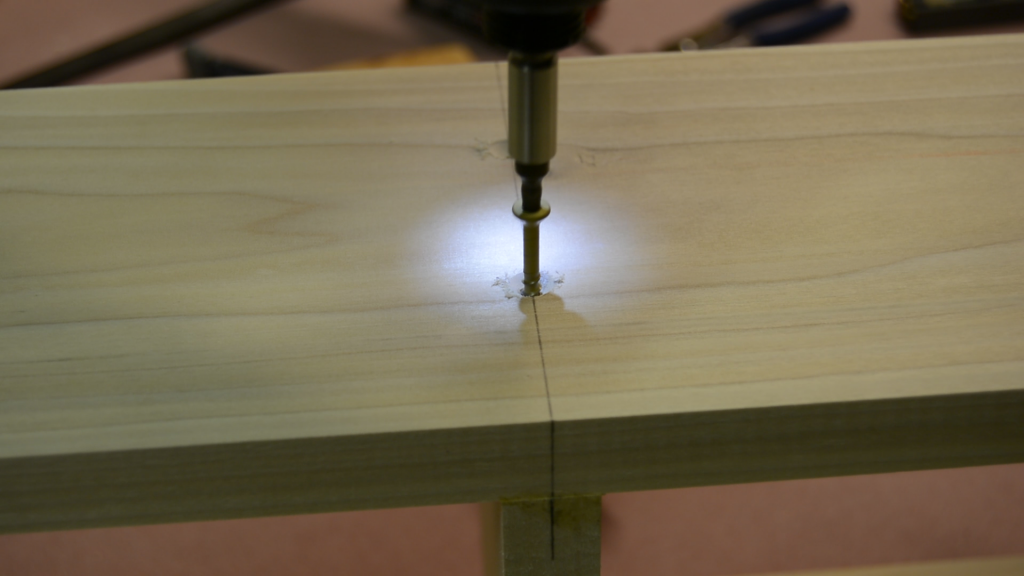
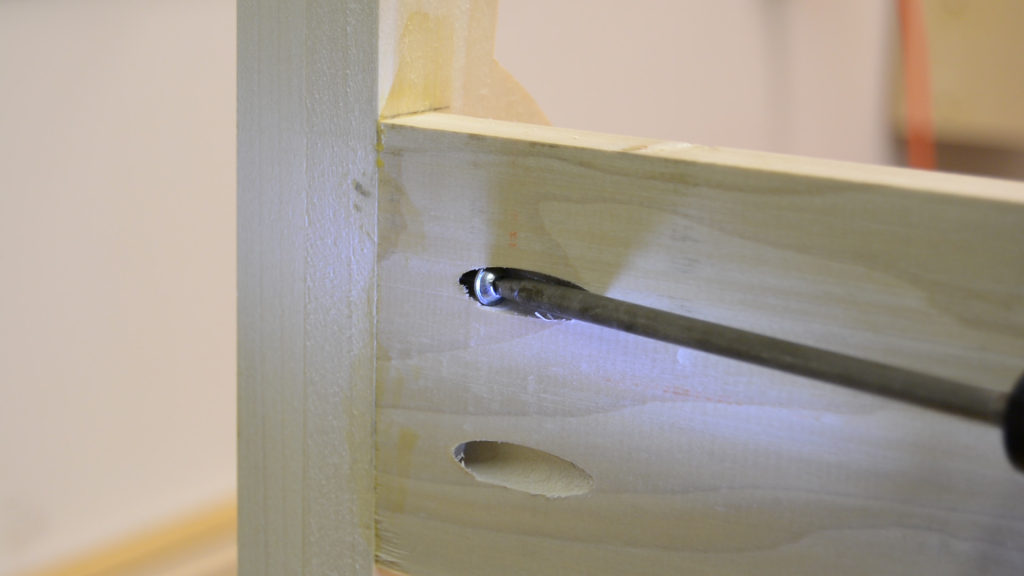
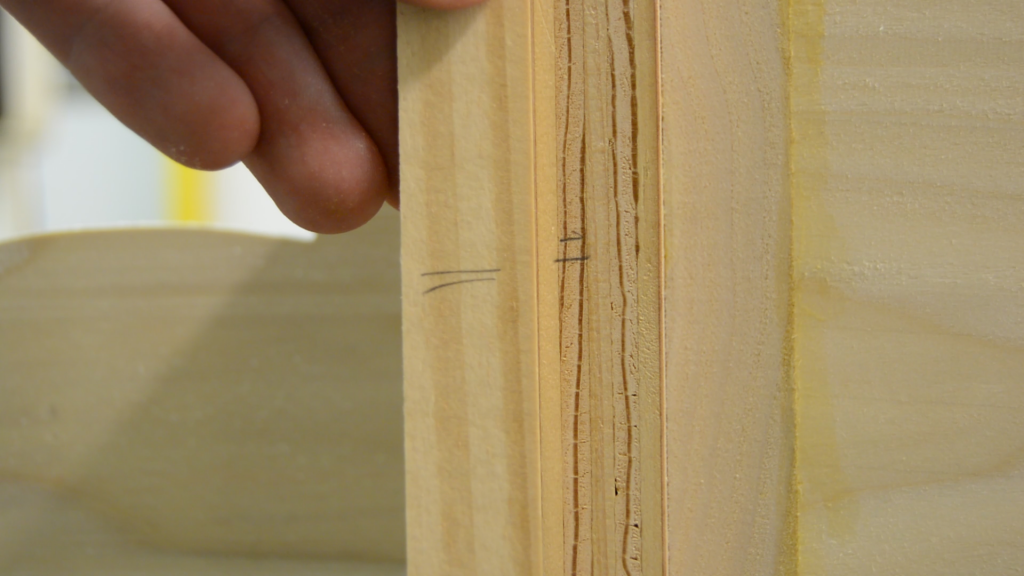
When the glue dried, I went back and counter sunk the screws to make everything stay in place. This is where the reference lines I drew earlier really came in handy.
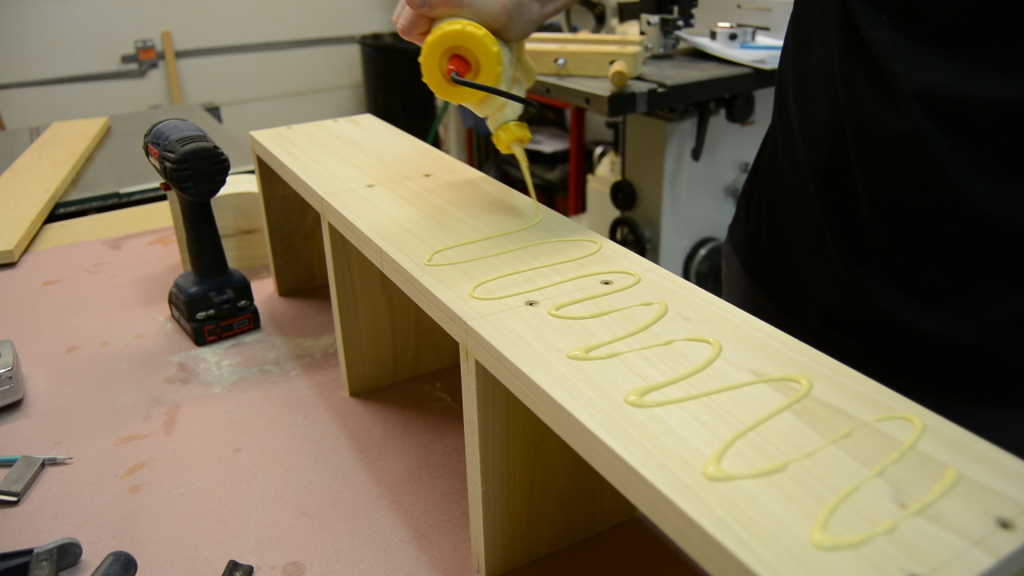
The design I came up with calls for another piece underneath the bottom of the box that is a little wider and longer to give the reveal I was looking for.
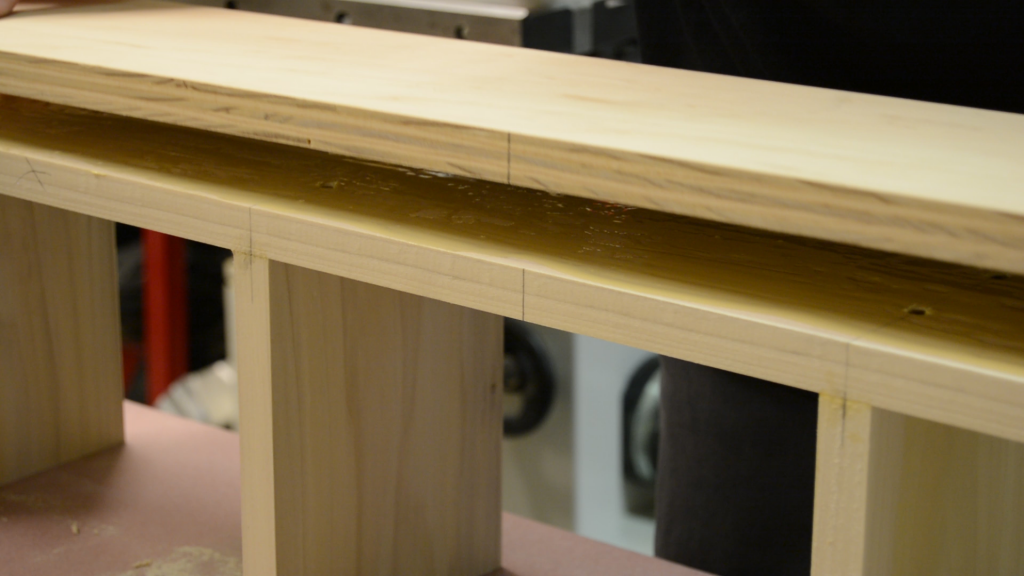
I used a scrap of ply for this and I used the center marks to help align the pieces up at the back and glue laminated them together. This covers the scores from the previous step.

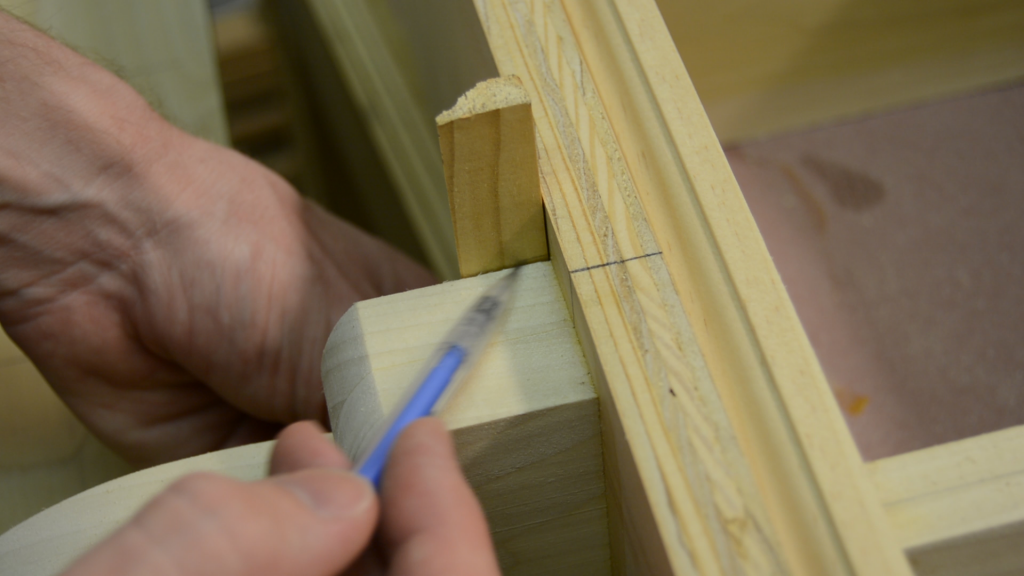
I made another set of reference lines. These will give me a locator for mounting the corbels to the base.
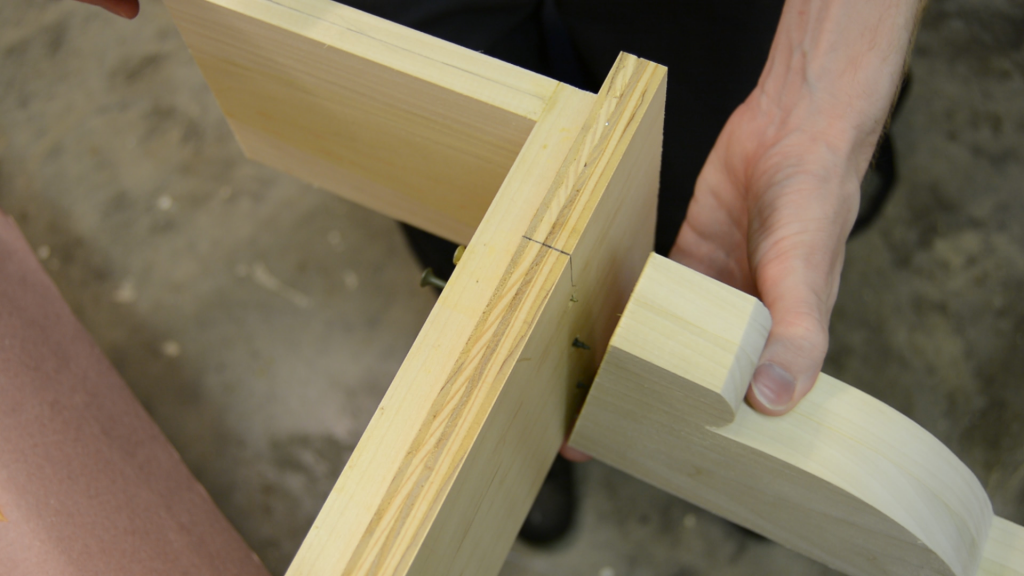
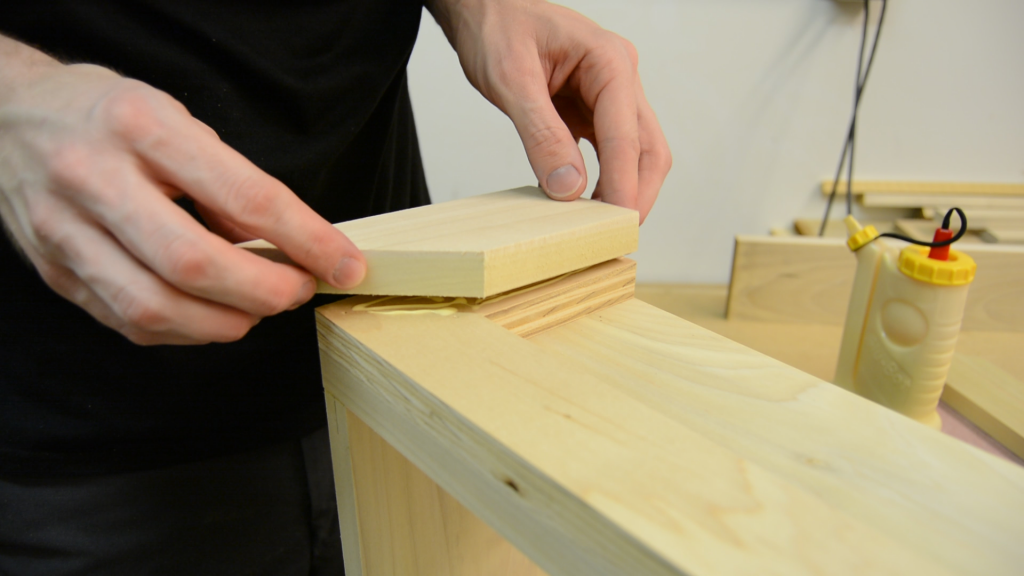
First, I pre drilled and then glued and screwed on the corbels also using glue of course.

I used plugs to cover the screw holes. This step is why I haven’t attached the top yet.
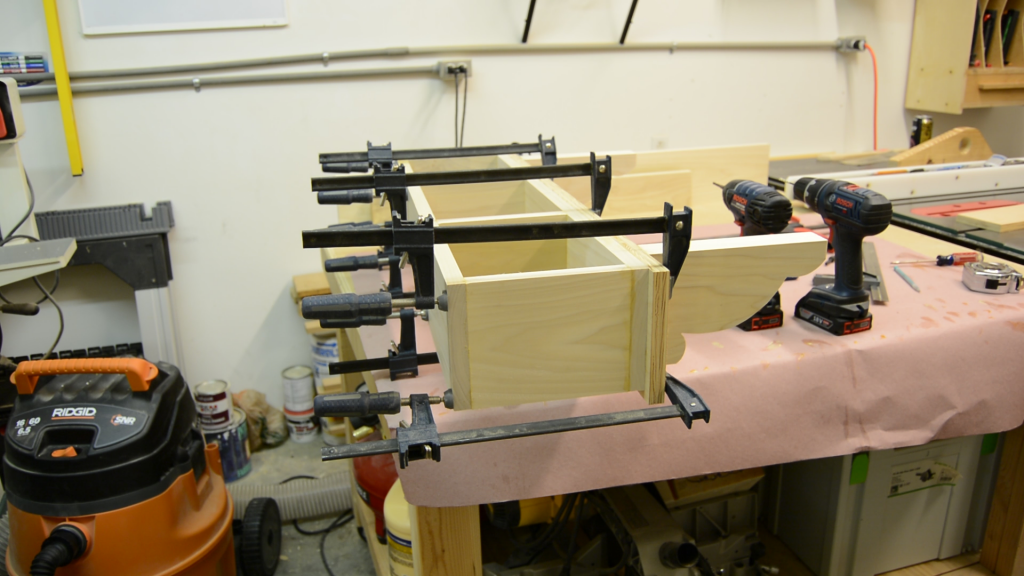
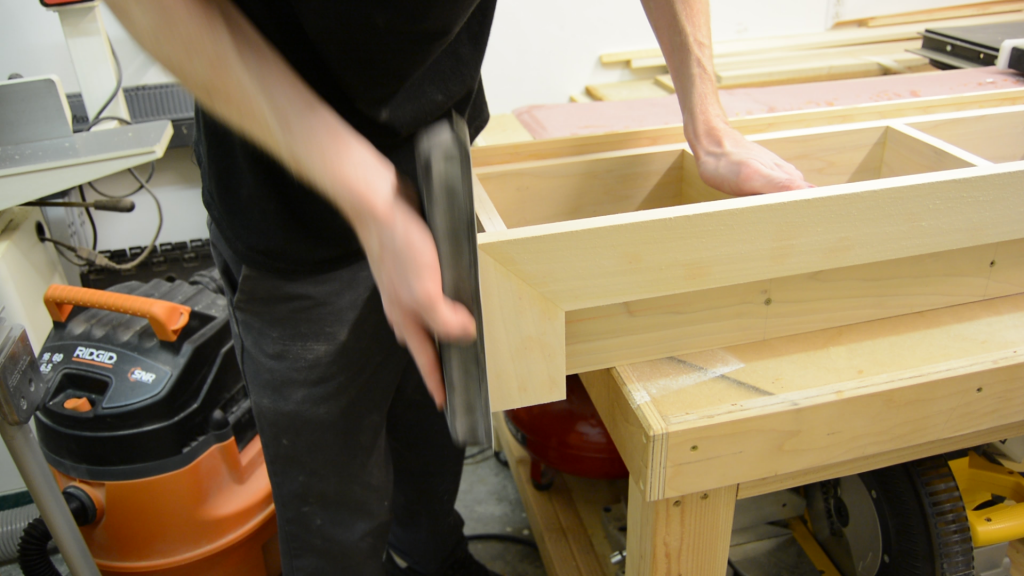
Now it’s time to start adding all the parts that go on top. I started with the top itself, gluing and clamping it in place, and then drilling the screws once the glue dries.
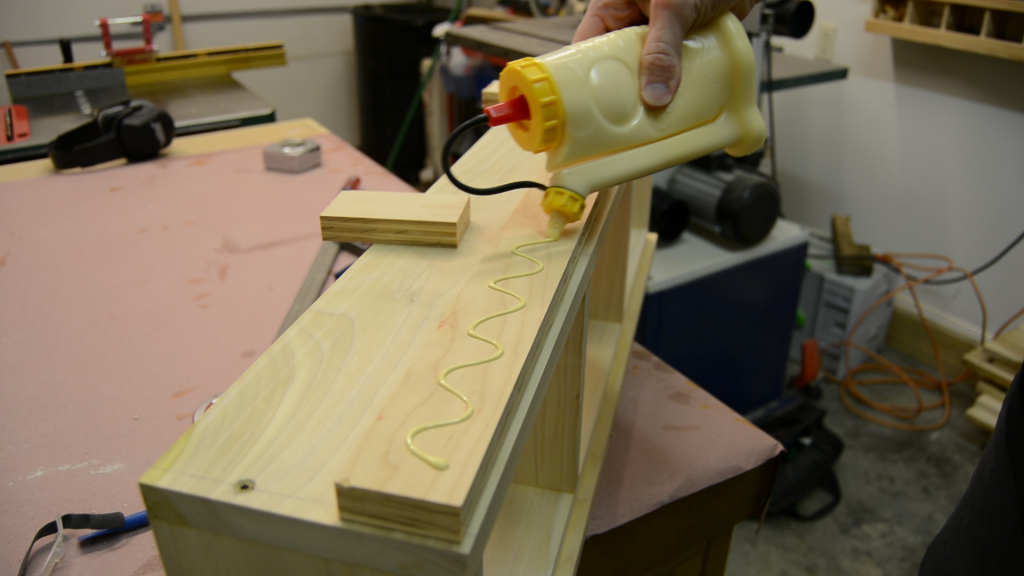
I then pad the top with some plywood so I can add some molding later.
No need to miter the corners because this will get covered up.
The last piece for the top will be cut a little wider to give a nice overhang.
These parts do need to be mitered.
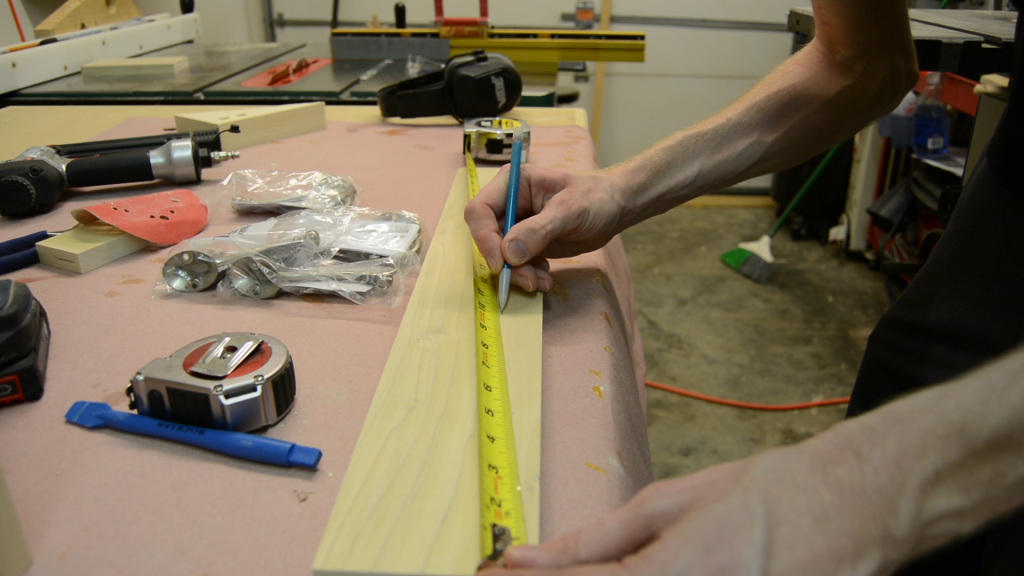
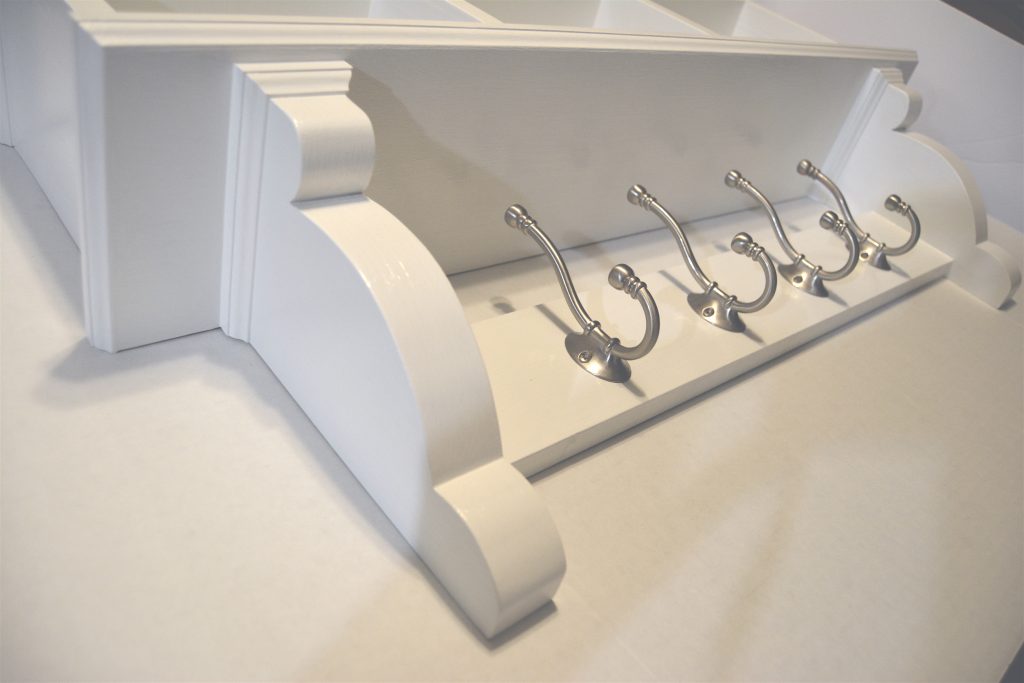
The cross piece that will hold the coat hooks is the next in the process. After I cut it to fit snuggly in between the corbels. I marked out four even spaces for the hooks.
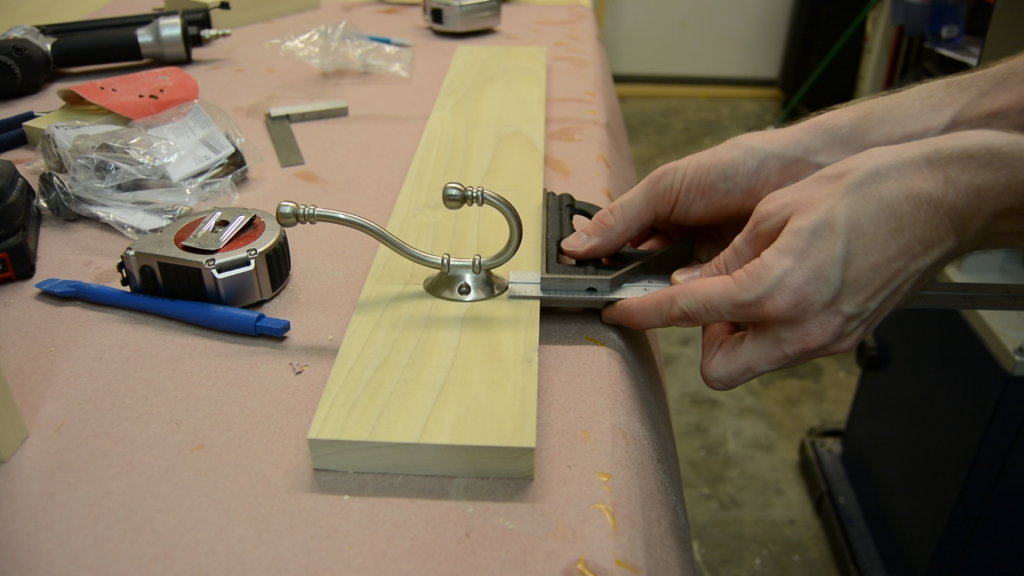
Then I placed one of the hooks on the mark I made and placed it where it looked good to me, using the combo square I marked out the bottom of it. This will give me a reference point for the others so I can the paint and pre-drill the holes.
I then glued it into place and attach it with pocket screws.
Probably the most fun part of the job is attaching the trim. This is when the piece really starts to come together. With so many different trim options out there, including making your own, you are only limited by your imagination. I am using the same molding I used for the fist time I made this coat rack, which is stop trim.
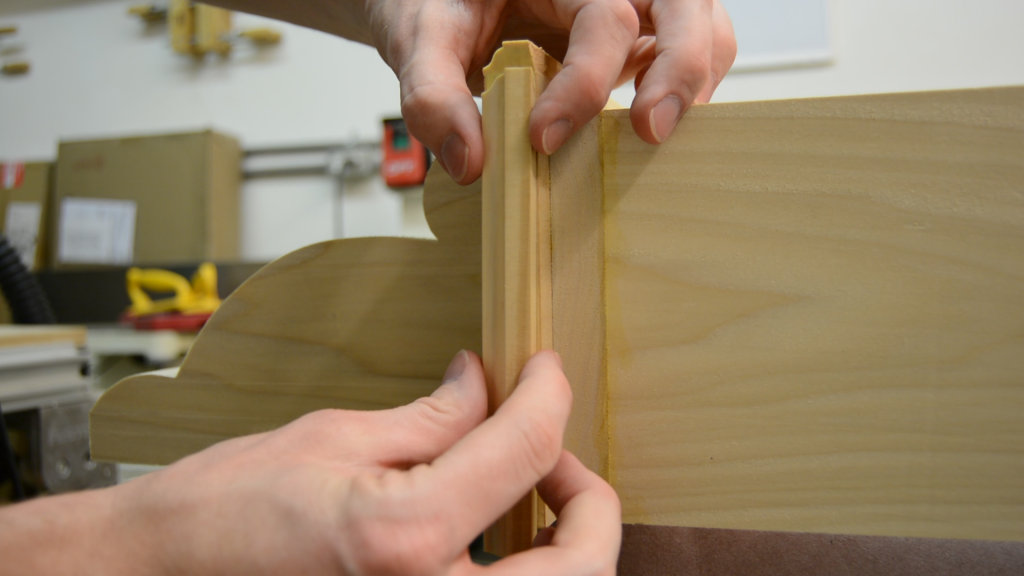
I then made a mark, getting the cut close to where I needed it to be and then slowly snuck up on it for the perfect fit.
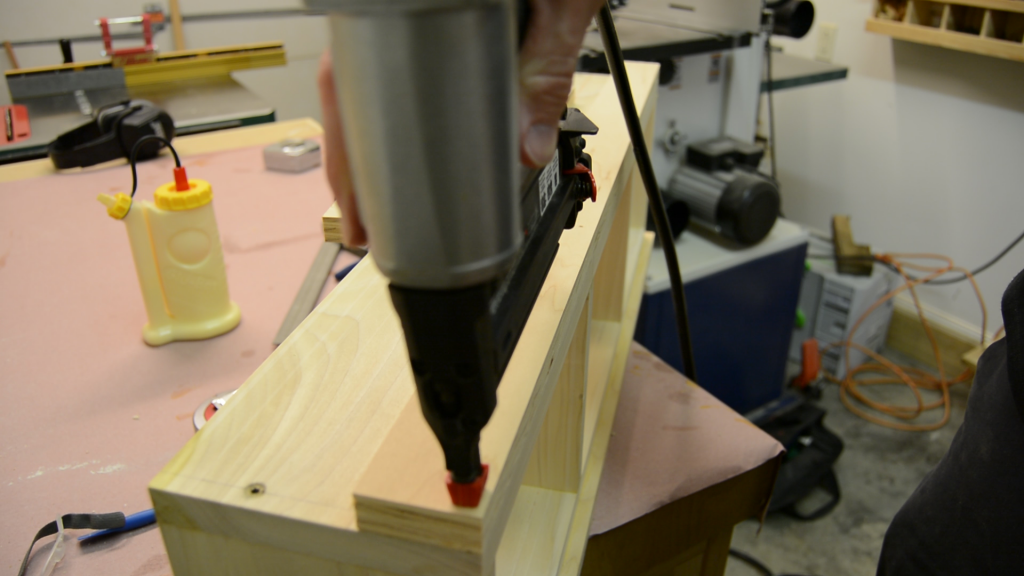
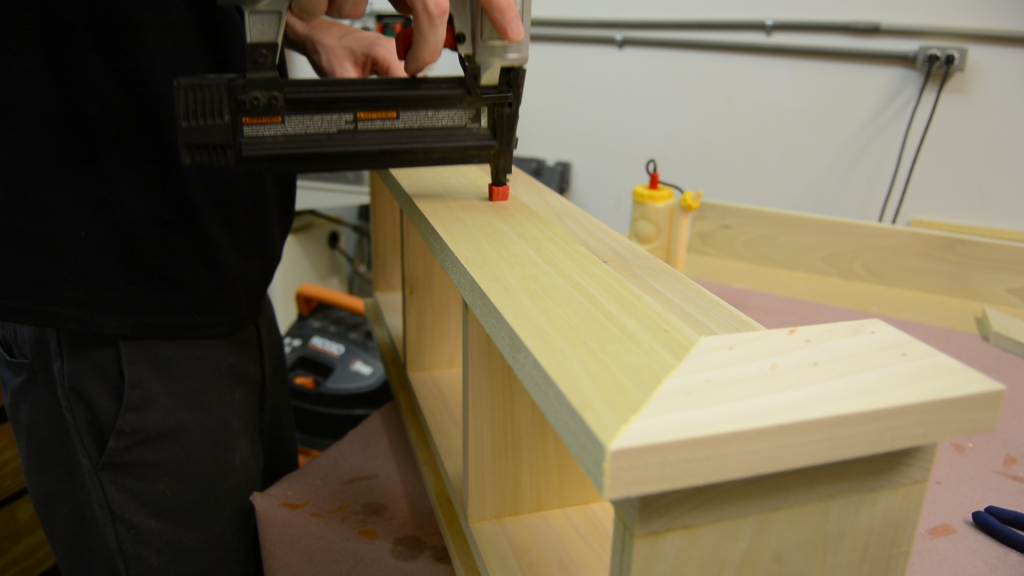
I like to cut all the trim before hand, numbering the pieces as I go, and then nail them on. Every time I do one of these jobs I am reminded of the fact that I need to get a pin nailer.
It’s now time to fill all nail holes and any gaps that may be present, I use drywall compound for this. I then sand all the parts down smooth and flush to get a nice finish.
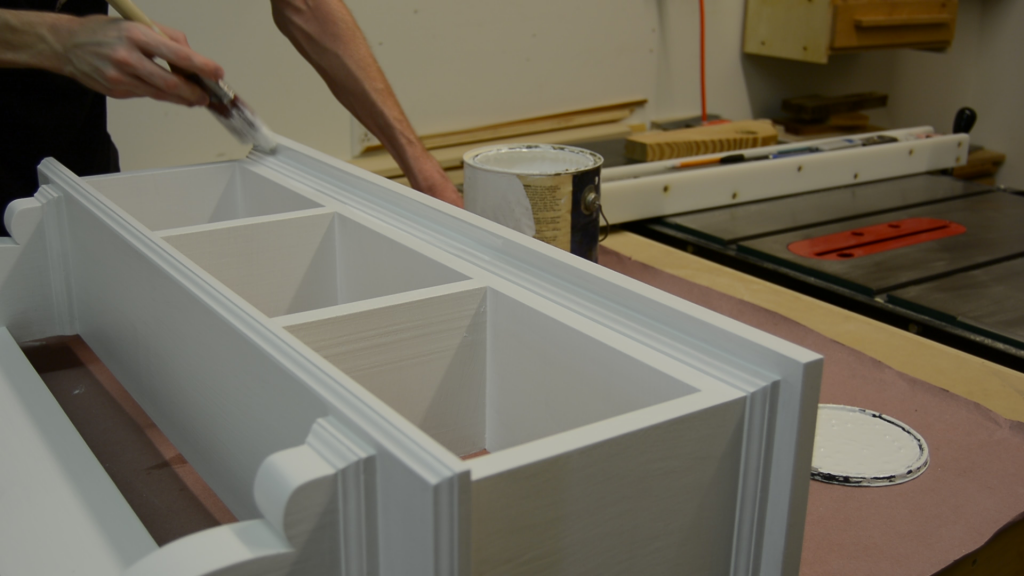
I coat it with two coats of primer, sanding in between, and then two coats of high gloss white paint.
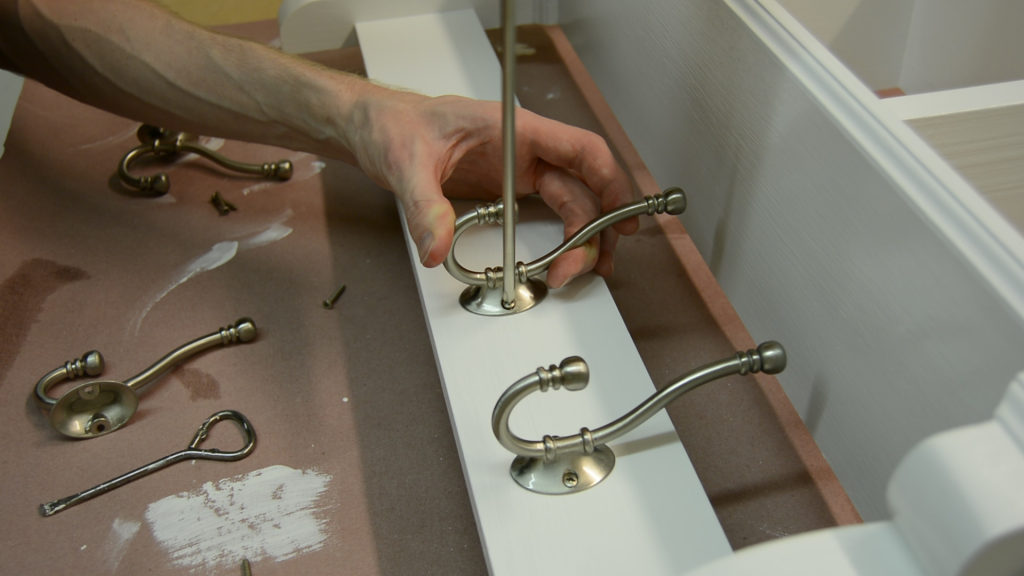
I can now attach the coat hooks with the supplied hardware now that the paint has dried.
When it came time to attach it to the wall, I decided to use a cleat the same thickness as the two top layers and cut it to fit into that space. I then drilled pocket screw holes into both ends. I attached the cleat to the wall first into the studs and then place the rack around the cleat and attached them together using the pocket screw holes I drilled earlier. An alternate method for this would be to drill into the cleat from inside the boxes and attach with screws.
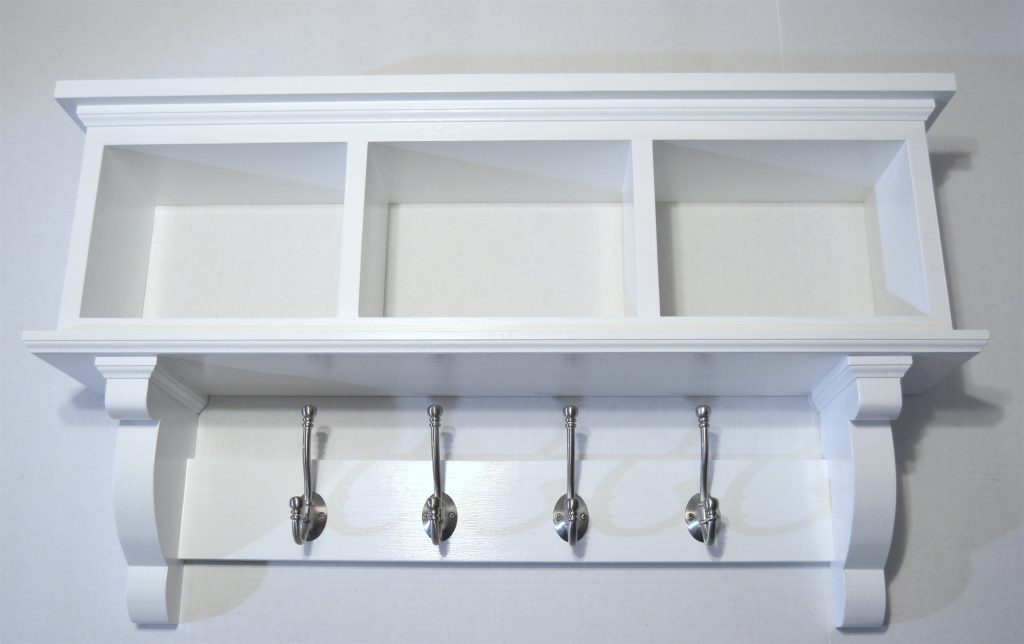
Here you can see the final product. It looks really great and gets a lot of use in our home!!