Properly cleaning your HVLP spray gun
The one thing that seems to get glossed over the most when it comes to spraying on your finish is that actual clean-up. This is the area that most people fall short. Many people don’t realize how important this step actually is. It’s vital that the gun and it’s parts stay clean and free of obstruction for future use. I’ll go over a few of the steps it takes to keep your spray equipment clean and in check.
This is a fairly simple process and as long as you have the proper knowledge on how to do it. You’ll find that it’s not as aggravating as you probably thought. The first time you pick up your gun and it doesn’t spray like it’s supposed to you’ll regret not taking a little bit of time to clean the gun properly. There are plenty of other things to be conscience of when spraying other than worrying whether your gun is spraying properly. Below is a link to purchase a cleaning kit on Amazon.
The first thing you wanna do is make sure you have everything you need to clean the gun properly. Chemical resistant latex gloves, eye protection, a gun cleaning kit, and the proper solvents to clean whatever finish you’ve been spraying. This is a process that would be better suited for doing outside your workshop in a well ventilated area. You’ll also wanna make sure you dispose of the waste afterwards properly(don’t go pouring this stuff down the drain or in a nearby creek).

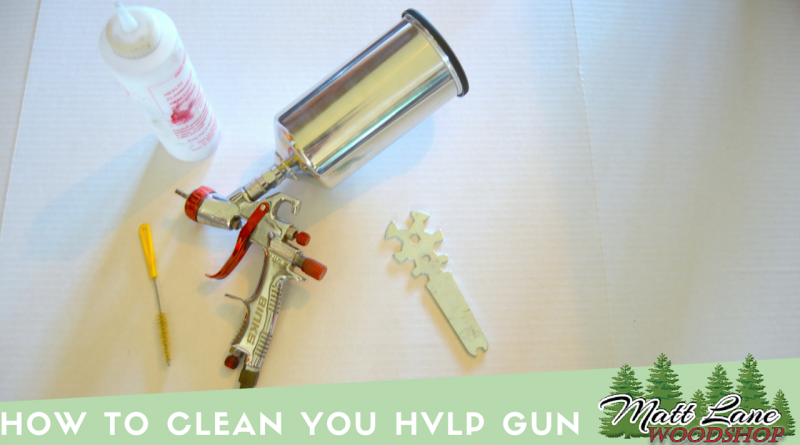
A picture of some of the necessary tools for cleaning.

I like to start by first pouring some solvent in the paint gun cup and sloshing it around to clean the bulk of what’s left after pouring out the leftover finish. I also like to pull the trigger of the gun and let some of the solvents pour through and rinse the inside of the gun. Once I’ve done that, I’ll pour the rest back out and remove the cup and lid from gun and clean those with a rag soaked in solvents. When I am satisfied with that I’ll set those aside and start breaking down the gun.

I then screw the outside air cap off and dropping it into a small container of solvents.

I then remove the fluid control cap, being careful to not lose the spring, and remove the needle and set it to the side.

I will then remove the inner air cap with the supplied paint gun wrench and drop it into the same thinner.

You can then set the gun in there and let all the parts soak for an hour or so.

I will take the same solvent soaked rag from earlier and clean the needle by hand, you don’t wanna risk bending it.

Make certain that you have the air cap cleaned properly, you don’t want any of the holes clogged!

When I feel like the gun and parts have soaked adequately I will the use the brush from the gun cleaning kit to clean off any stubborn finish that hasn’t already come off.

As I pull each part from the bucket I will wipe each of them down with a thinner soaked rag to clean and wipe away any excess gun on the outside of the parts. Once you’ve gotten all the parts cleaned to your liking you can then reassemble the gun in reverse order of which you took it apart.

There you have it, a nice clean gun ready for use again. There will be no doubt after you’ve cleaned it that the next time you pick up your gun that it will not only still look new but also spray like it’s new! I hope that this article helps and shows you that it isn’t difficult to clean the guns and that it’s definitely a necessary evil. You are now armed with the knowledge to not only spray your finishes but also keep your spraying equipment in top shape. Happy spraying friends!!!